


Introduction to TOOCAA L2 and LightBurn
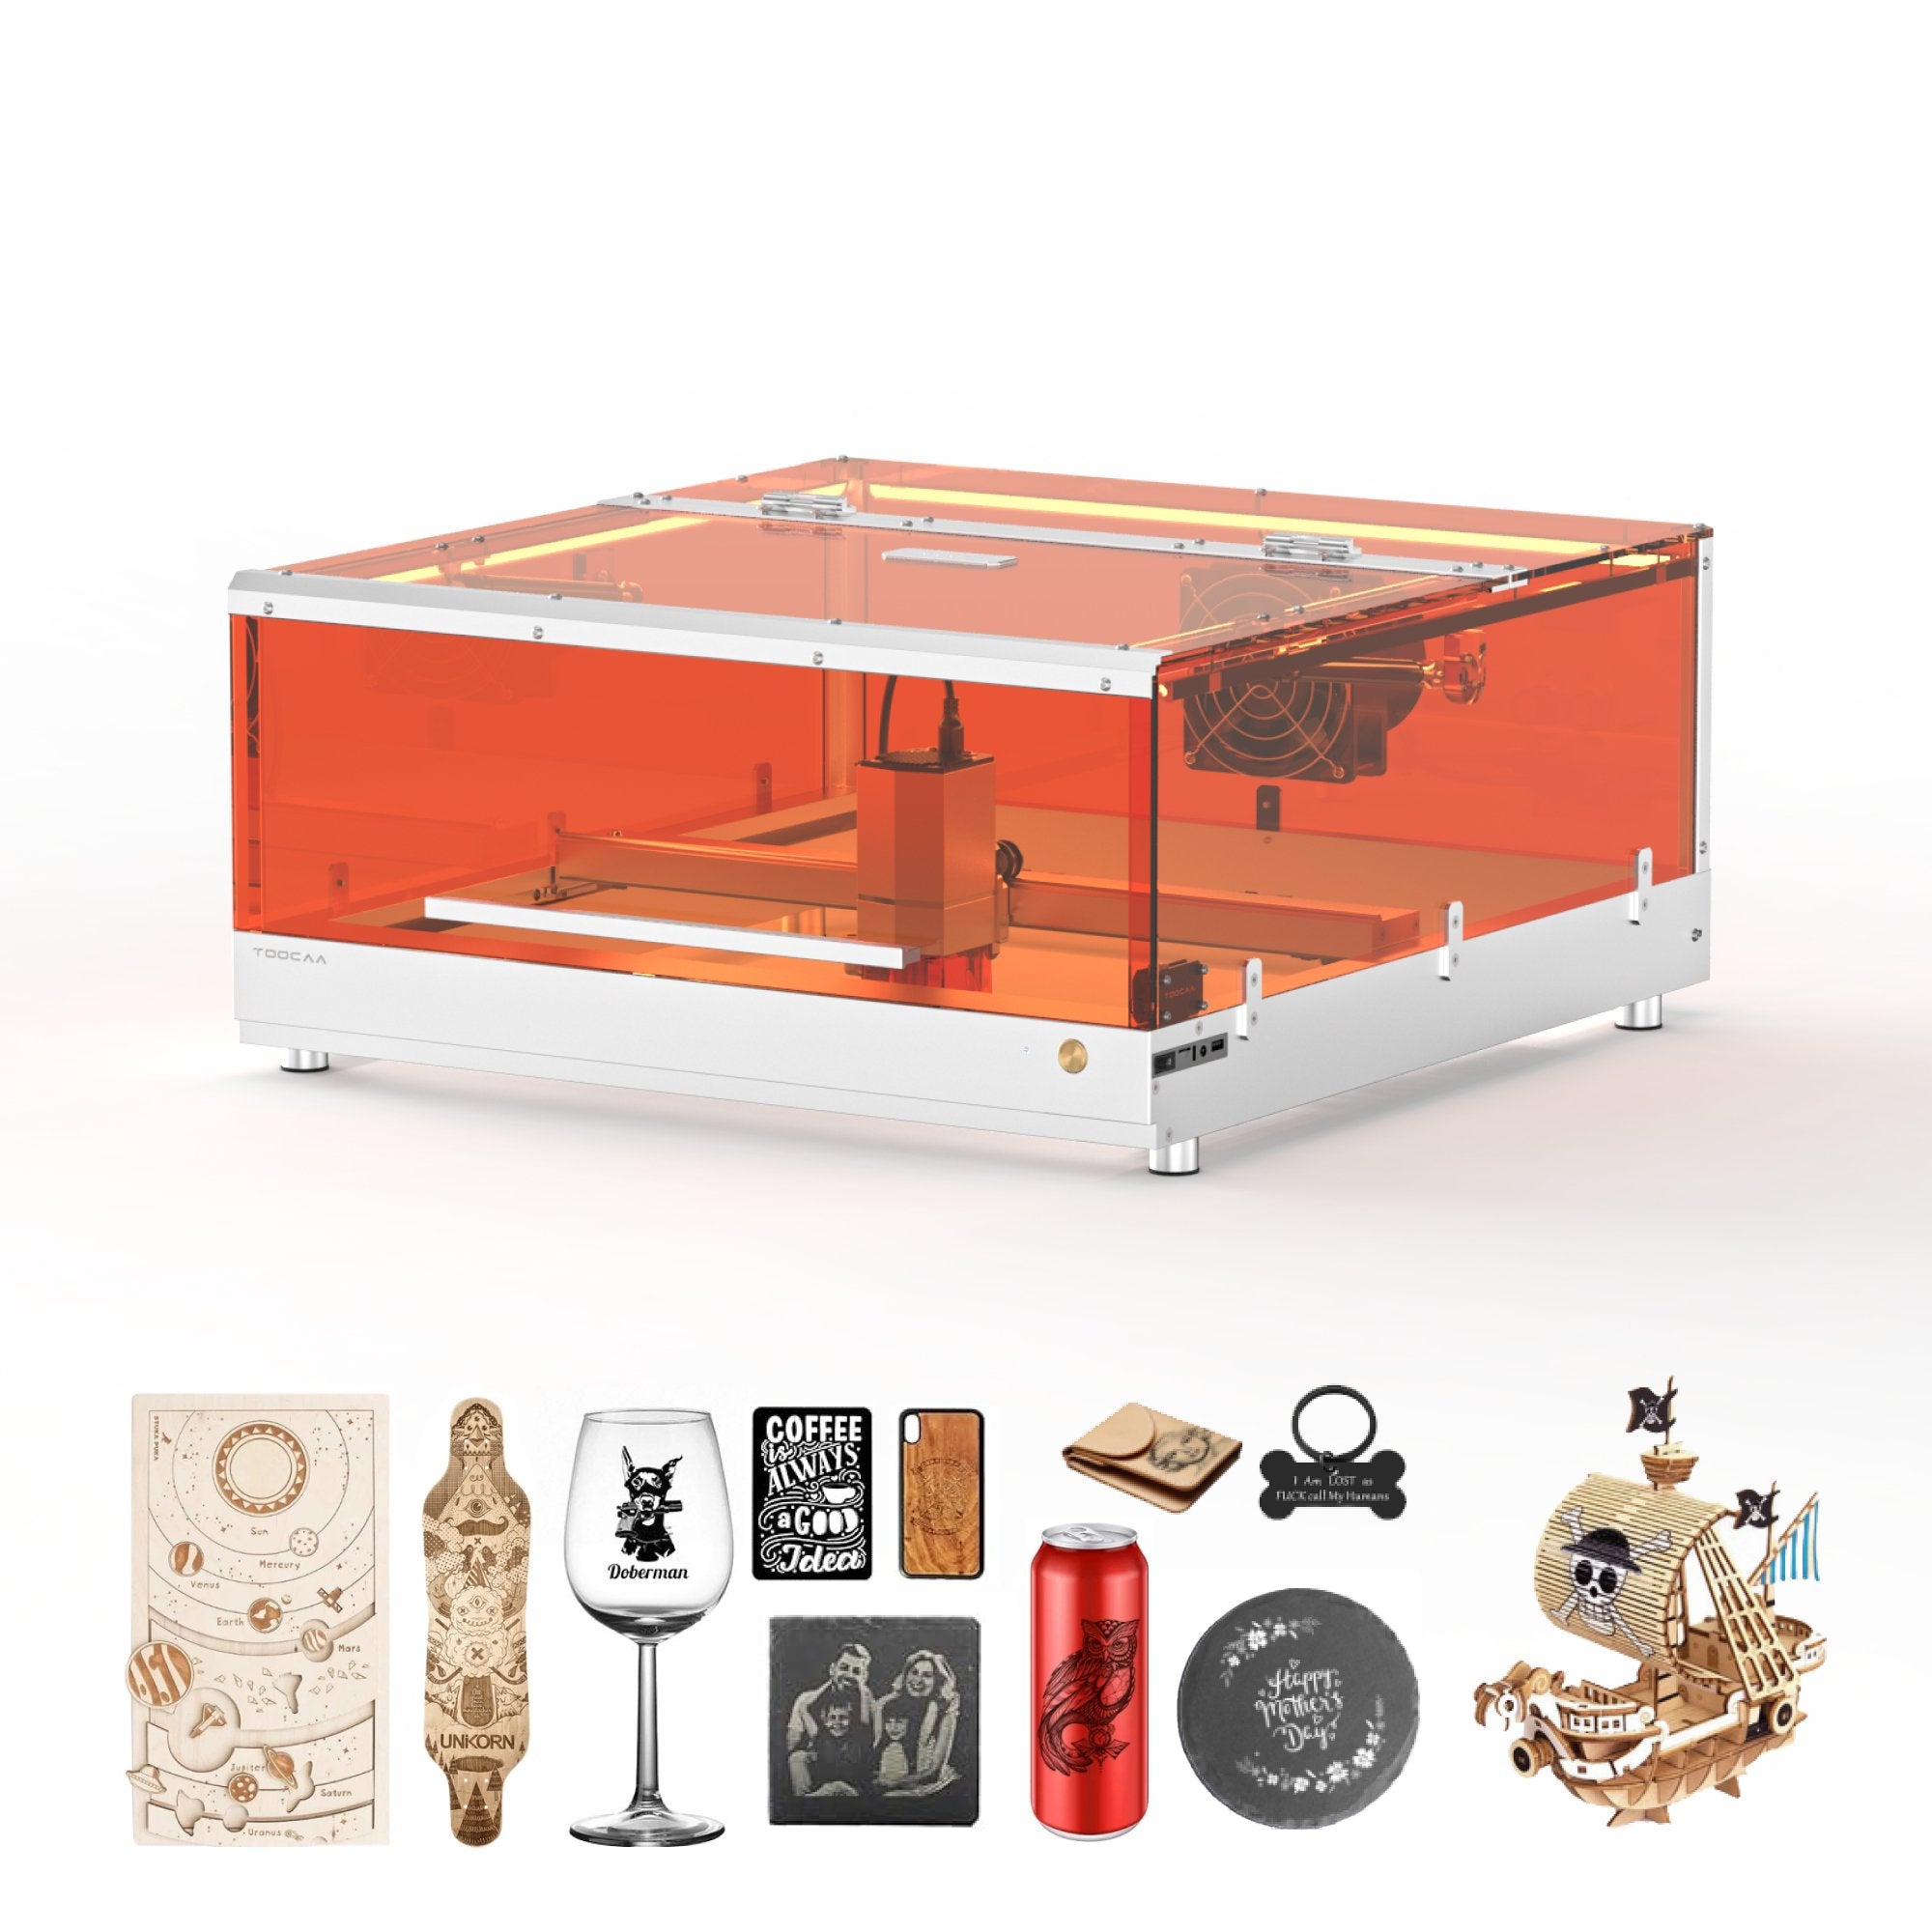
A few years ago, if you wanted to get into laser engraving, you had two bad options: either buy a tiny desktop engraver that barely scratched wood, or spend thousands on something big and industrial. That’s why the TOOCAA L2 Desktop Laser Engraver & Cutter feels like such a game changer. It’s powerful enough to handle real projects, but still affordable and compact. As an enthusiast ready to make gifts or decorative items at home, or even for anyone planning on having a small Etsy shop, it balances perfectly.
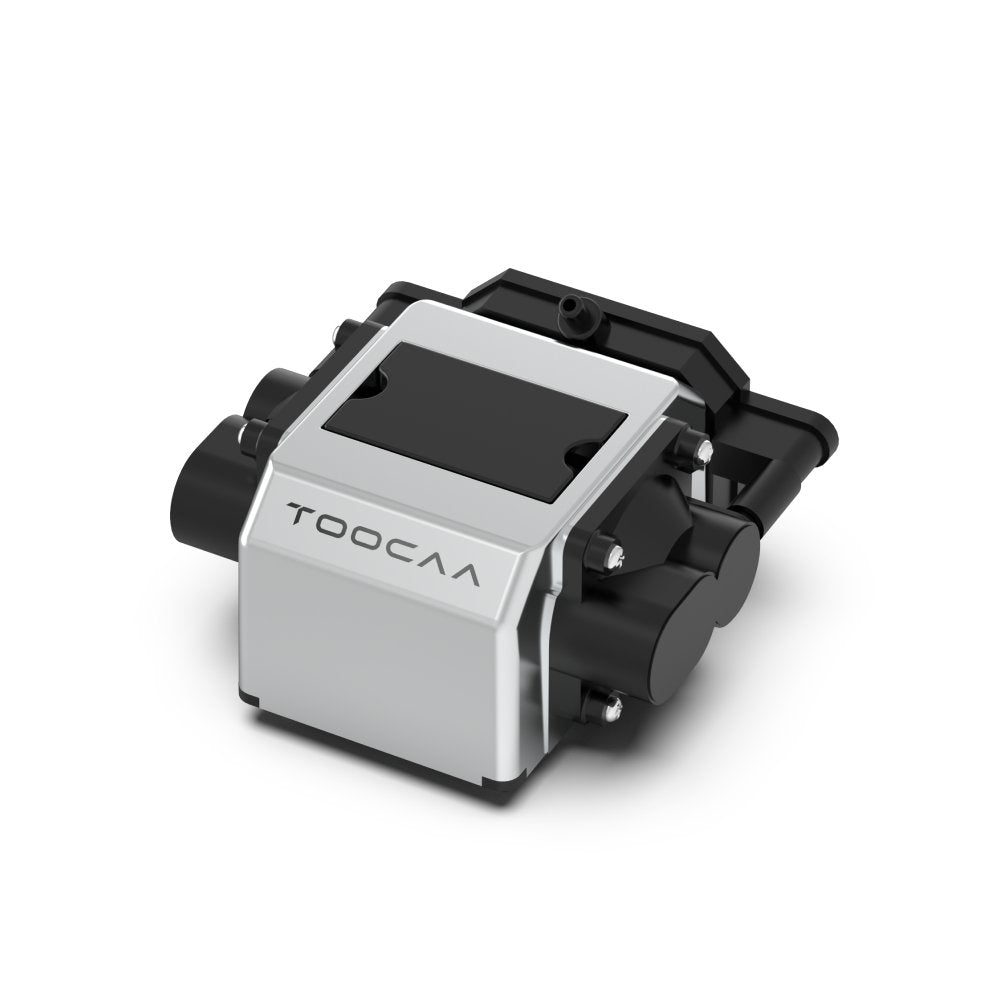
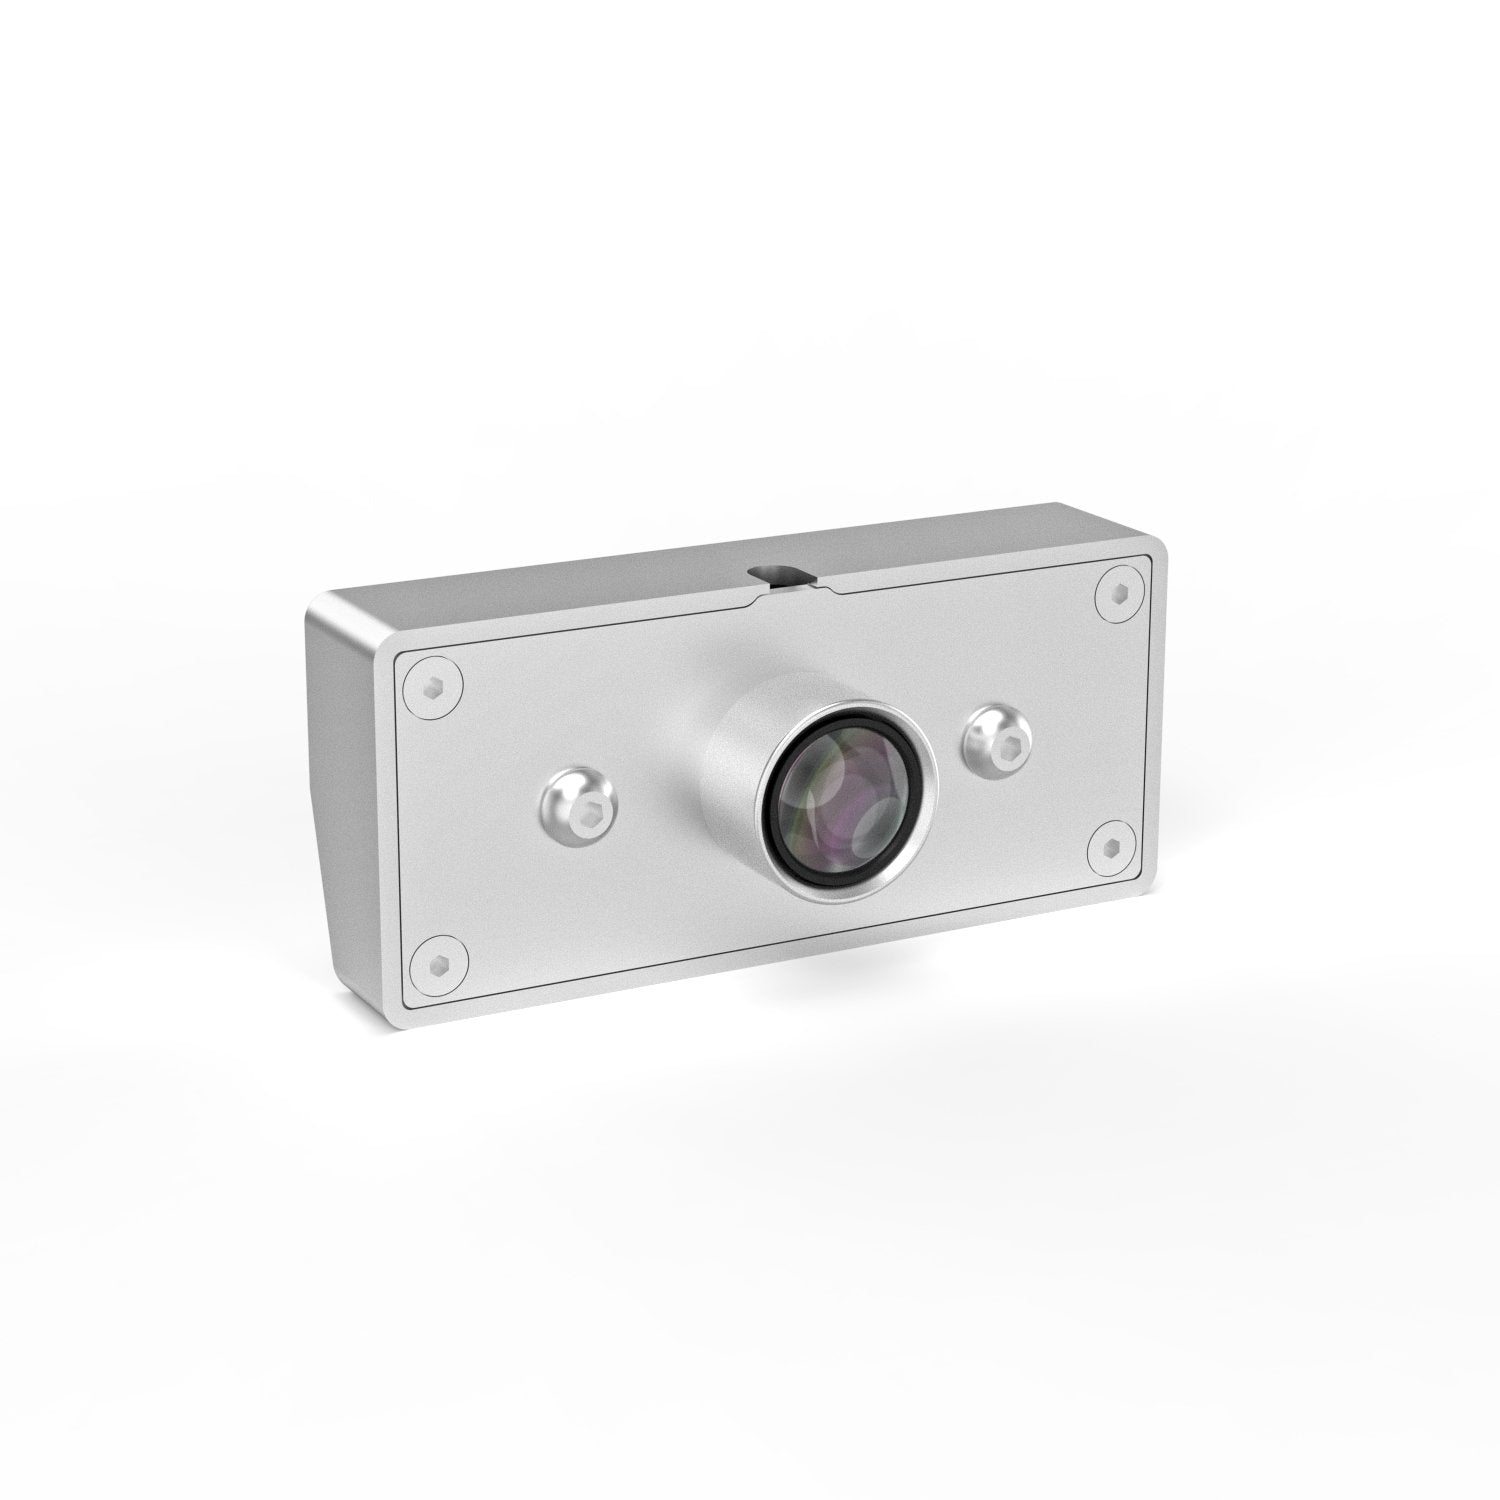
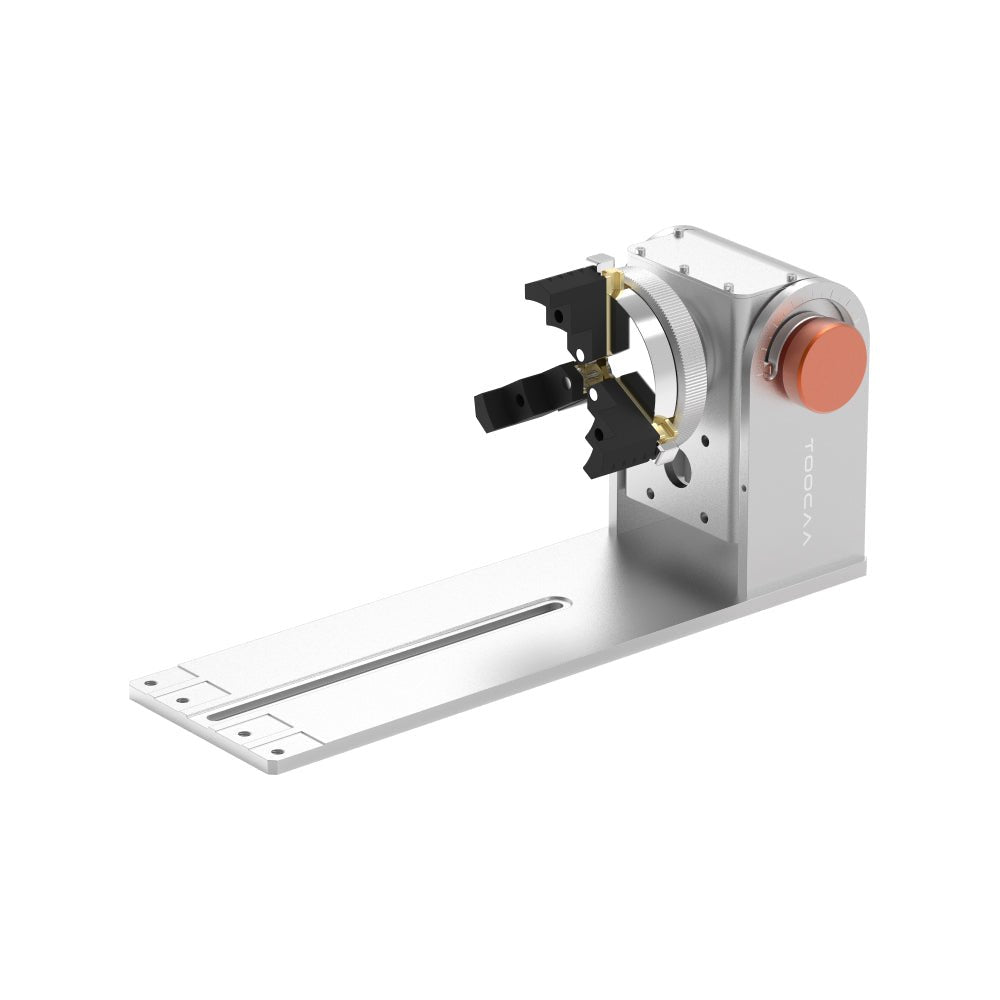
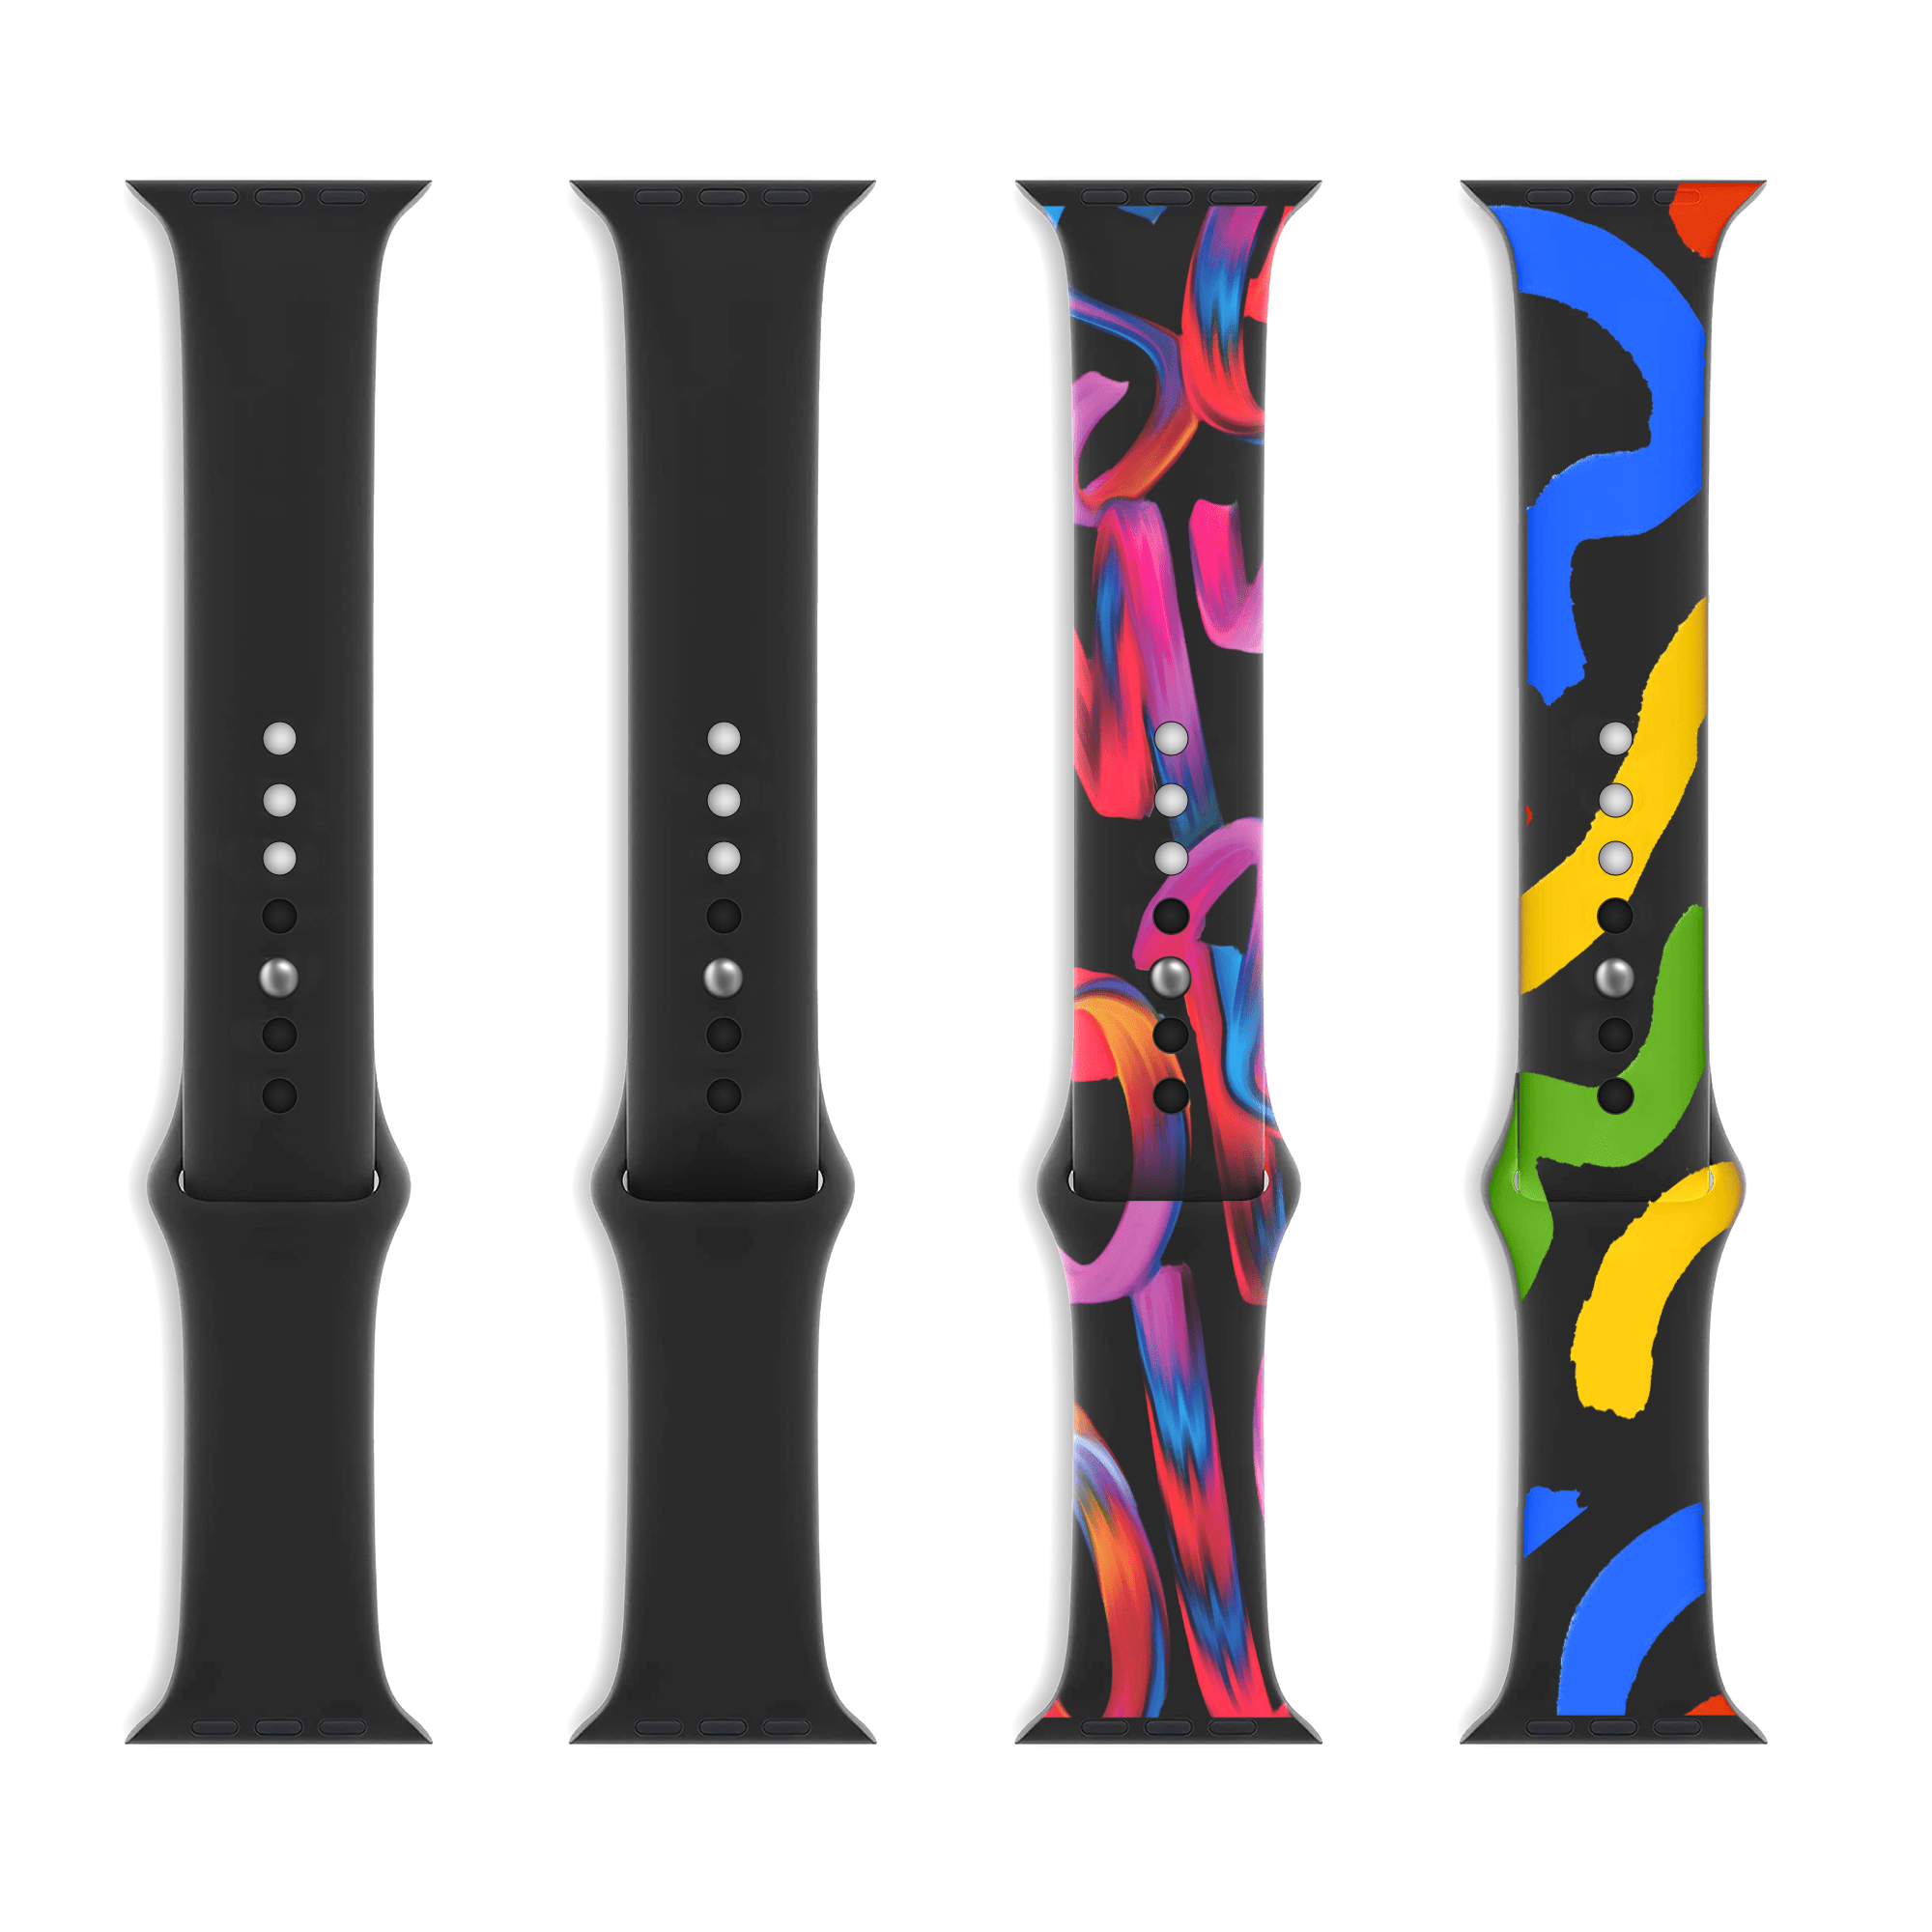
You may select a 20W laser head or a 10W laser head for the L2, and you will have plenty of power available to engrave and cut lumber, plastic, leather, rubber, and even special-coated metals. Your work area, at 400 × 415 mm, is ideally sized—you have plenty of room for something of a size such as signs, trays, or an entire set of coasters, and it's small enough to be easily placed on your workbench comfortably and not consume excess space. By opting for air assist, you receive detailed, smokeless engravings and not smoky, scorched-appearing engravings.
But the machine is only half the story. A laser engraver is only as good as the software controlling it, and that’s where LightBurn comes in. If you haven’t used it yet, LightBurn is kind of the “gold standard” for hobby lasers. It includes design, editing, and machine control under one program. You may begin a project from a blank slate or bring in something you drew up in Illustrator, Photoshop, or Inkscape. It takes in JPG, PNG, SVG, DXF, and a whole lot of others. It's unique in the sense it starts at beginner level and is extremely quick and easy learning, but there's real capability there if you need it, though.
In this tutorial, we will work through installing the TOOCAA L2 with LightBurn in a step-by-step manner. We will discuss mistakes you will likely encounter and how you can avoid them. We will touch on a few best practices so you can get great results. And then we will cover a few advanced LightBurn tricks you can use to get better work.
Step-by-step setup with LightBurn
Getting the TOOCAA L2 running with LightBurn isn’t complicated, but it’s worth doing carefully to save yourself headaches later.
First, you need to download LightBurn from the website. It's available for use on Windows, macOS, and Linux platforms. There's a free 30-day trial, so you get to use the entire thing before you know if you want the license. Unlike most software programs these days, the license is a one-time buy and not a subscription offering.
Once you’ve installed it, connect your TOOCAA L2 with the USB cable that comes in the box. In most cases, LightBurn will pick it up right away. If it doesn’t, you’ll need to add it manually: select GRBL as the device type and set the workspace to 400 × 415 mm. That tells the software where the boundaries are so you don’t run into crashes or cut off designs.
The next thing to check is the origin point. The L2 starts from the front-left corner of the bed, so LightBurn needs to be set the same way. If it’s mismatched, you’ll get engravings in the wrong place—or the laser might even try to run outside the work area.
If LightBurn isn’t recognizing the machine, don’t panic. Sometimes your computer just needs a driver update. You can grab the latest version from TOOCAA’s support site. Keeping your firmware up to date is a good habit anyway—it helps with smooth communication between machine and software.
Now, before you rush to engrave your first project, run a test grid. LightBurn has templates that automatically engrave a grid of different speeds and power levels. This lets you see how your material reacts. For example, birch plywood might need very different settings than leather or acrylic. Spending 10 minutes on a test grid will save you from ruining more expensive materials later.
Finally, adjust the laser focus. The L2 includes a device for aligning the laser head at the appropriate elevation. It may not sound like something significant, but it is extremely critical for the setup. If the laser will not come into focus, engravings will become blurry, soft, or uneven. Get it nice and sharp, and you will immediately recognize the difference.
After you get everything set up, you can begin importing images—JPGs, PNGs, SVGs, DXFs; no hassle—and drag and drop them right into the L2. You're then good to go with a streamlined and efficient workflow.
Typical mistakes and troubleshooting guidelines
Despite an engraver as beginner-friendly as the TOOCAA L2, errors naturally reside alongside the learning curve. It's a question of figuring out what went awry and learning to correct it.
One of the most common issues you'll face is having burned edges or severe scorch marks. It usually happens when you're applying too much power at a slow speed. Fix it simple: lower the power, increase the speed, and if you need, make a few passes instead of trying to do it all at once.
Another headache is blurry or uneven designs. Nine times out of ten, that means the material isn’t flat or secured properly. The laser’s focus changes if the height shifts even slightly across the bed. The solution is to tape it down, use magnets, or place it on a flat support surface.
Sometimes you’ll find your engraving looks faint or almost invisible. The first thing to check is your focus—an unfocused beam loses a lot of its strength. If that’s fine, then adjust power and speed until you get a nice, visible mark.
Connection problems are also common when you’re first setting up. If LightBurn cannot talk to the L2, first check the USB cable. Then restart software and engraver and make sure you have GRBL chosen as the device selection. If not, reinstalling the driver will usually correct the problem.
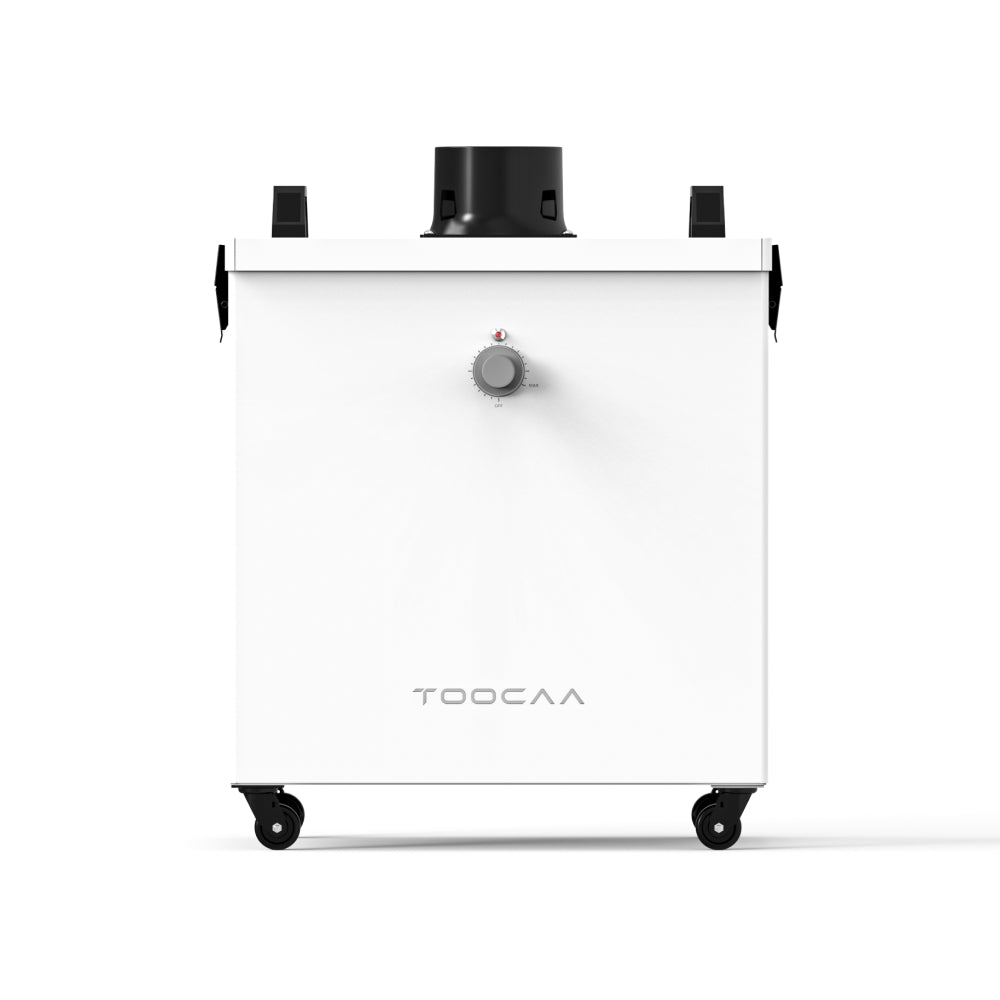
Third, there are occasional instances of small fires while you're cutting thin materials like paper, cardstock, or balsa wood. These situations will be rare, but they can happen. It's important to keep a sharp eye on the machine in use, use air assist whenever possible, and keep a spray water bottle at hand, in the extremely unlikely event of fires.
The good thing is that most of these problems can be easily fixed once you understand what causes them. After a few sessions, you will get to know the patterns and will naturally correct the course.
Best practices for precise engraving and cutting
Laser engraving is part science, part art. The TOOCAA L2 gives you the tools, but the habits you develop will determine how clean and professional your results look.
One of the simplest upgrades you can make is using air assist. By blowing a steady stream of air at the cut, it clears away smoke, prevents scorch marks, and helps cuts go deeper with less charring. If you compare results with and without air assist, you’ll see an immediate difference.
Another habit worth picking up is working in layers inside LightBurn. Each level has its own power, speed, and pass settings. You might, for example, engrave text on a first level, cut shapes on a second, and softly score guidelines on a third. It is a flexible solution for ensuring you have organization and efficiency in your work.
For sharper edges on lumber, leather, or coated items, try putting painter's tape before engraving. It does a good job of holding the soot and burns, and after taking it off, the edges come off looking sharp and smooth.
Ventilation is no less important. Etching plastics, rubber, or even leather might give off vapors you would not want to breathe in. Work near an open window, or employ an extractor fan, or set up a tiny filter system. It's never a question of comfortable work conditions—it's a safety matter.
LightBurn will actually keep custom material profiles on their own. Once you have tuned up the settings for something like 3 mm plywood or acrylic, make sure and save it. Next time you use the same material, you can always skip the adjustment stage and jump right into production.
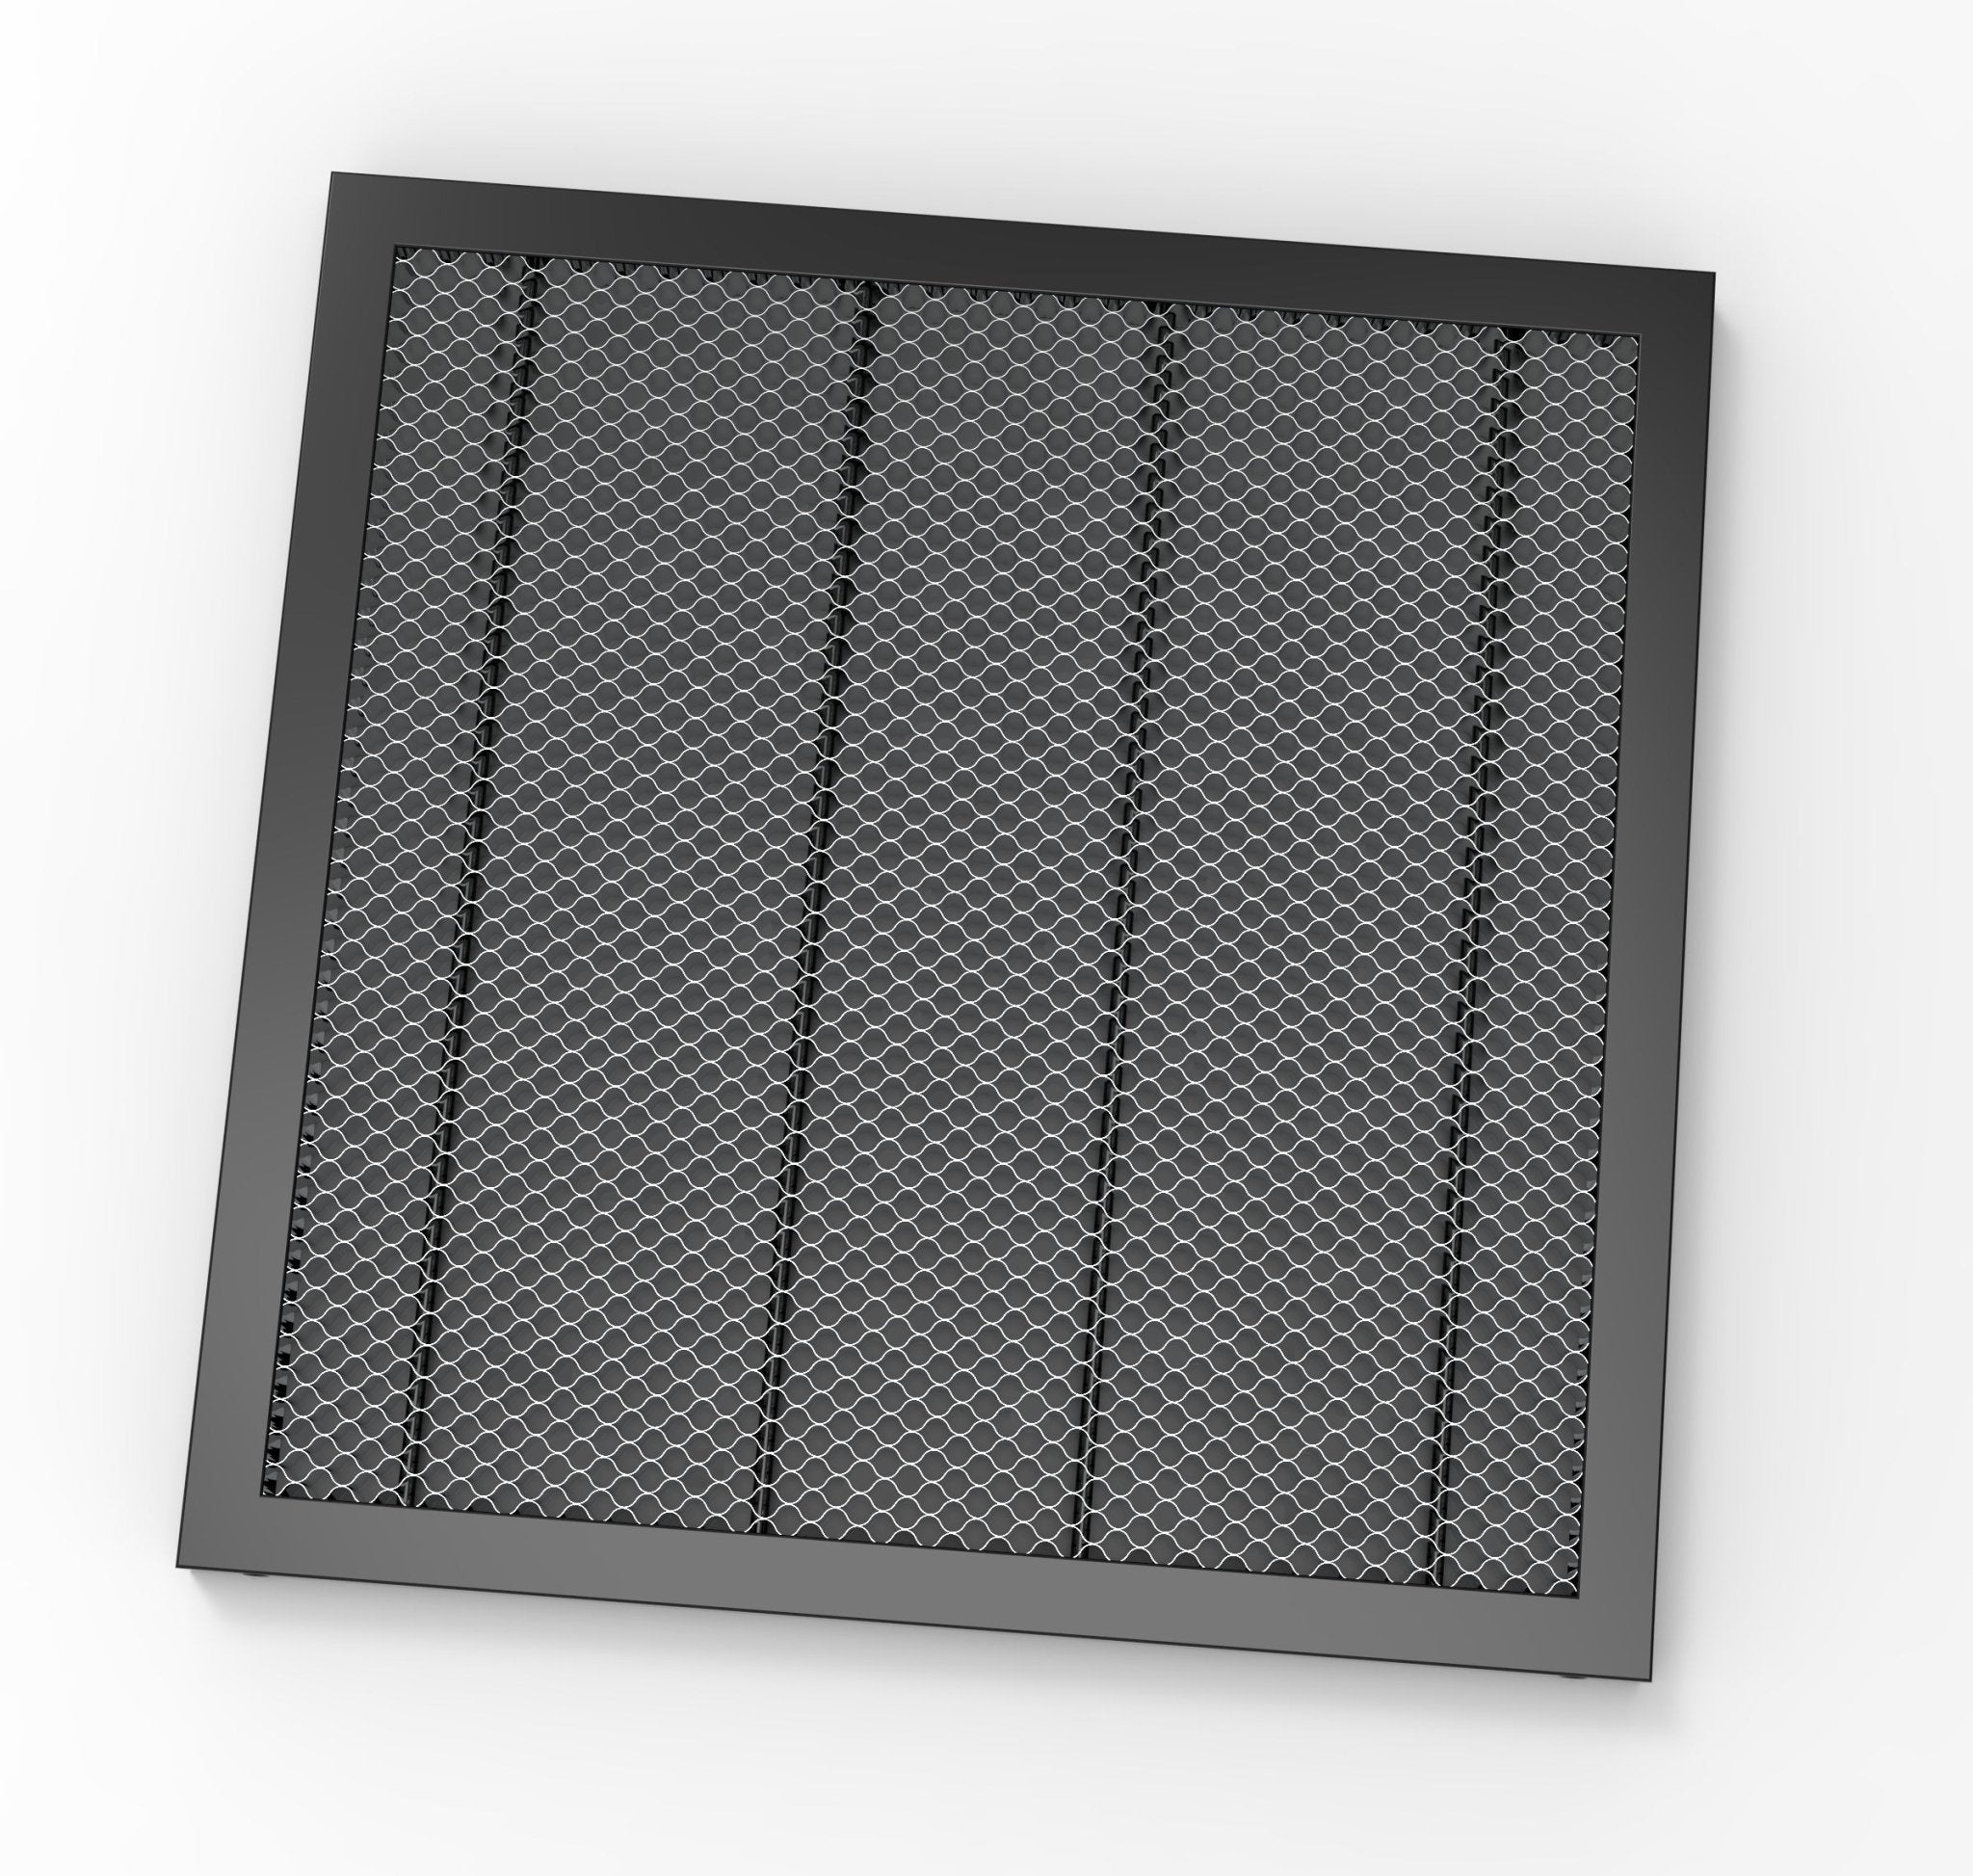
And remember, maintenance is important. Be sure you keep the lens clean, look at the belts to insure tightness, and inspect the bed of rubies for dust. A machine properly maintained does not only last longer, it returns more consistent results.
Advanced LightBurn features for TOOCAA L2
Once you’ve mastered the basics, LightBurn has a whole toolbox of advanced features waiting for you. These aren’t things you need on day one, but when you’re ready to push further, they open up a lot of possibilities.
Take Image Trace, for example. With just a couple clicks, you can take a bitmap image—like a logo or sketch—and convert it into a vector ready for engraving. This is perfect if you don’t want to switch back and forth between design software and LightBurn.
Another useful feature is Offset Fill. Instead of just outlining shapes, it fills them in with parallel lines, creating bold, solid engravings. It’s especially effective on wood and acrylic when you want darker, more dramatic results.
If you’re making batches of items, LightBurn’s variable text function is a lifesaver. Imagine you’re engraving a set of keychains, each with a different name. Instead of editing each one manually, you can import a spreadsheet, and LightBurn will automatically update the text for each item.
For thicker materials, there’s Cut Through Mode. It tells the laser to pause slightly at the start and end of a cut, giving the beam more time to fully penetrate. This way, you don’t have to crank the power too high or risk uneven cuts.
Camera integration is another feature worth looking into. With a compatible camera, you can see your work area inside the software. That means you can drag and drop your design exactly where you want it on the material, making alignment much faster and more accurate.
And finally, LightBurn has a bunch of shape editing and Boolean tools built in. You can weld text, combine or subtract shapes, or adjust nodes—all without leaving the program. It’s like having a mini design suite built into your engraving software.
These advanced software may seem complicated initially, but the beauty of LightBurn is you do not need to learn them all at once. You can learn at your own pace, learning new skills as you become more comfortable.
Alternative to Lightburn
TOOCAA Studio is a dedicated software designed specifically for the TOOCAA L2 laser engraver and creates a hassle-free and reliable way of project preparation. As a LightBurn alternative, it contains all the essential tools one needs to import designs, adjust the engraving and cutting settings, and push jobs directly to the machine.
An interface and operations designed specifically to work with the TOOCAA L2 render the software accessible to the novice, yet still robust enough to satisfy the needs of the more advanced operator. Works with much of the more frequently used file formats e.g. JPG, PNG and SVG and has simple parameter adjustment of settings such as power and speed and layers.
For those seeking a hassle-free and beginner-friendly solution, TOOCAA Studio takes much of the hassle out of the process often involved with third-party software. Nevertheless, it still affords rock-solid performance and predictable results and as such presents a practical solution for creating one-offs or small production runs of custom gifts or hobby projects.
Conclusion
The TOOCAA L2 Desktop Laser Engraver & Cutter is a good and dependable machine for hobbyists and small businesses. When you use it with TOOCAA Studio and LightBurn, you can make the most of it. Together, they offer accuracy, flexibility, and creative options, whether you are engraving a simple design for fun or making many products for customers.
If you get your L2 right, run some tests grids, and form good practices of utilizing air assist, holding materials in place, and storing custom profiles, you will be moving from "just experimenting" to producing work that looks professional real quick. And once you get into utilizing LightBurn's advanced features—such as variable text, offset fill, and camera alignment—you will discover the L2 can do things you never believed possible.
So if you’ve been on the fence about trying it, here’s the honest recommendation: pair the TOOCAA L2 with LightBurn. It’s a combination that makes laser engraving smoother, more enjoyable, and professional-level—without the professional price tag.Visit toocaa.com to explore the TOOCAA L2 and start your engraving journey today.

