Introduction to Laser Engraving on Wood
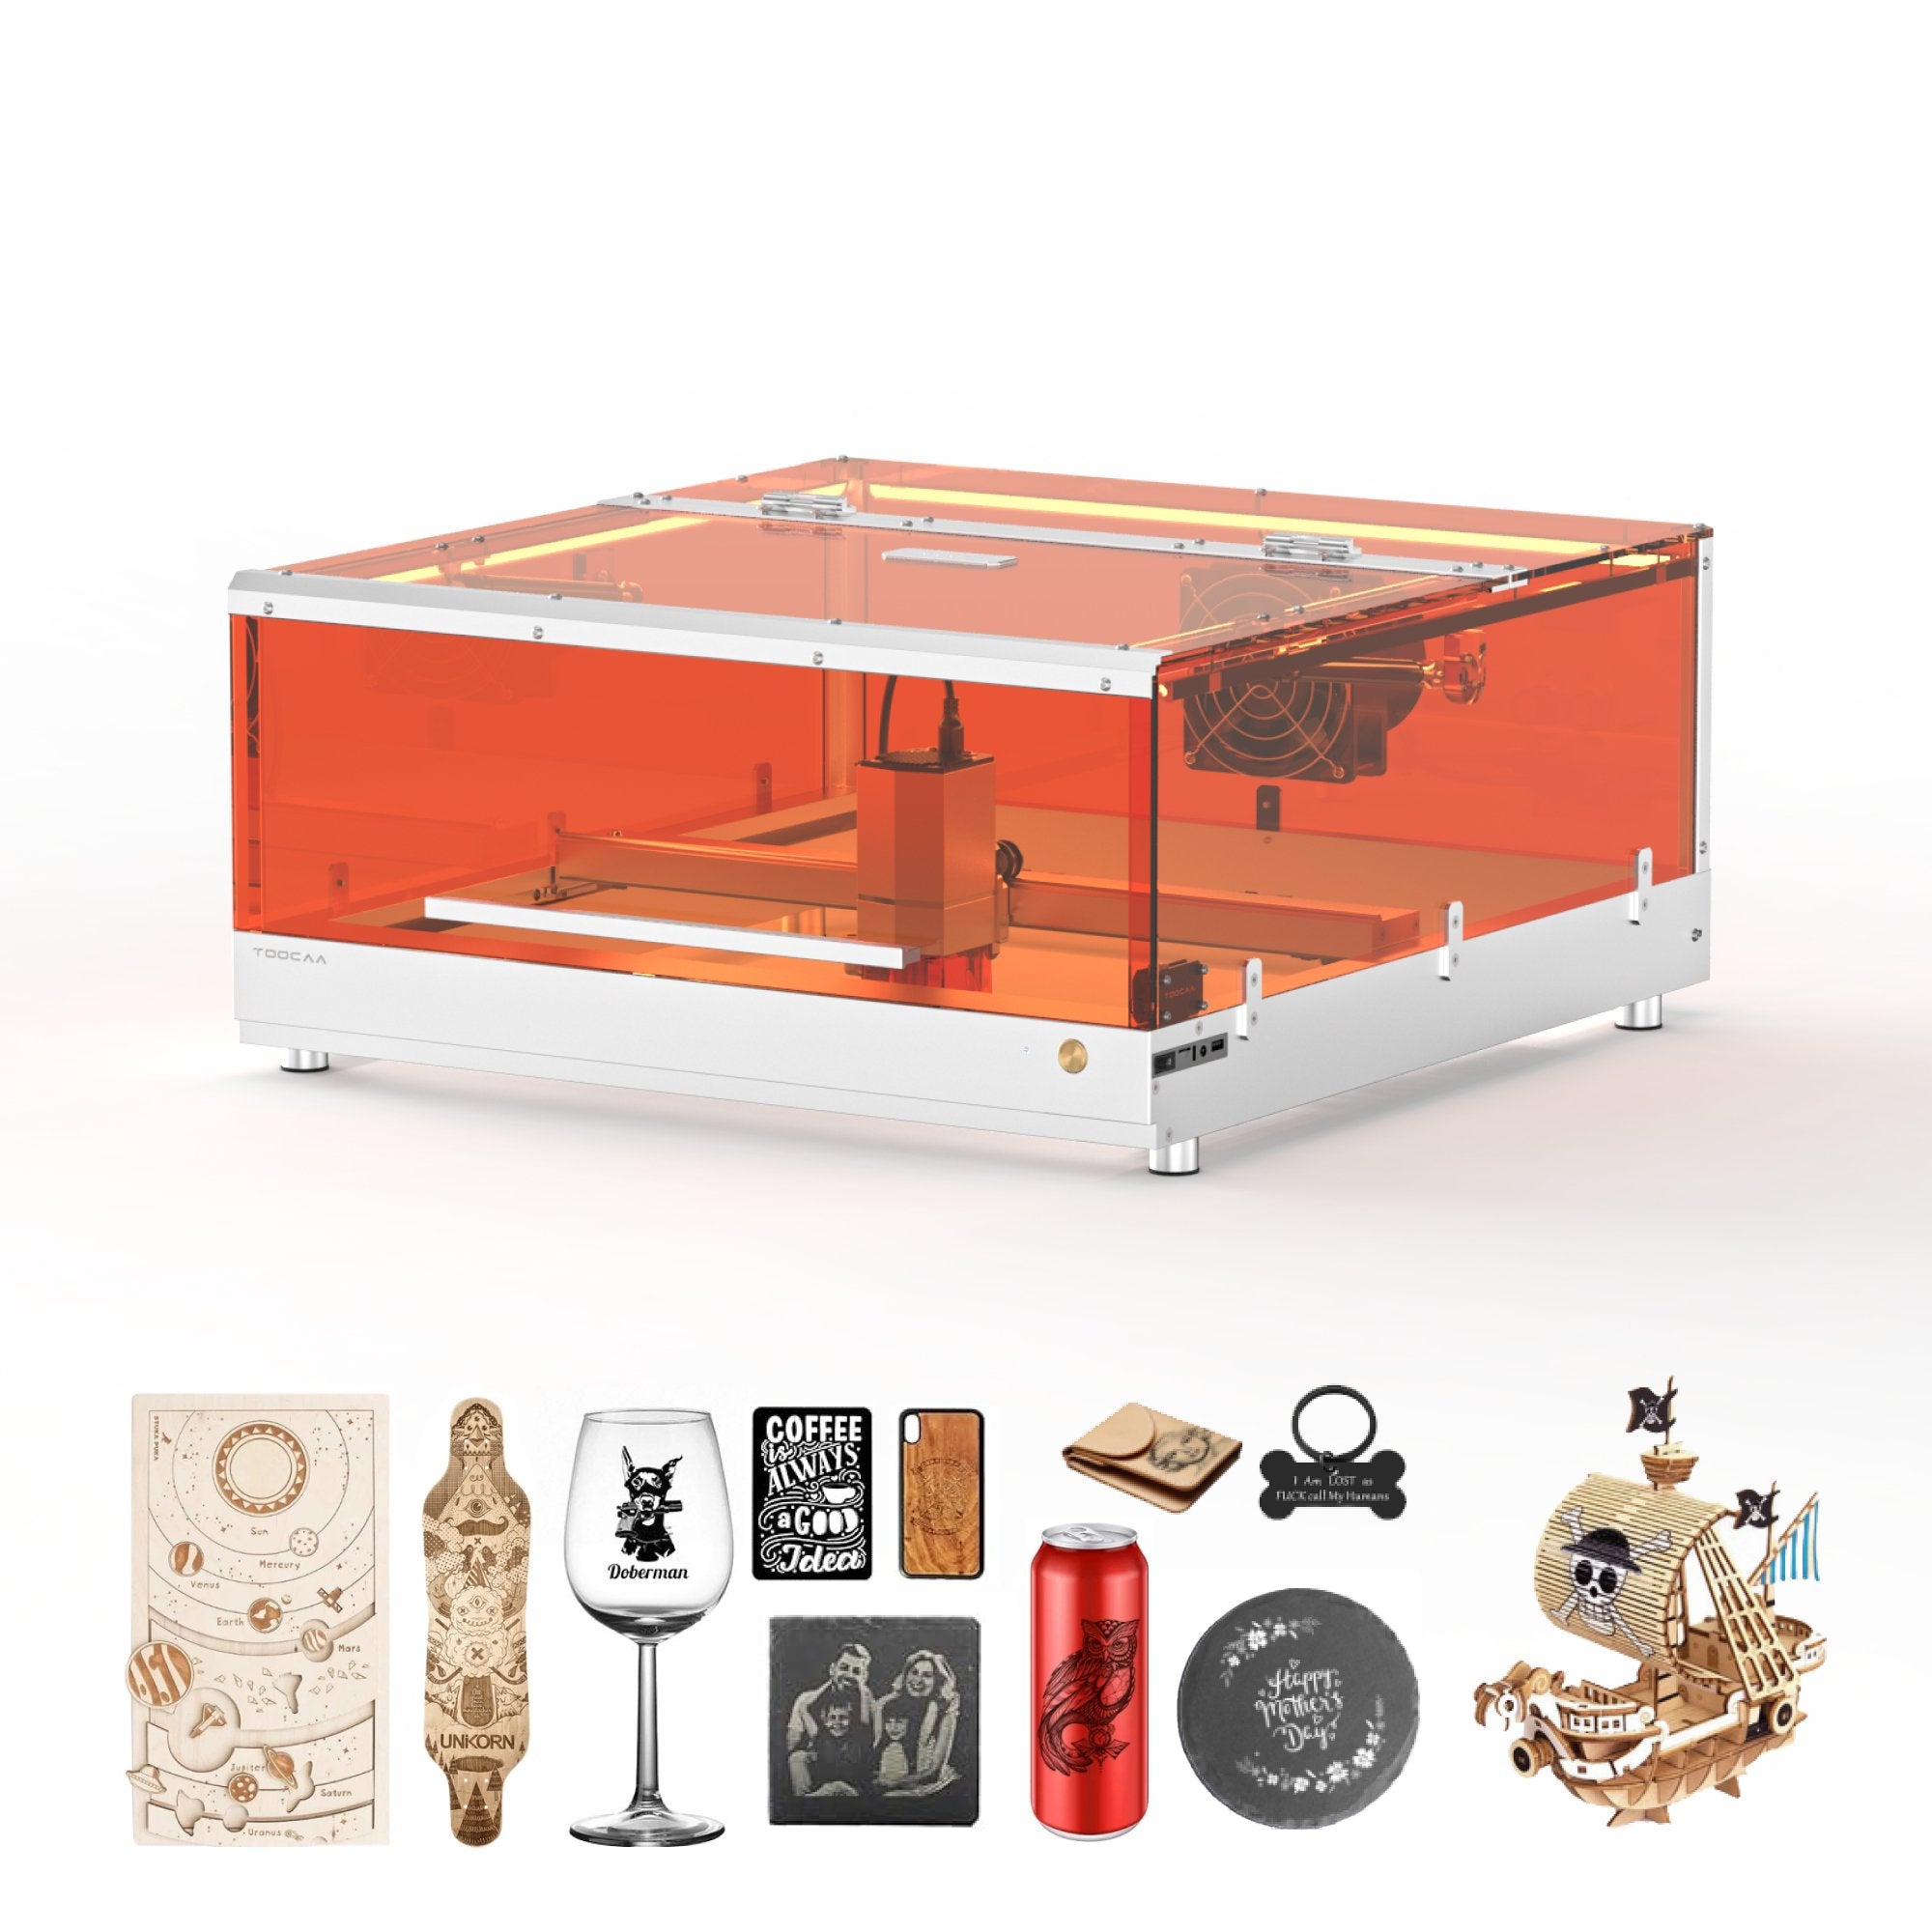
Laser engraving wood is a simple idea but it makes strong results. A laser engraver uses a beam of light that burns into the surface of wood. The beam moves as the design tells it to. This makes lines and shapes that are sharp and clean. Many people like this because it is faster and more accurate than carving by hand. In contrast, traditional hand tools require more time and skill for detailed wood engraving, making laser engraving a preferred modern alternative. DIY wood engraving projects are now common. People make gifts, signs, and art pieces. Some even sell their work online. Today, desktop machines make this easy. One of the best laser engravers for home use is the TOOCAA L2 Desktop Laser Engraver & Cutter. It is an excellent choice for a wide range of projects, offering the performance and versatility expected from the best laser options available. It is small enough for home use but strong enough for many projects.

How Laser Engraving Works on Wood
The process of laser engraving wood is easy to understand. The machine sends a beam onto the surface. The heat of the beam burns away a thin layer. The marks left behind form the design. Depth and details depend on how much power the laser uses and how fast it moves. If the power is high and the speed is slow, the burn is deeper and darker. If the power is low and the speed is fast, the burn is lighter. Since the design comes from design software, you can control every detail. The engraver only follows the path you give it. This is why the results are always precise.
What Kind of Wood Can a Diode Laser Engrave
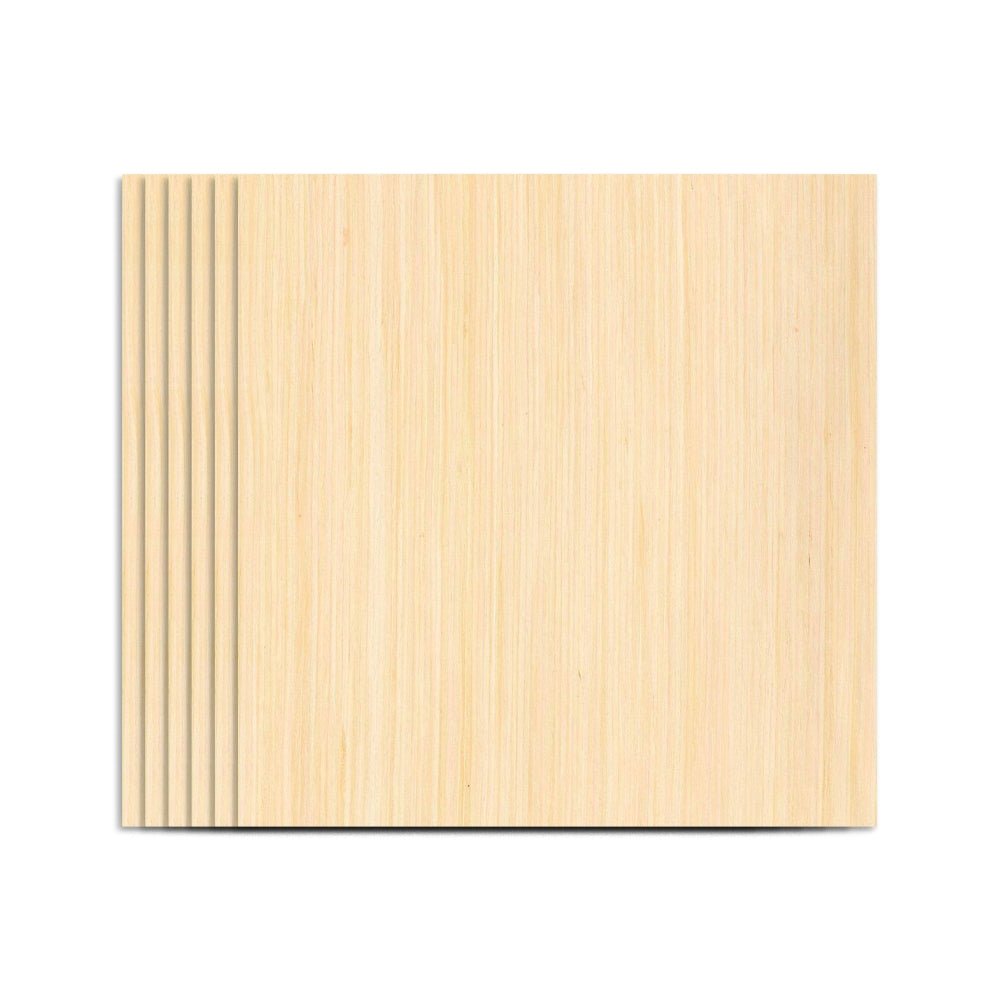
People often ask what kind of wood can a diode laser engrave. The truth is that most woods can be engraved, but the look is not the same. Softwoods like pine or cedar are easy. The beam does not need much power to burn them. They give dark and clear marks. Hardwoods like oak or maple also work, but they need more power. They take more time too. The grain of the wood changes things. Even grain makes smooth lines. Uneven grain makes some parts lighter or darker. Many people use birch plywood for DIY wood engraving projects. It is smooth, stable, and not costly. Bamboo is also a good choice. It gives clean engravings and has a nice look. The TOOCAA L2 is a diode laser engraver, and it can handle both softwood and hardwood. This makes it a good option for many uses.
How to Prepare Wood for Engraving
Before you start, you should prepare the wood. A smooth surface gives better results. Sanding with fine paper removes bumps and rough spots. After sanding, you need to wipe the wood clean. Dust or dirt will block the beam and cause weak marks. Some users put masking tape on the wood before engraving. This stops burn marks around the design. When the work is done, you peel the tape away. The design stays sharp and clean. Taking time for preparation helps make sure the project looks professional. Careful preparation will also enhance the quality and appearance of the engraved wood.
Setting Up the Laser Engraver
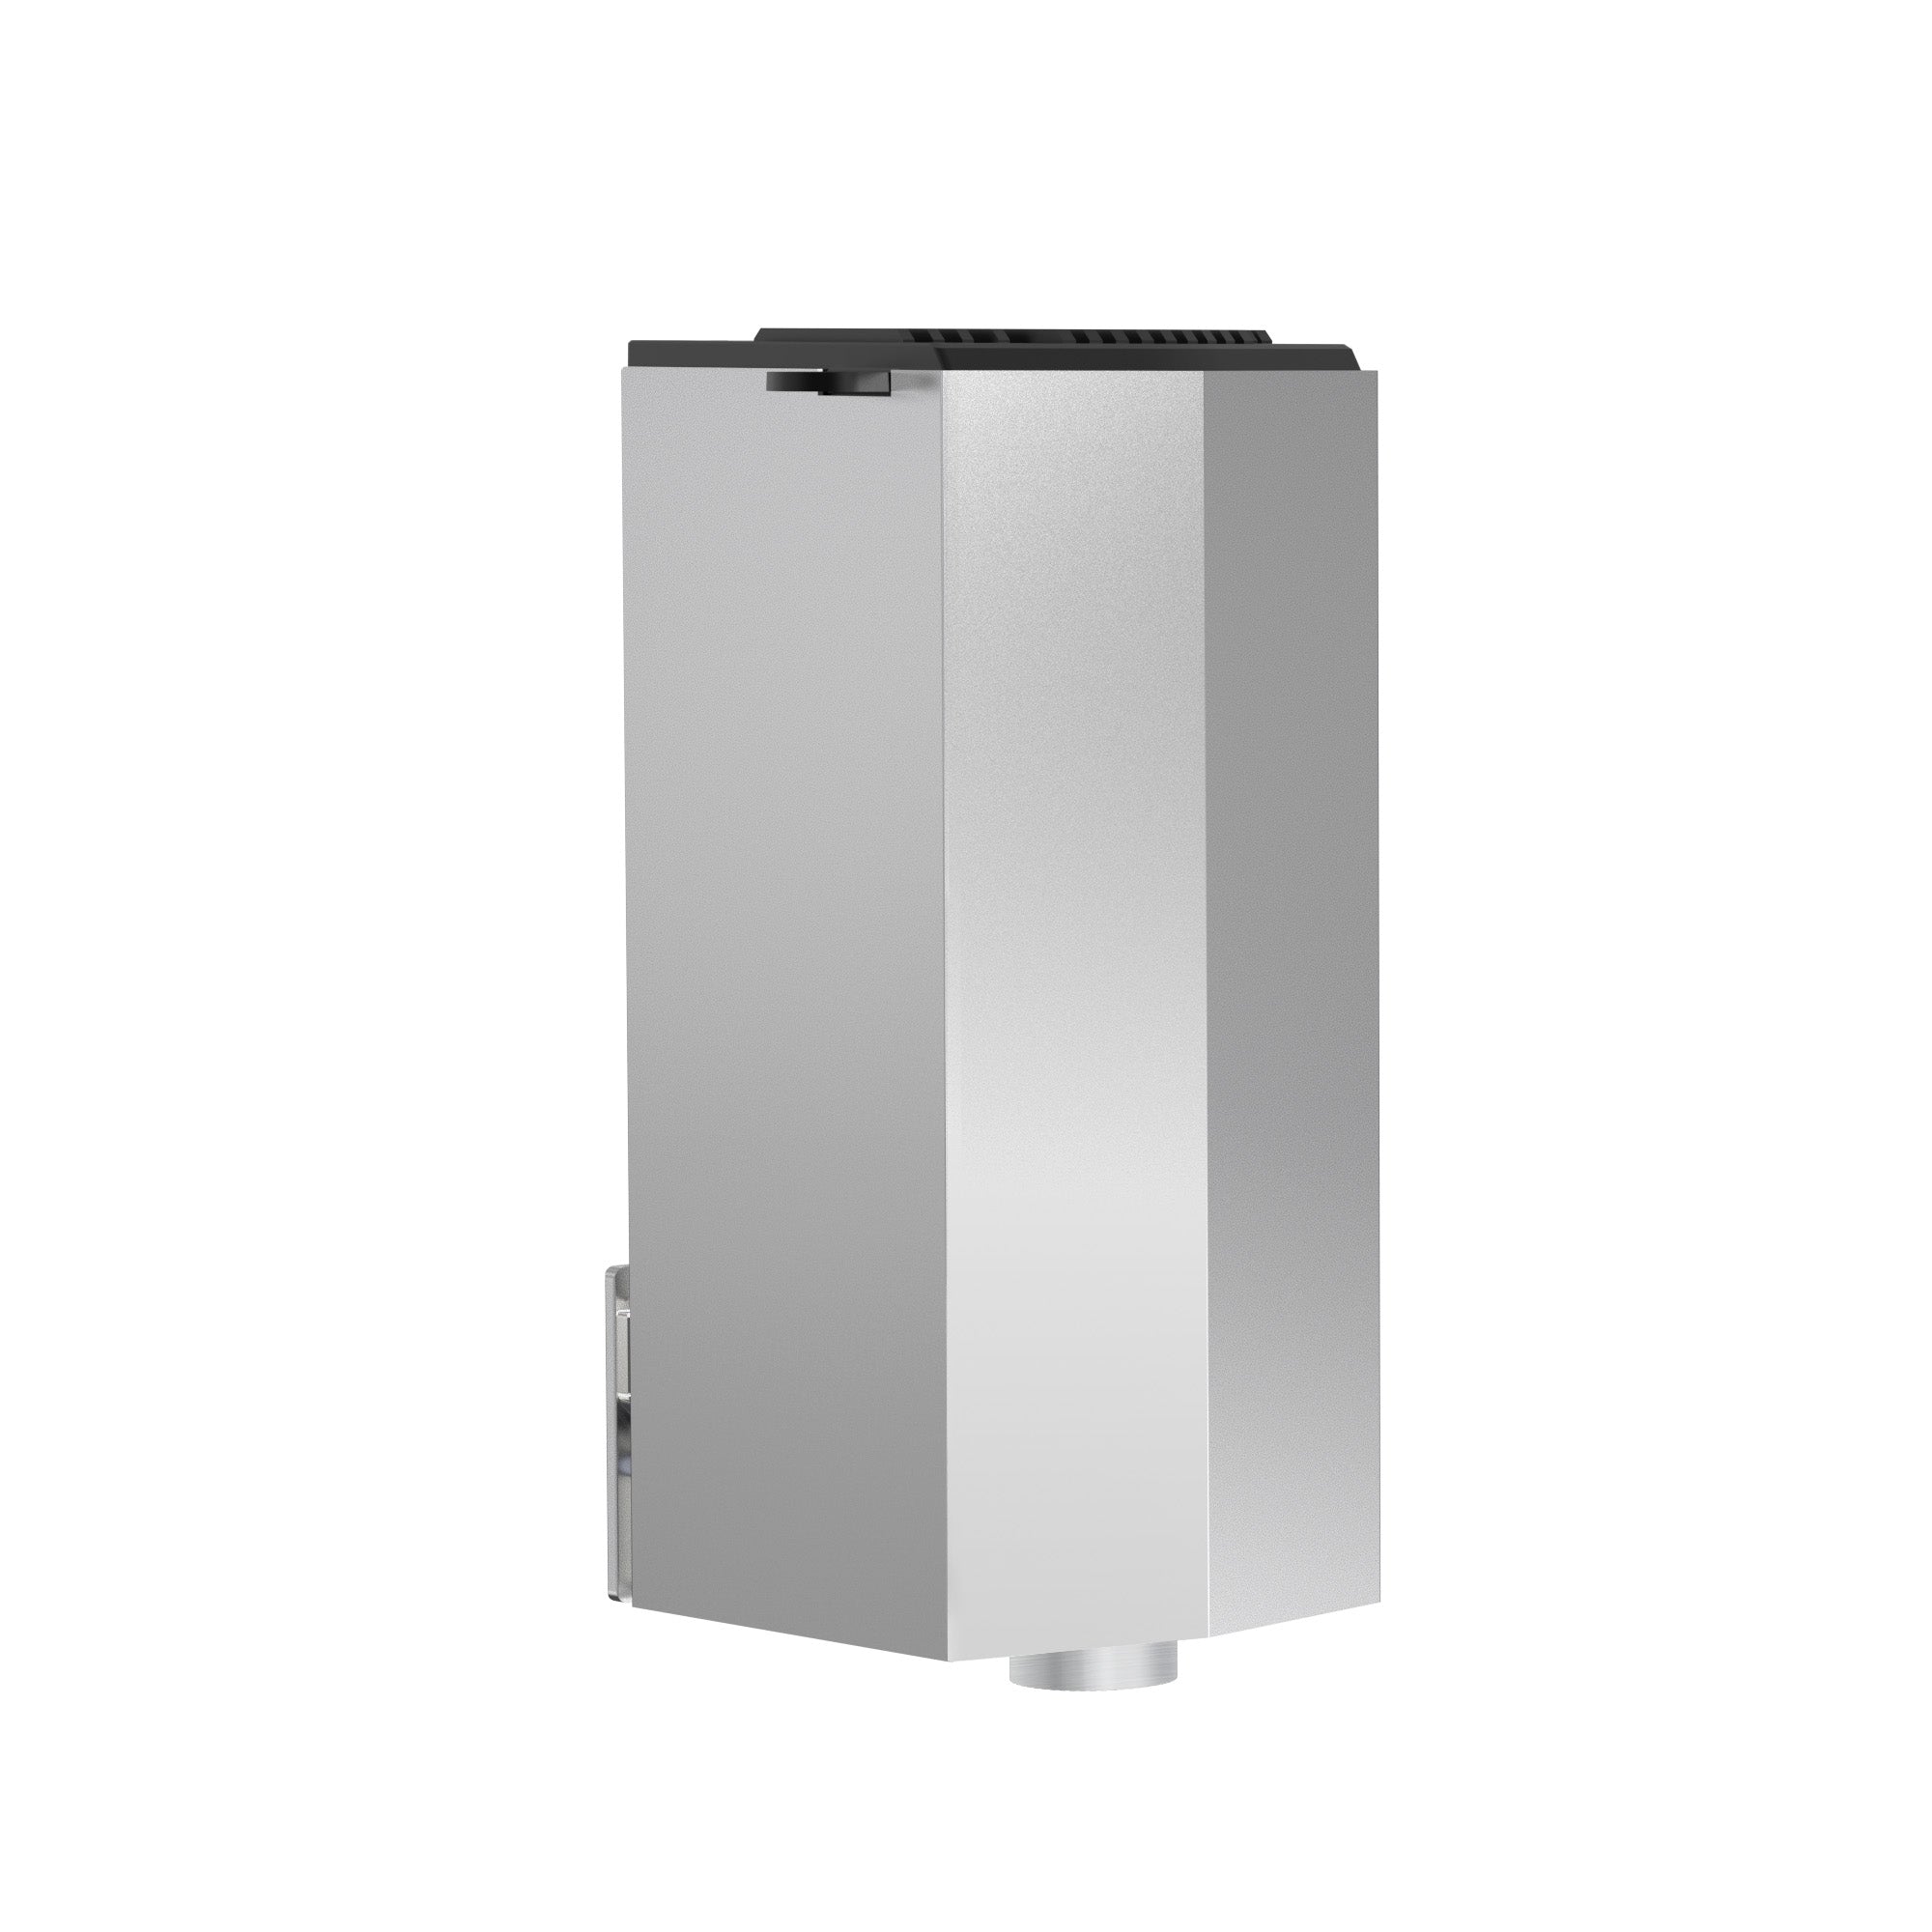
Laser machines like the TOOCAA L2 make the engraving process simple. You connect the machine to your computer, then upload your design with the software. After that, you set the speed and laser power—laser power is a key setting that determines how deeply or quickly the machine engraves the wood. For softwood, less power and more speed usually work. For hardwood, more power and less speed are better. The L2 is a diode laser engraver, but different laser machines use different laser types, such as diode, CO2, fiber, or UV lasers, each with their own strengths for specific materials and applications. The L2 has a good working area, making it fit many project sizes. It can engrave and cut, so you can make more complex items. For example, you can engrave a design and then cut it into a shape. With this in one machine, you save money and space.
Engraving Techniques
Getting the best results from your laser engraver comes down to using the right engraving techniques. The way you set up your machine and prepare your wood surface can make a big difference in the quality and precision of your custom engravings. Start by adjusting the power and speed settings on your laser. Lower power and higher speed can help avoid burn marks, while higher power and slower speed can create deeper, high-contrast designs. Every wood type reacts differently, so it’s important to test your settings before starting the final engraving process.
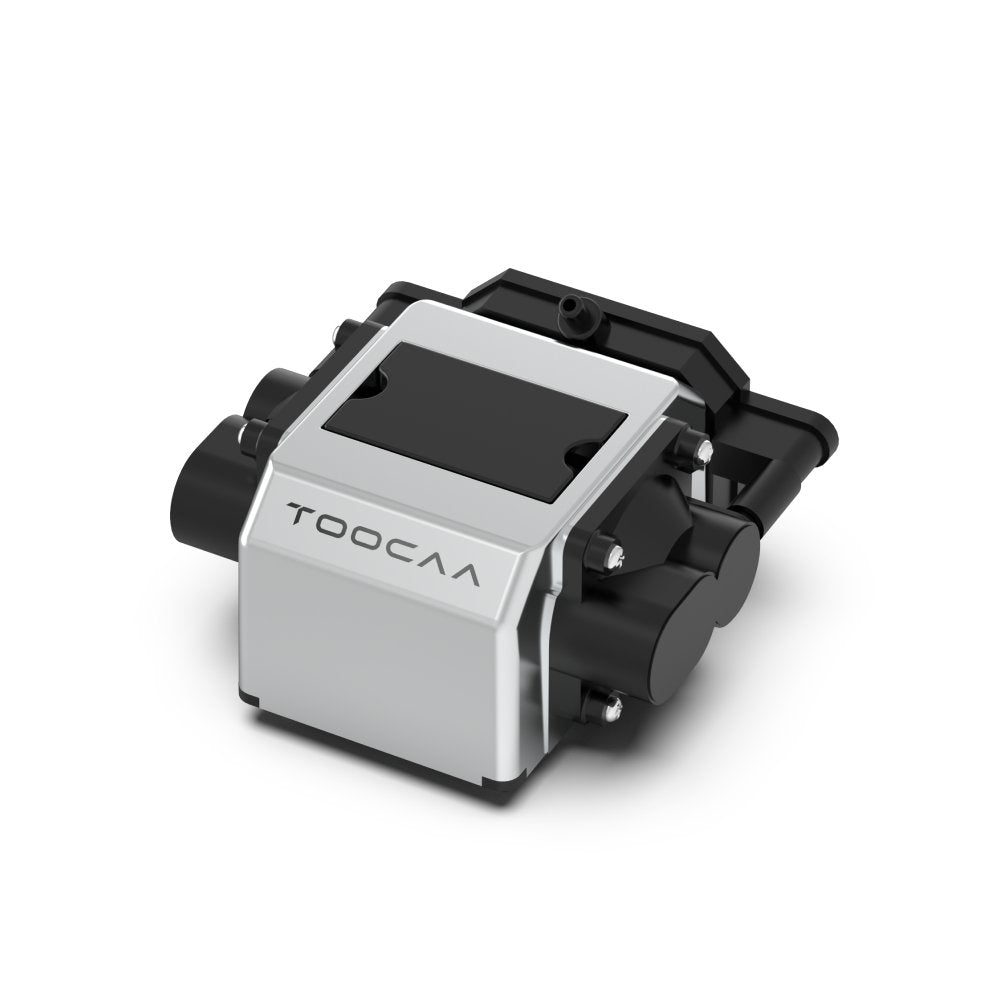
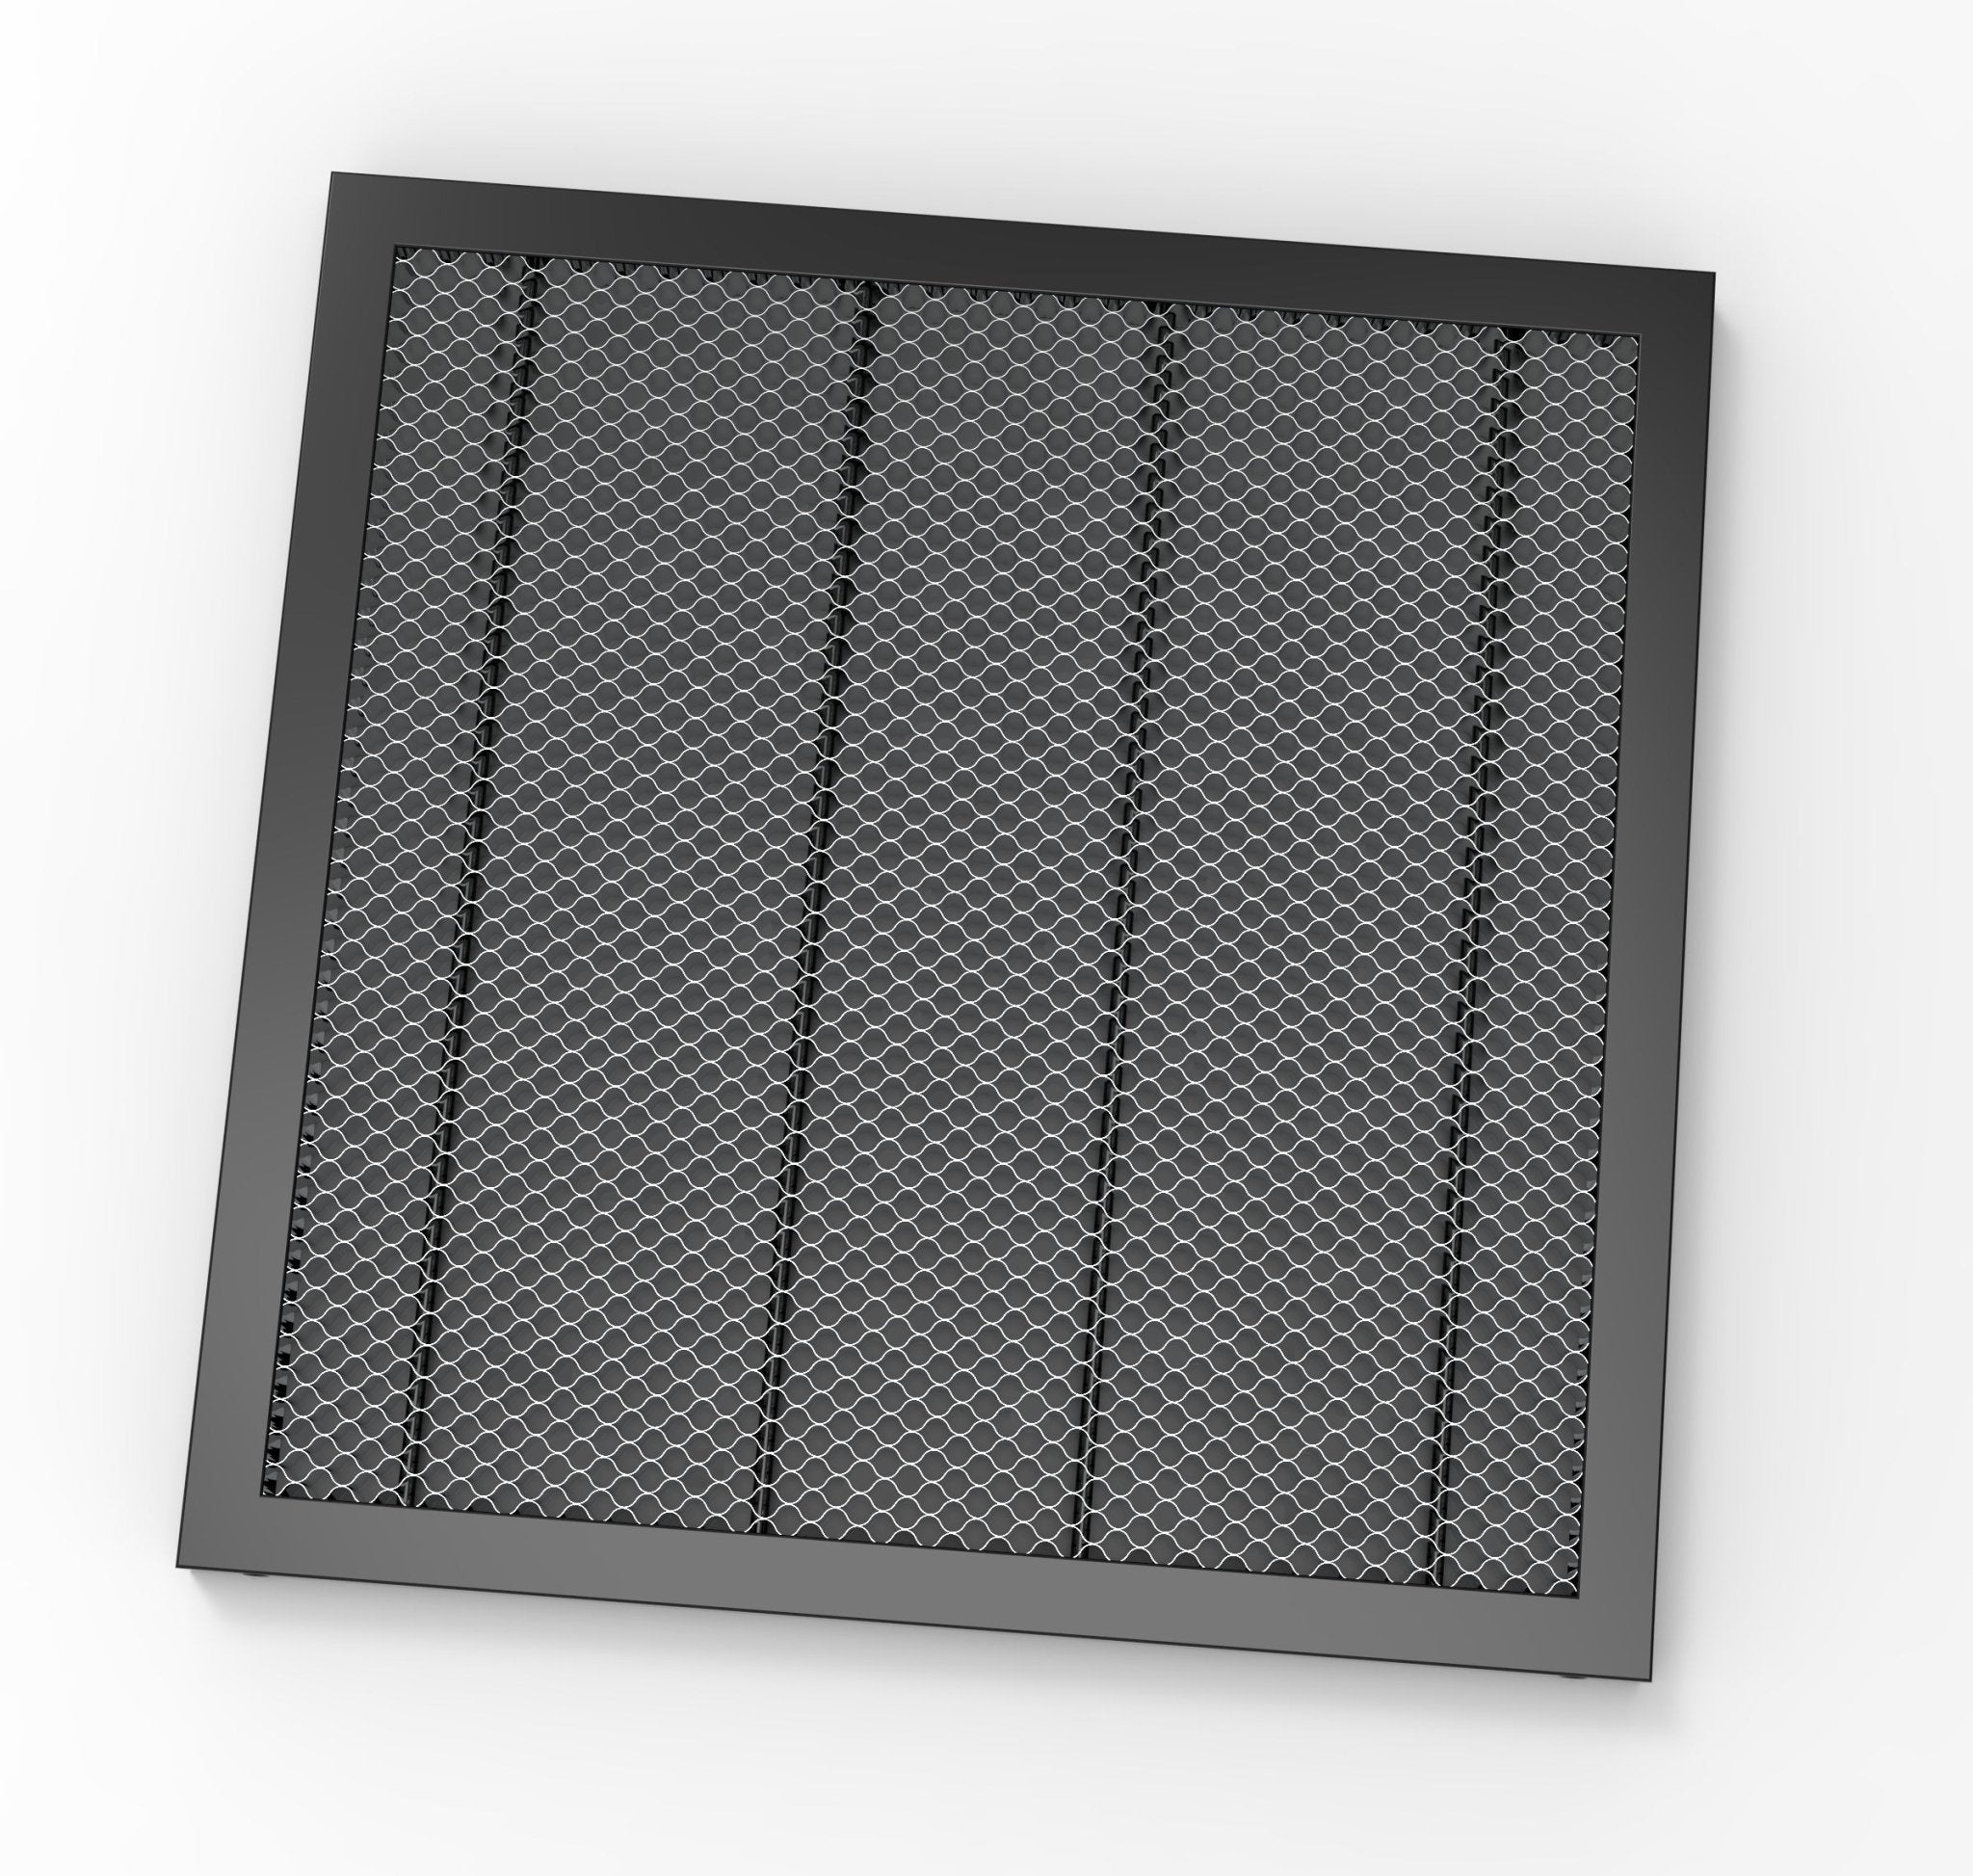
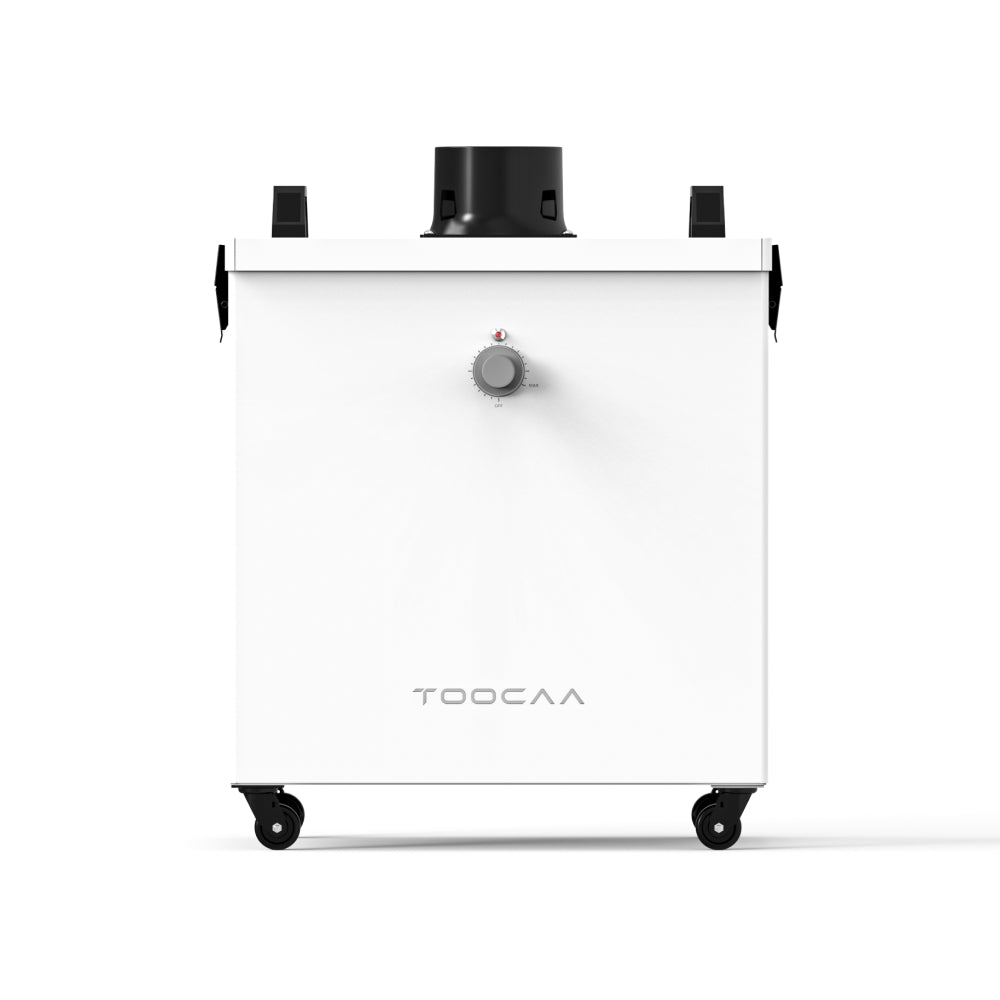
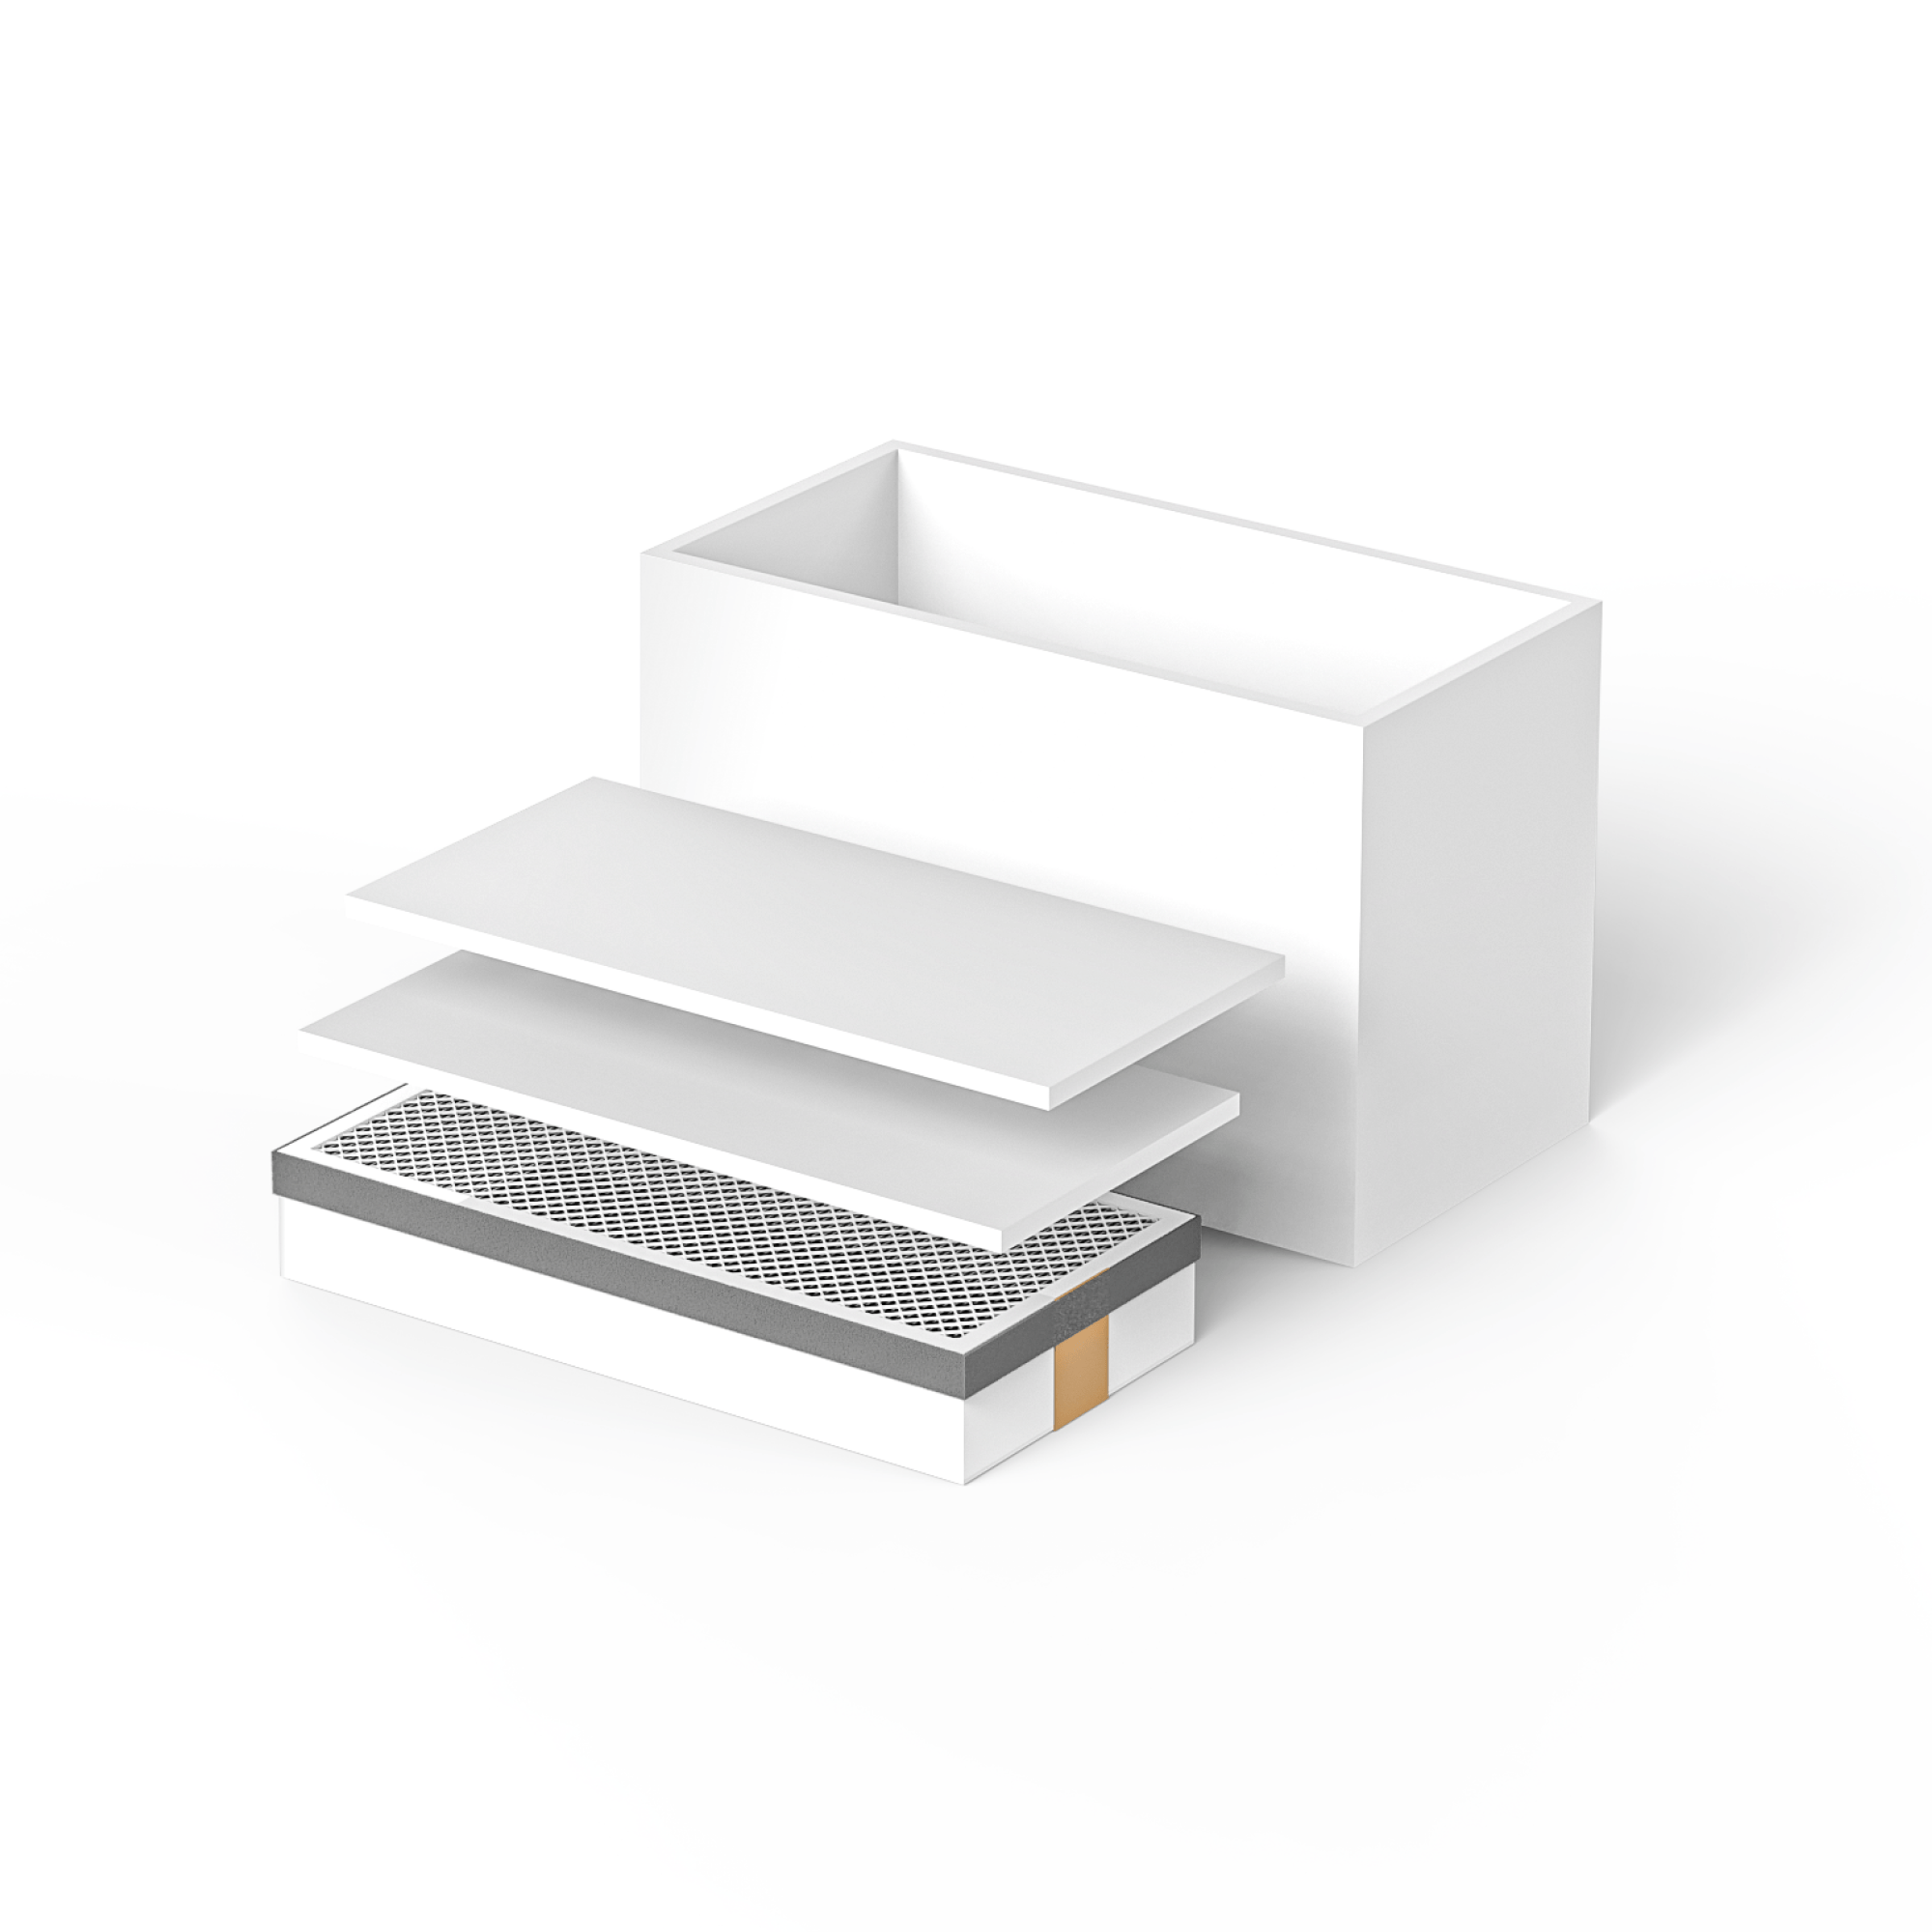
Using a honeycomb panel as your laser bed is another smart move. This panel helps with heat dissipation, keeping the wood surface cooler and reducing the risk of burn marks or rough edges. An air assist system is also essential for quality results. It blows away hot smoke and debris as the laser beams cut or engrave, which keeps the engraving area clean and prevents discoloration.
For even cleaner results, you can apply laser engraving masking tape to the wood before starting. This tape protects the surface from smoke stains and can be peeled away after engraving, leaving sharp, crisp lines. Some users also lightly wet the wood surface before engraving. This helps cool the area and further reduces the chance of burn marks during both engraving and cutting.
By mastering these engraving techniques, you open up endless creative possibilities. Whether you’re making detailed art, personalized gifts, or products for sale, the right approach ensures your laser engraver delivers high-contrast, precise, and professional-quality results every time.
Ideas for DIY Wood Engraving Projects
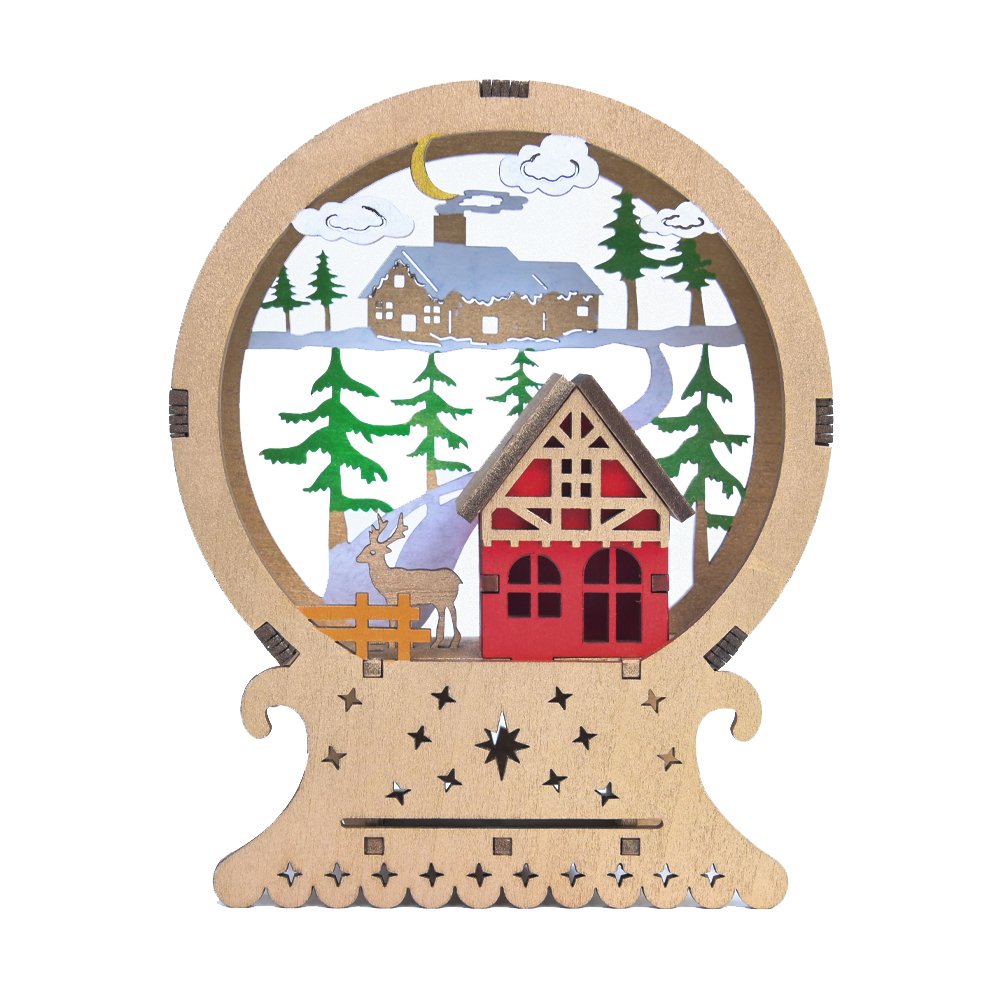
Laser engraving wood opens many ideas. At first, people make simple things. Wooden coasters with text, or keychains with names. Later they try more complex items like wall art, maps, or photos. Personalized gifts are very popular. Engraving names or dates on cutting boards or picture frames makes them special. Small businesses also use engraving. Wooden signs with logos or slogans show a handmade style. The TOOCAA L2 makes all these ideas possible. It supports many file types and makes detailed lines. You can use free designs from the internet or create your own. DIY wood engraving projects are fun and they can also bring income if you sell your work. Laser hobbyists enjoy exploring a wide range of creative projects with these machines.
Safety When Engraving Wood
Safety is important when using any laser engraver. The laser beam can hurt eyes or skin. The TOOCAA L2 has safety features, but you still need care. You should wear glasses when the laser is active. Smoke comes from burning wood, so good air flow is needed. A fan or vent keeps the area clean. Never leave the machine running without watching it. Wood is easy to burn, so you should always stay close. Following simple safety steps keeps you and your work safe.
Why a Diode Laser is Good for Home Use
Diode lasers are smaller than many other types. They cost less and are easy to set up. They work well for engraving and for cutting thin sheets. They are not the best for thick wood, but they are good for most home projects. Diode lasers can also work with different materials such as acrylic, leather, and even some metals, making them versatile for various projects. The TOOCAA L2 is a diode laser machine. It has enough power to engrave both soft and hard wood. It is small enough to fit on a desk. It is also sold at a price that many people can afford. This balance makes it an ideal choice for home users and small shops.
Why the TOOCAA L2 is the Right Choice
When new users look for a machine, they want one that is simple. The TOOCAA L2 is made for this. It comes with clear guides and easy software. It is strong enough to engrave and cut various materials as both a laser cutter and engraver. This lets you do two jobs with one tool. You can buy it from the TOOCAA official site. This gives you support and trusted quality. For beginners or for people who want to grow a small business, the L2 is a smart pick.
Finishing Touches After Engraving
When the laser engraving is complete, the project is not always finished. Many people like to add extra steps to improve the look. You can brush away dust with a soft cloth. You can sand lightly to smooth out any rough edges. Some people like to add oil or wood stain. This makes the engraved parts darker and the surface richer. A clear coat of finish also protects the design. If you want to sell your DIY wood engraving projects, these steps make the product look more professional. The TOOCAA L2 can give you sharp lines, but adding a finish makes the work stand out even more.
Using Color in Laser Engraved Wood
Wood engraving is often dark and natural, but color can be added. Some people paint the surface after engraving. The engraved areas stay darker, while the paint adds contrast. You can also use colored epoxy to fill engraved lines. This makes the design bright and unique. Simple color work can turn a plain piece of wood into a gift or a product for sale. With the TOOCAA L2, you can make designs that hold color well because the lines are always clean and deep.
While this article focuses on wood, it's worth noting that some laser engravers can also create detailed and high-contrast designs on materials like glass, offering even more versatility for your projects.
Combining Engraving and Cutting
Laser engraving wood is only part of what you can do. Cutting and engraving are both strong features of the TOOCAA L2. The TOOCAA L2 is not only an engraver but also a cutter, capable of both detailed engraving and precise cutting. You can cut out shapes after engraving, including cutting wood for custom projects. For example, you can engrave a name on a small plaque and then cut the plaque into a custom shape. You can engrave a design on a puzzle and then cut the puzzle pieces. Laser cutting is a key feature that expands your project possibilities, allowing you to work with wood, acrylic, and more. By combining both functions, you can make projects that are more complex. This mix of engraving and cutting is one reason why the TOOCAA L2 is a good choice for both hobby and small business.
Making Gifts With Laser Engraving
Many people use DIY wood engraving projects for gifts. Engraving adds a personal touch. A cutting board with a family name makes a wedding gift. A wooden box with a date makes a birthday gift. A photo engraved on wood makes a memory gift. These items show effort and thought. They also last longer than paper or plastic gifts. With the TOOCAA L2 Desktop Laser Engraver & Cutter, you can make these items at home. You only need wood, a simple design, and the machine.

Comparing Woods for Different Results
Each type of wood reacts differently to a diode laser. Pine engraves dark and strong but can burn around the edges. Oak engraves light but has a strong grain that gives texture. Maple engraves smooth and even but sometimes looks pale. Bamboo engraves sharp and clean with good contrast. Plywood engraves well and is cheap, so it is good for practice. Laser engraving is sometimes called wood burning because the laser marks the surface in a way similar to traditional pyrography. If you ask again what kind of wood can a diode laser engrave, the answer is simple: almost all of them, but each has a look of its own. Etching is another technique for creating designs on wood, often using acid or abrasives, but laser engraving offers more precision and control. The TOOCAA L2 gives you the freedom to try all kinds and pick the one that fits your project best.
Maintaining the Engraving Machine
Keeping your engraving machine in top shape is key to getting the best performance and results from your DIY projects or small business. Regular maintenance helps your laser engraver work smoothly and safely, whether you’re working with wood, metal, acrylic, or other materials.
Start by cleaning the laser module and honeycomb panel after each use. Dust and debris can build up quickly, affecting the precision and quality of your engravings. Make sure to check the air assist system and smoke purifier as well. Replacing worn-out parts ensures your machine keeps producing clean cuts and prevents issues like burn marks or rough edges.
It’s also important to keep your engraving machine’s software and firmware up to date. Updates can improve compatibility with popular software like LightBurn and TOOCAA Studio, giving you access to new features and better performance. Always follow safety guidelines to avoid laser exposure and keep your workspace safe.
By taking care of your engraving machine, you ensure it remains a perfect solution for creating personalized products with high quality and precision. Regular maintenance not only extends the life of your machine but also guarantees that every project—whether it’s wood, metal, or acrylic—comes out with a clean cut and a professional finish.
Learning Through Practice
Laser engraving is simple to start but skill grows with practice. At first, settings may feel hard to pick. Designs may look too light or too dark. But after some tries, you learn how power and speed affect the result. You also learn how each wood reacts. Practice also teaches you how to prepare designs in software. The TOOCAA L2 makes this learning curve easier because the controls are simple and the results are clear. With time, your DIY wood engraving projects will look more and more professional.
