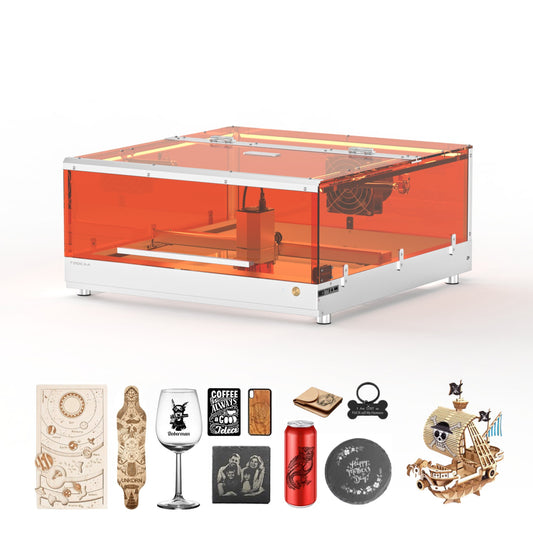
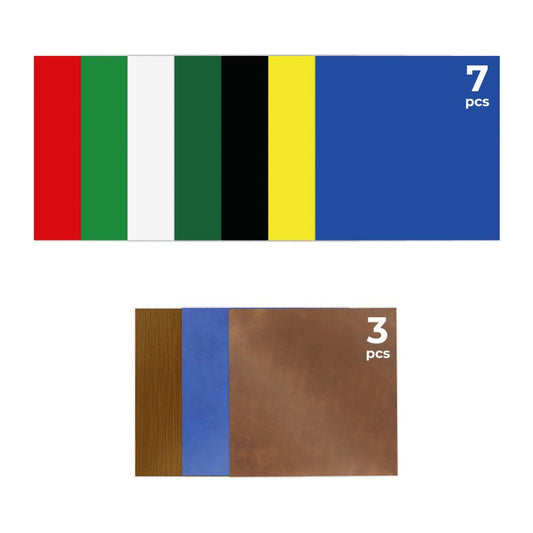
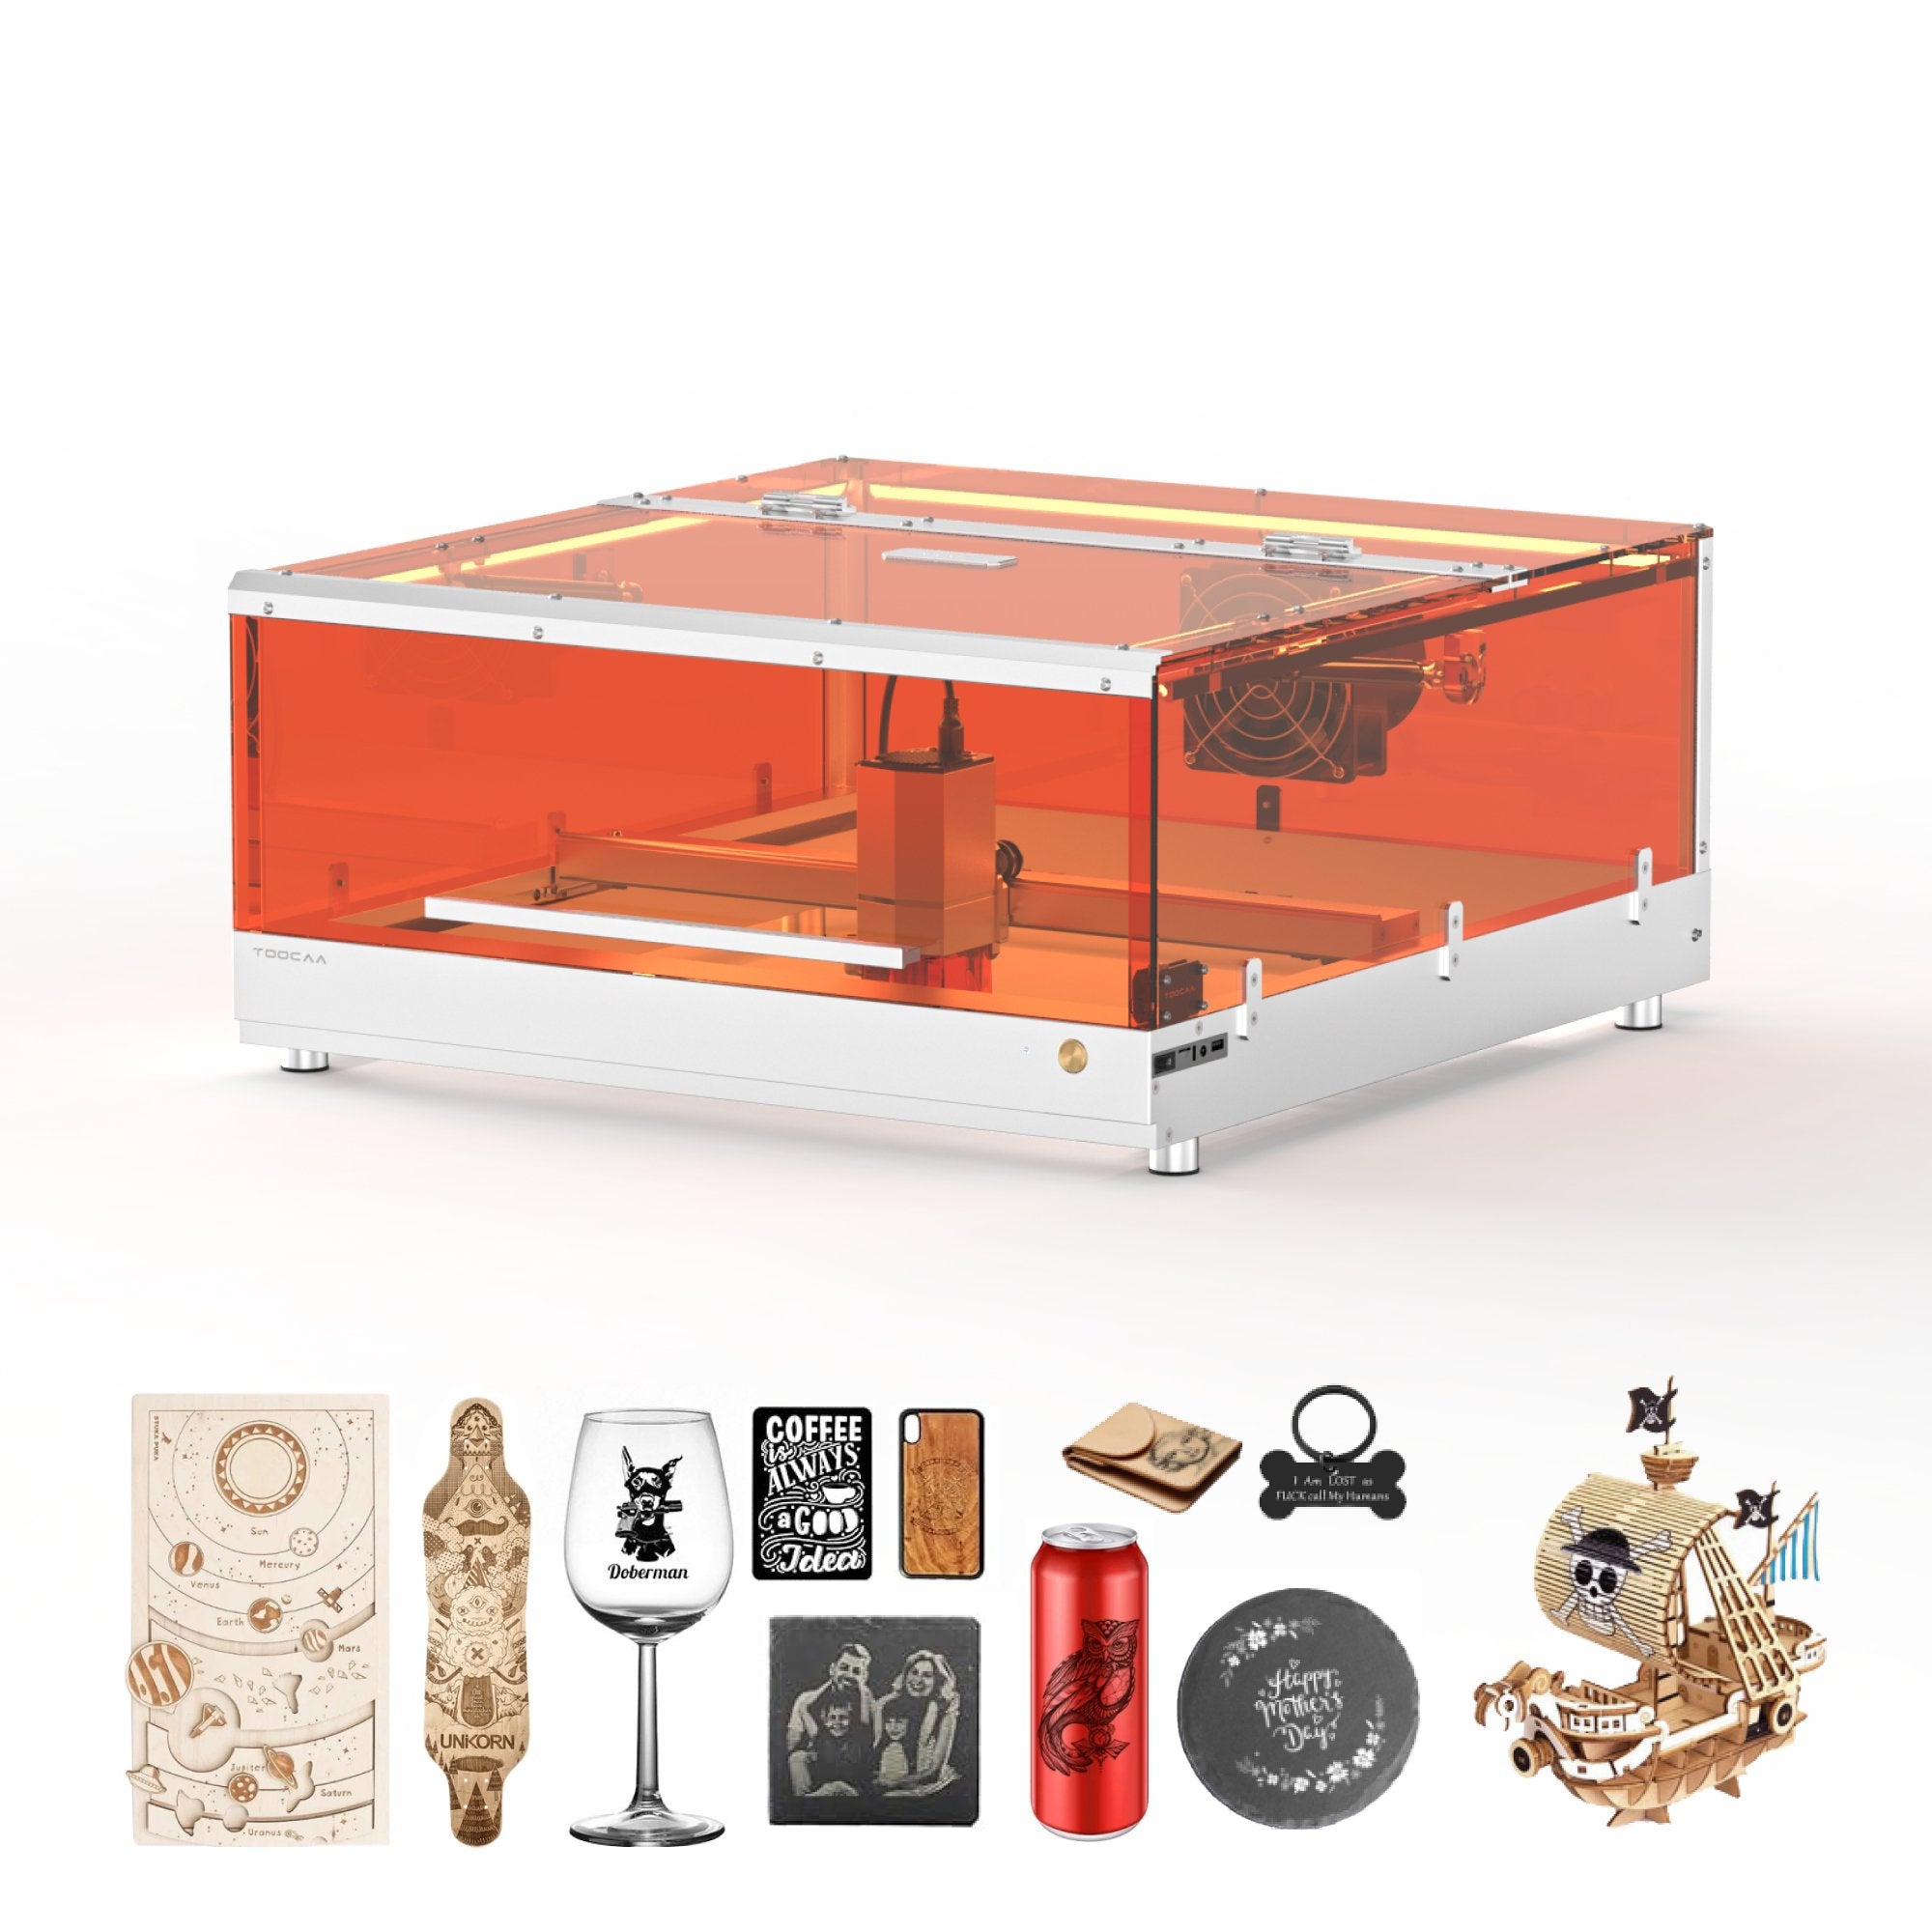
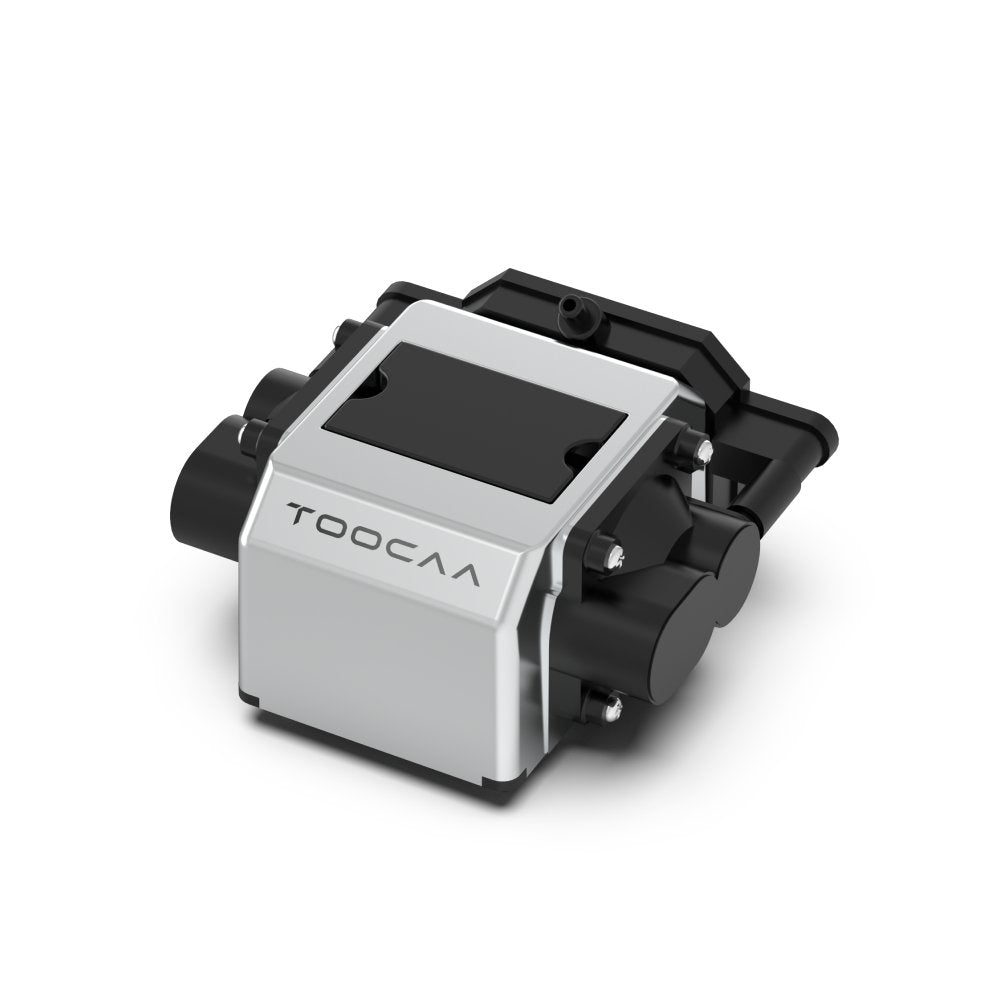
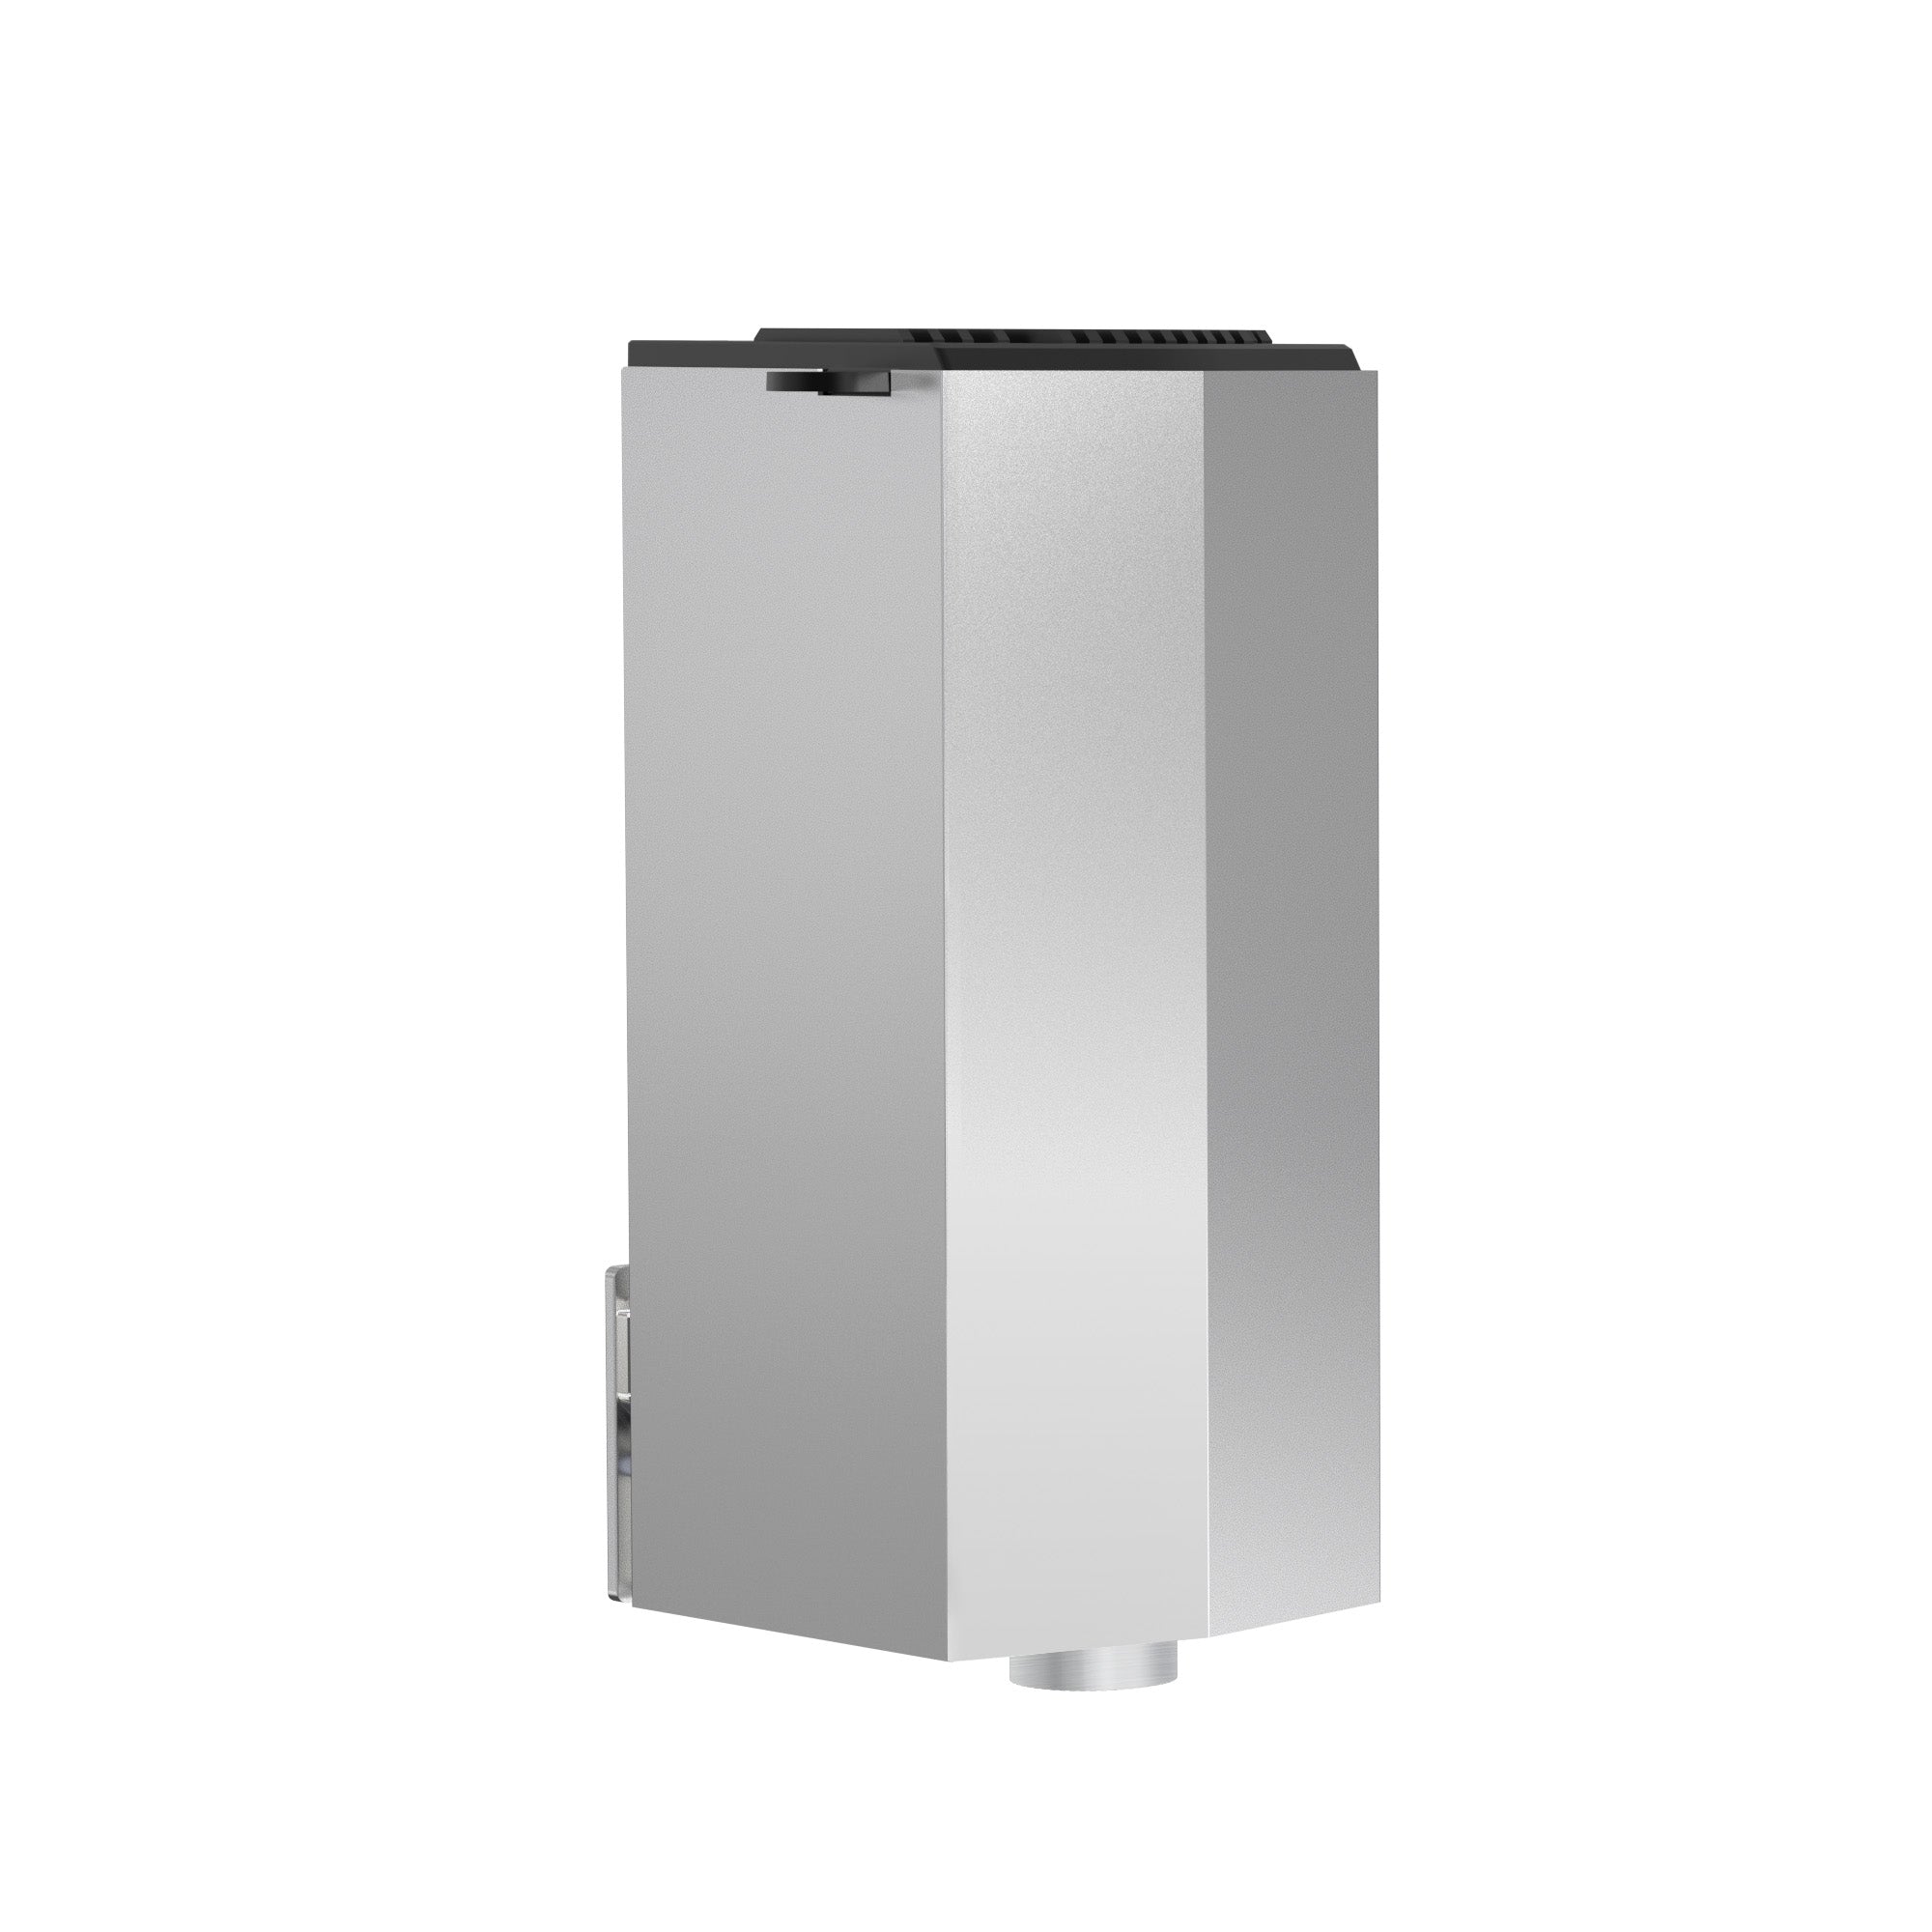
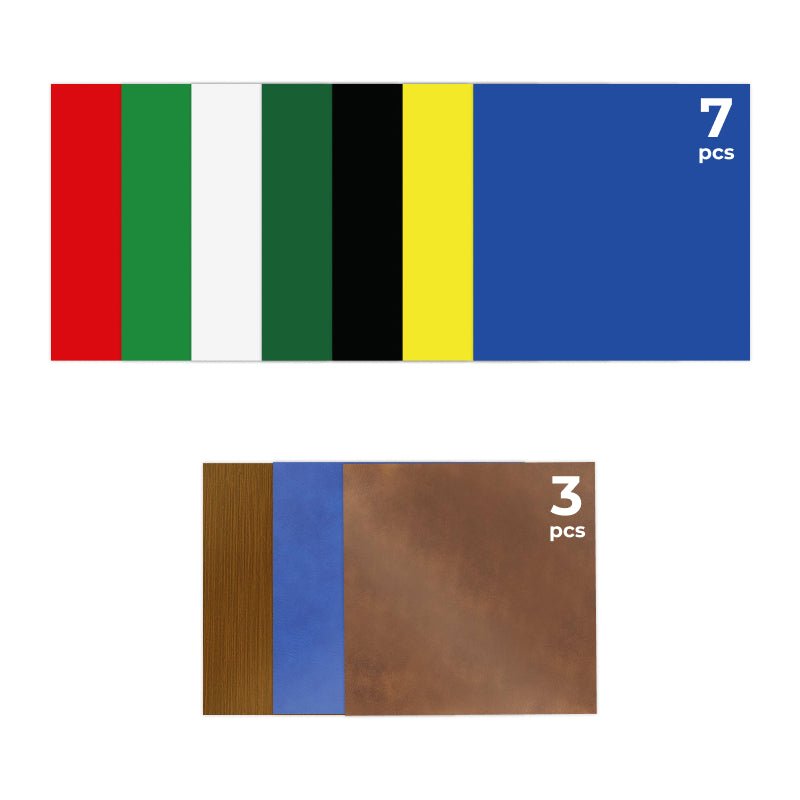
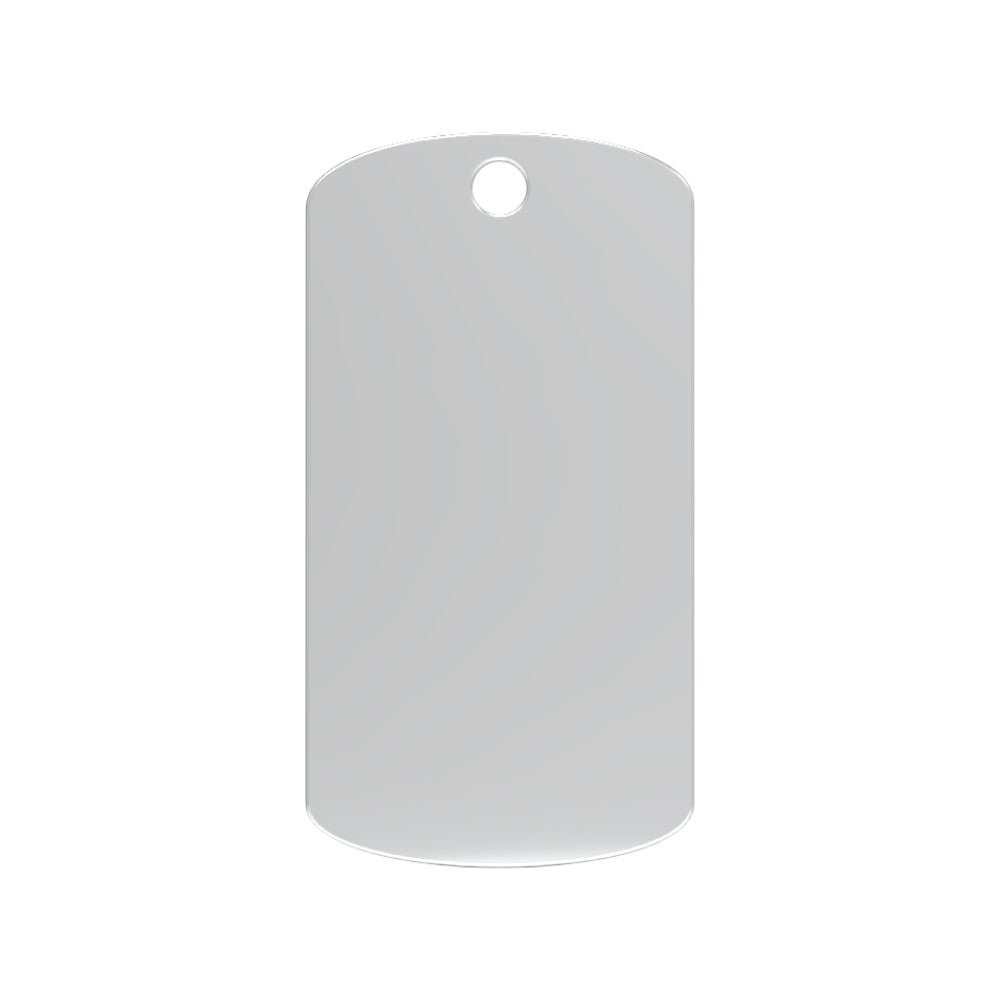
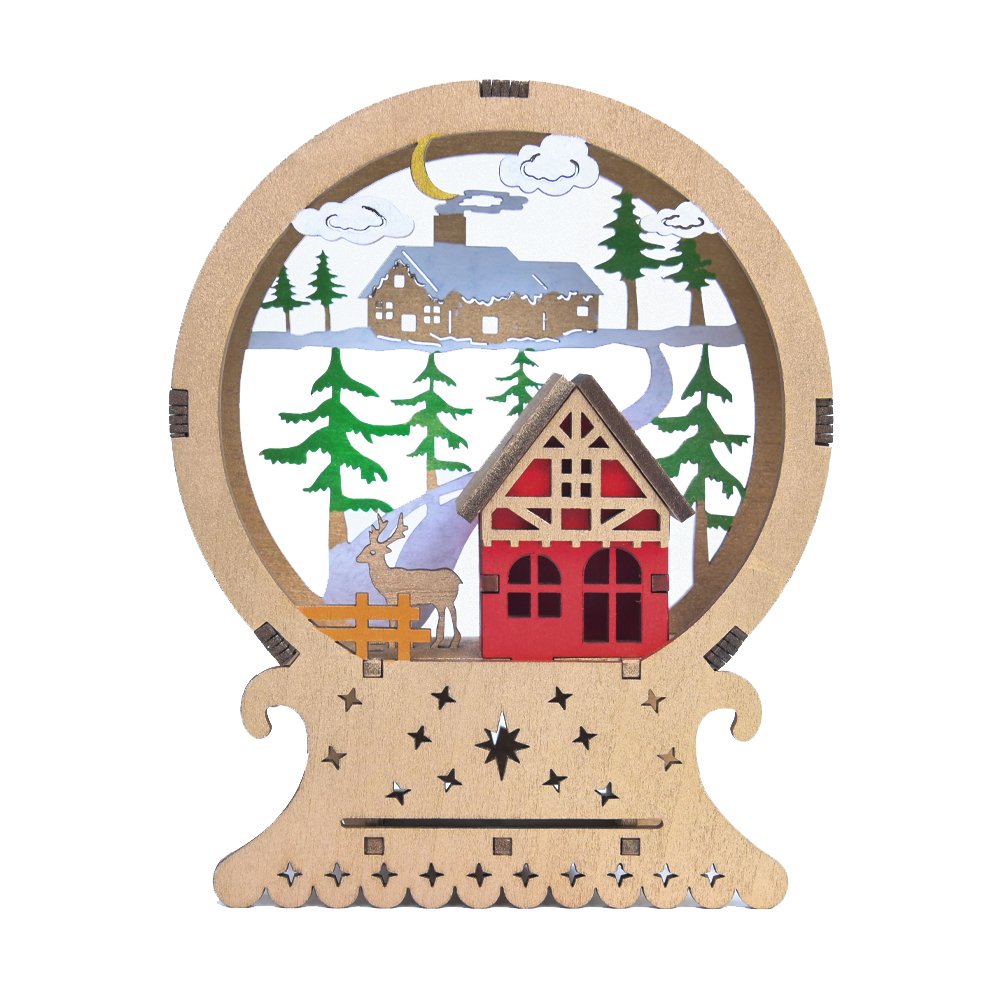
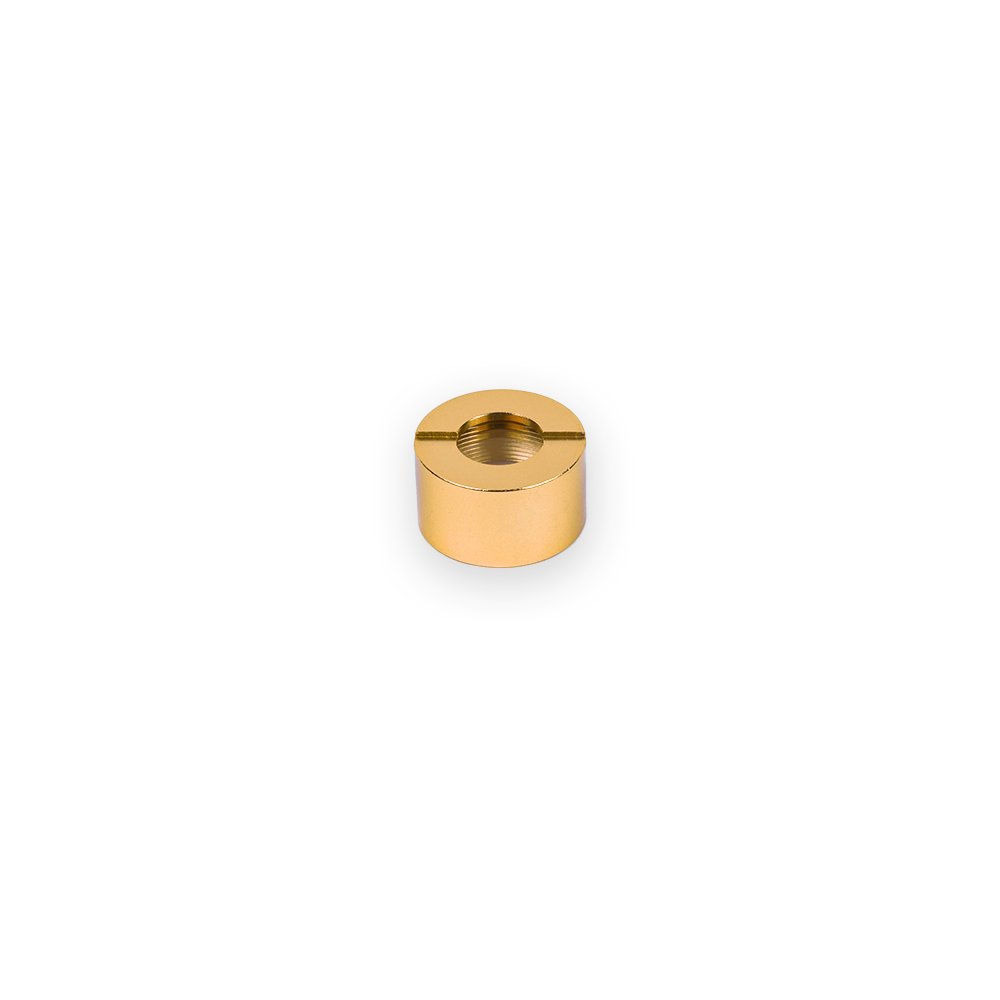
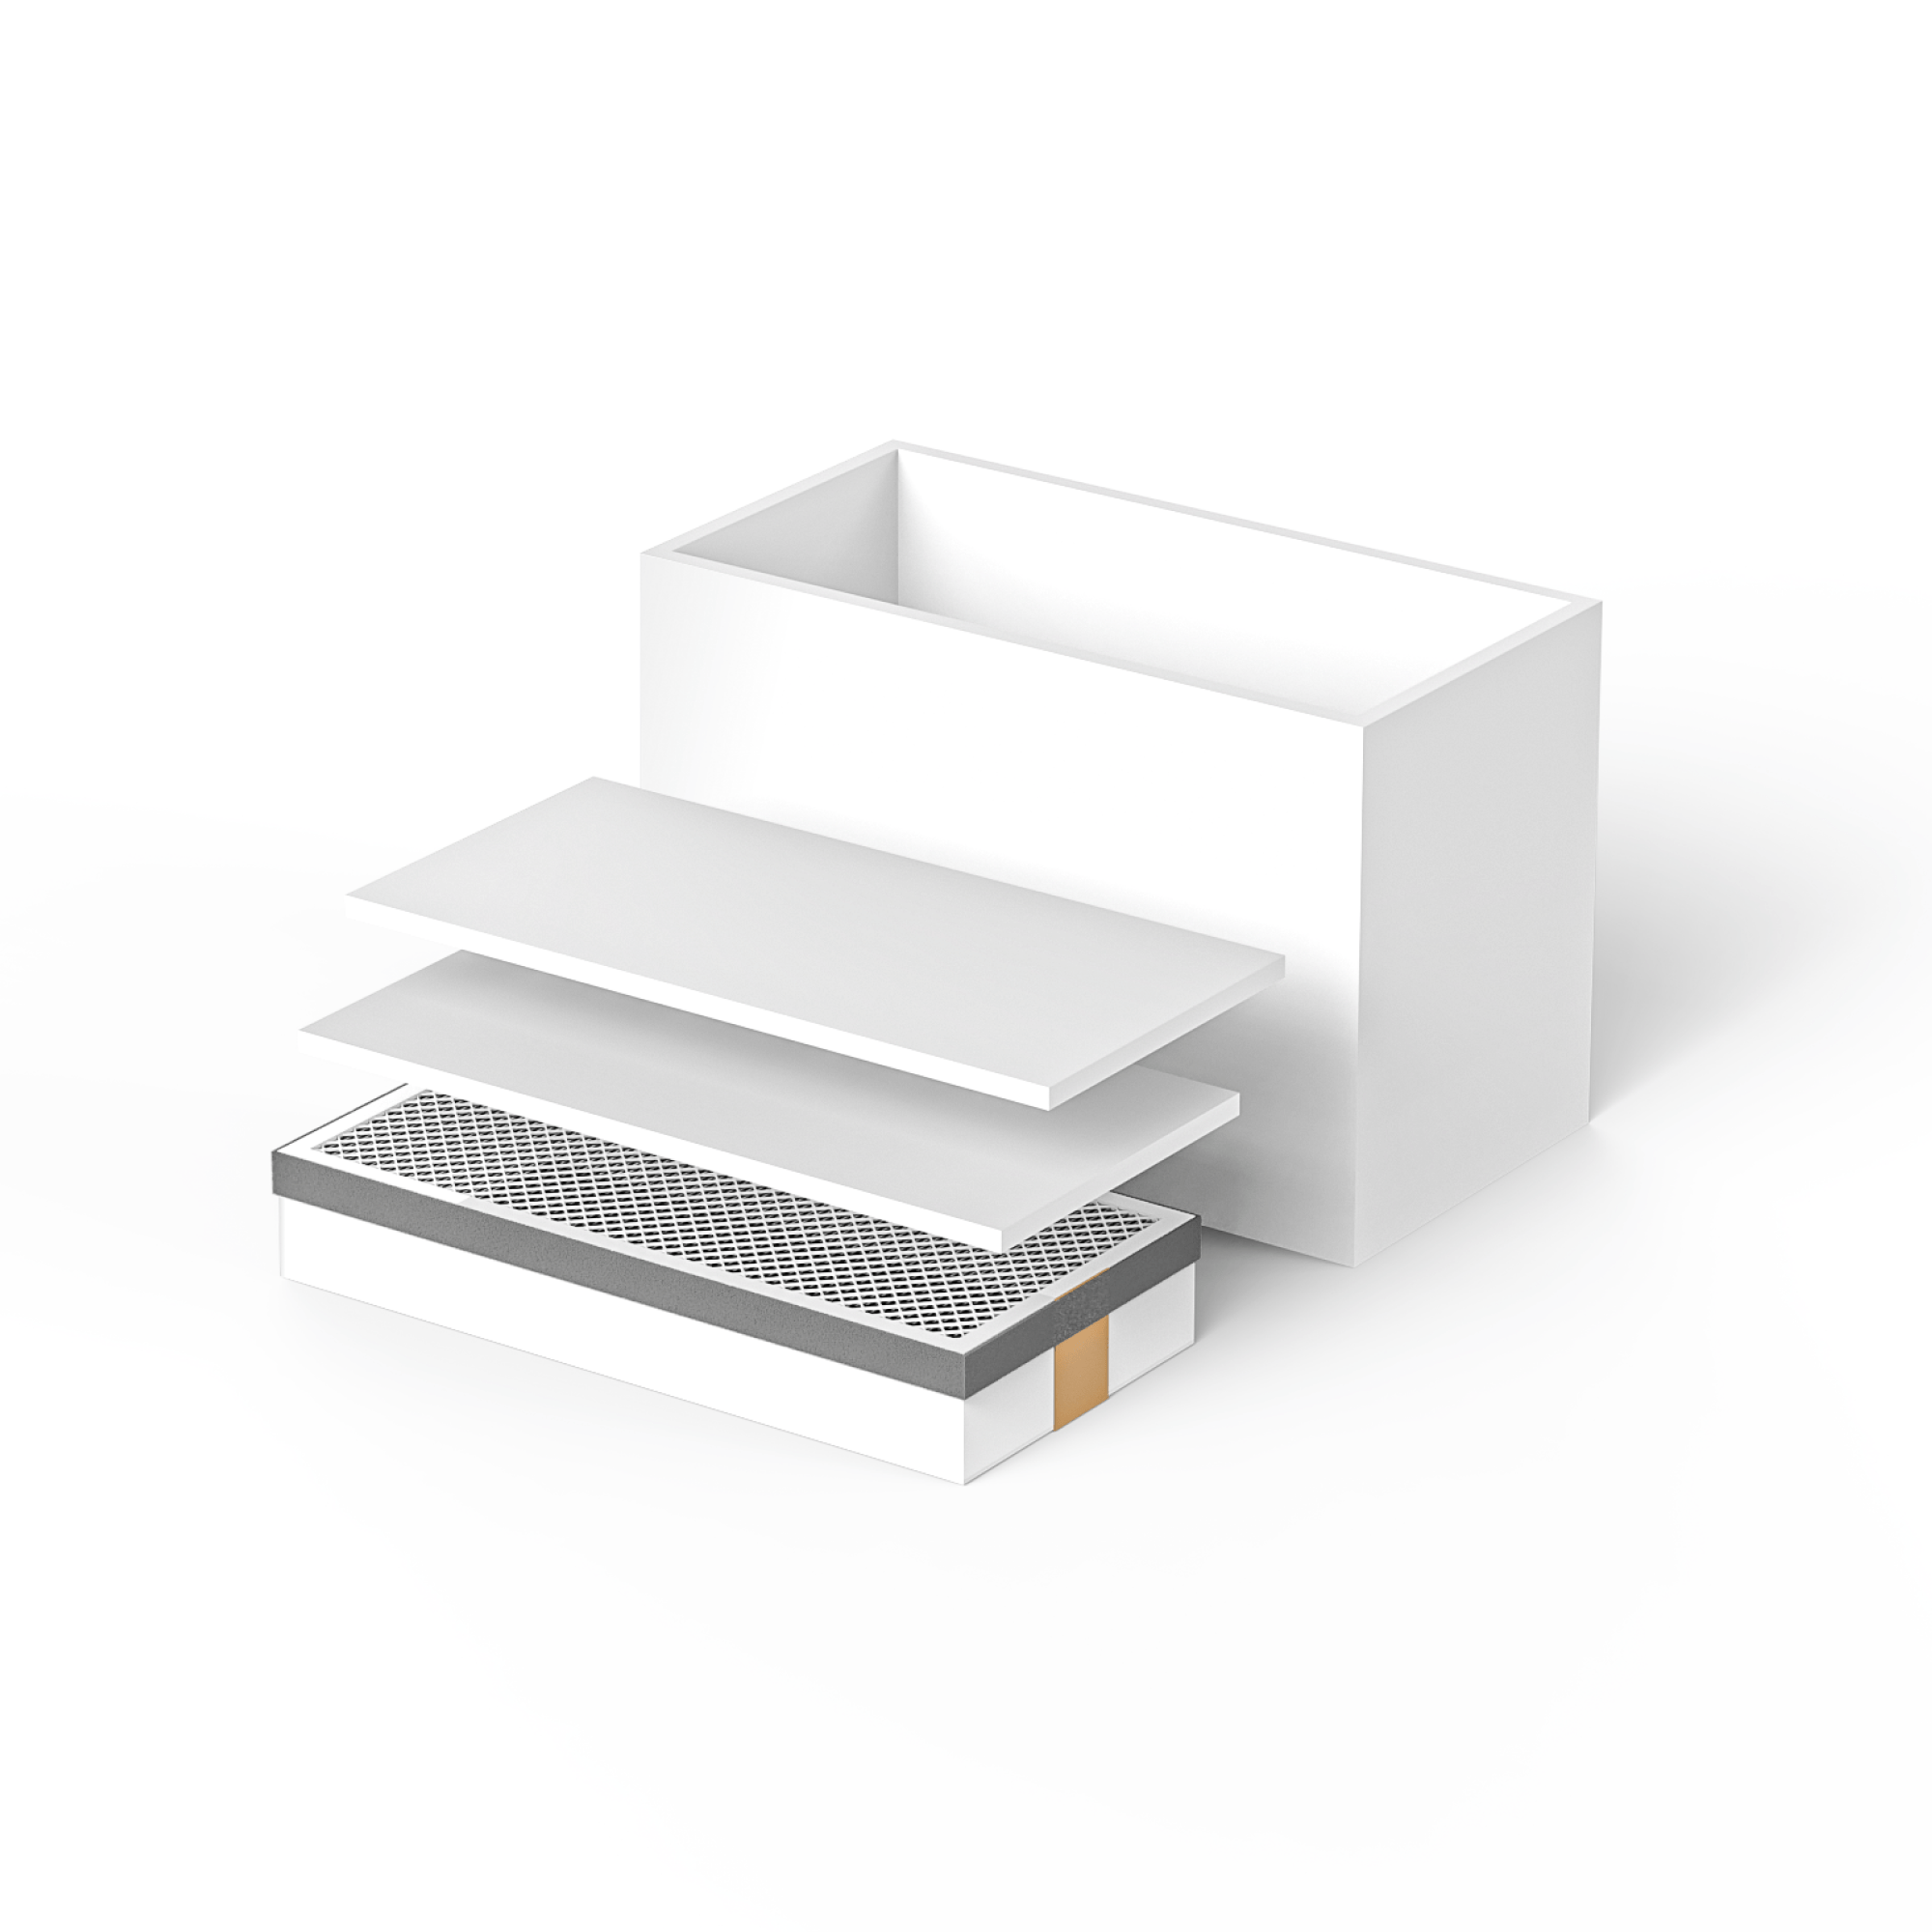
NOTE: The consumable parts pack that comes with the TOOCAA L2 contains a TF card with case files so that you can start working on your first case.
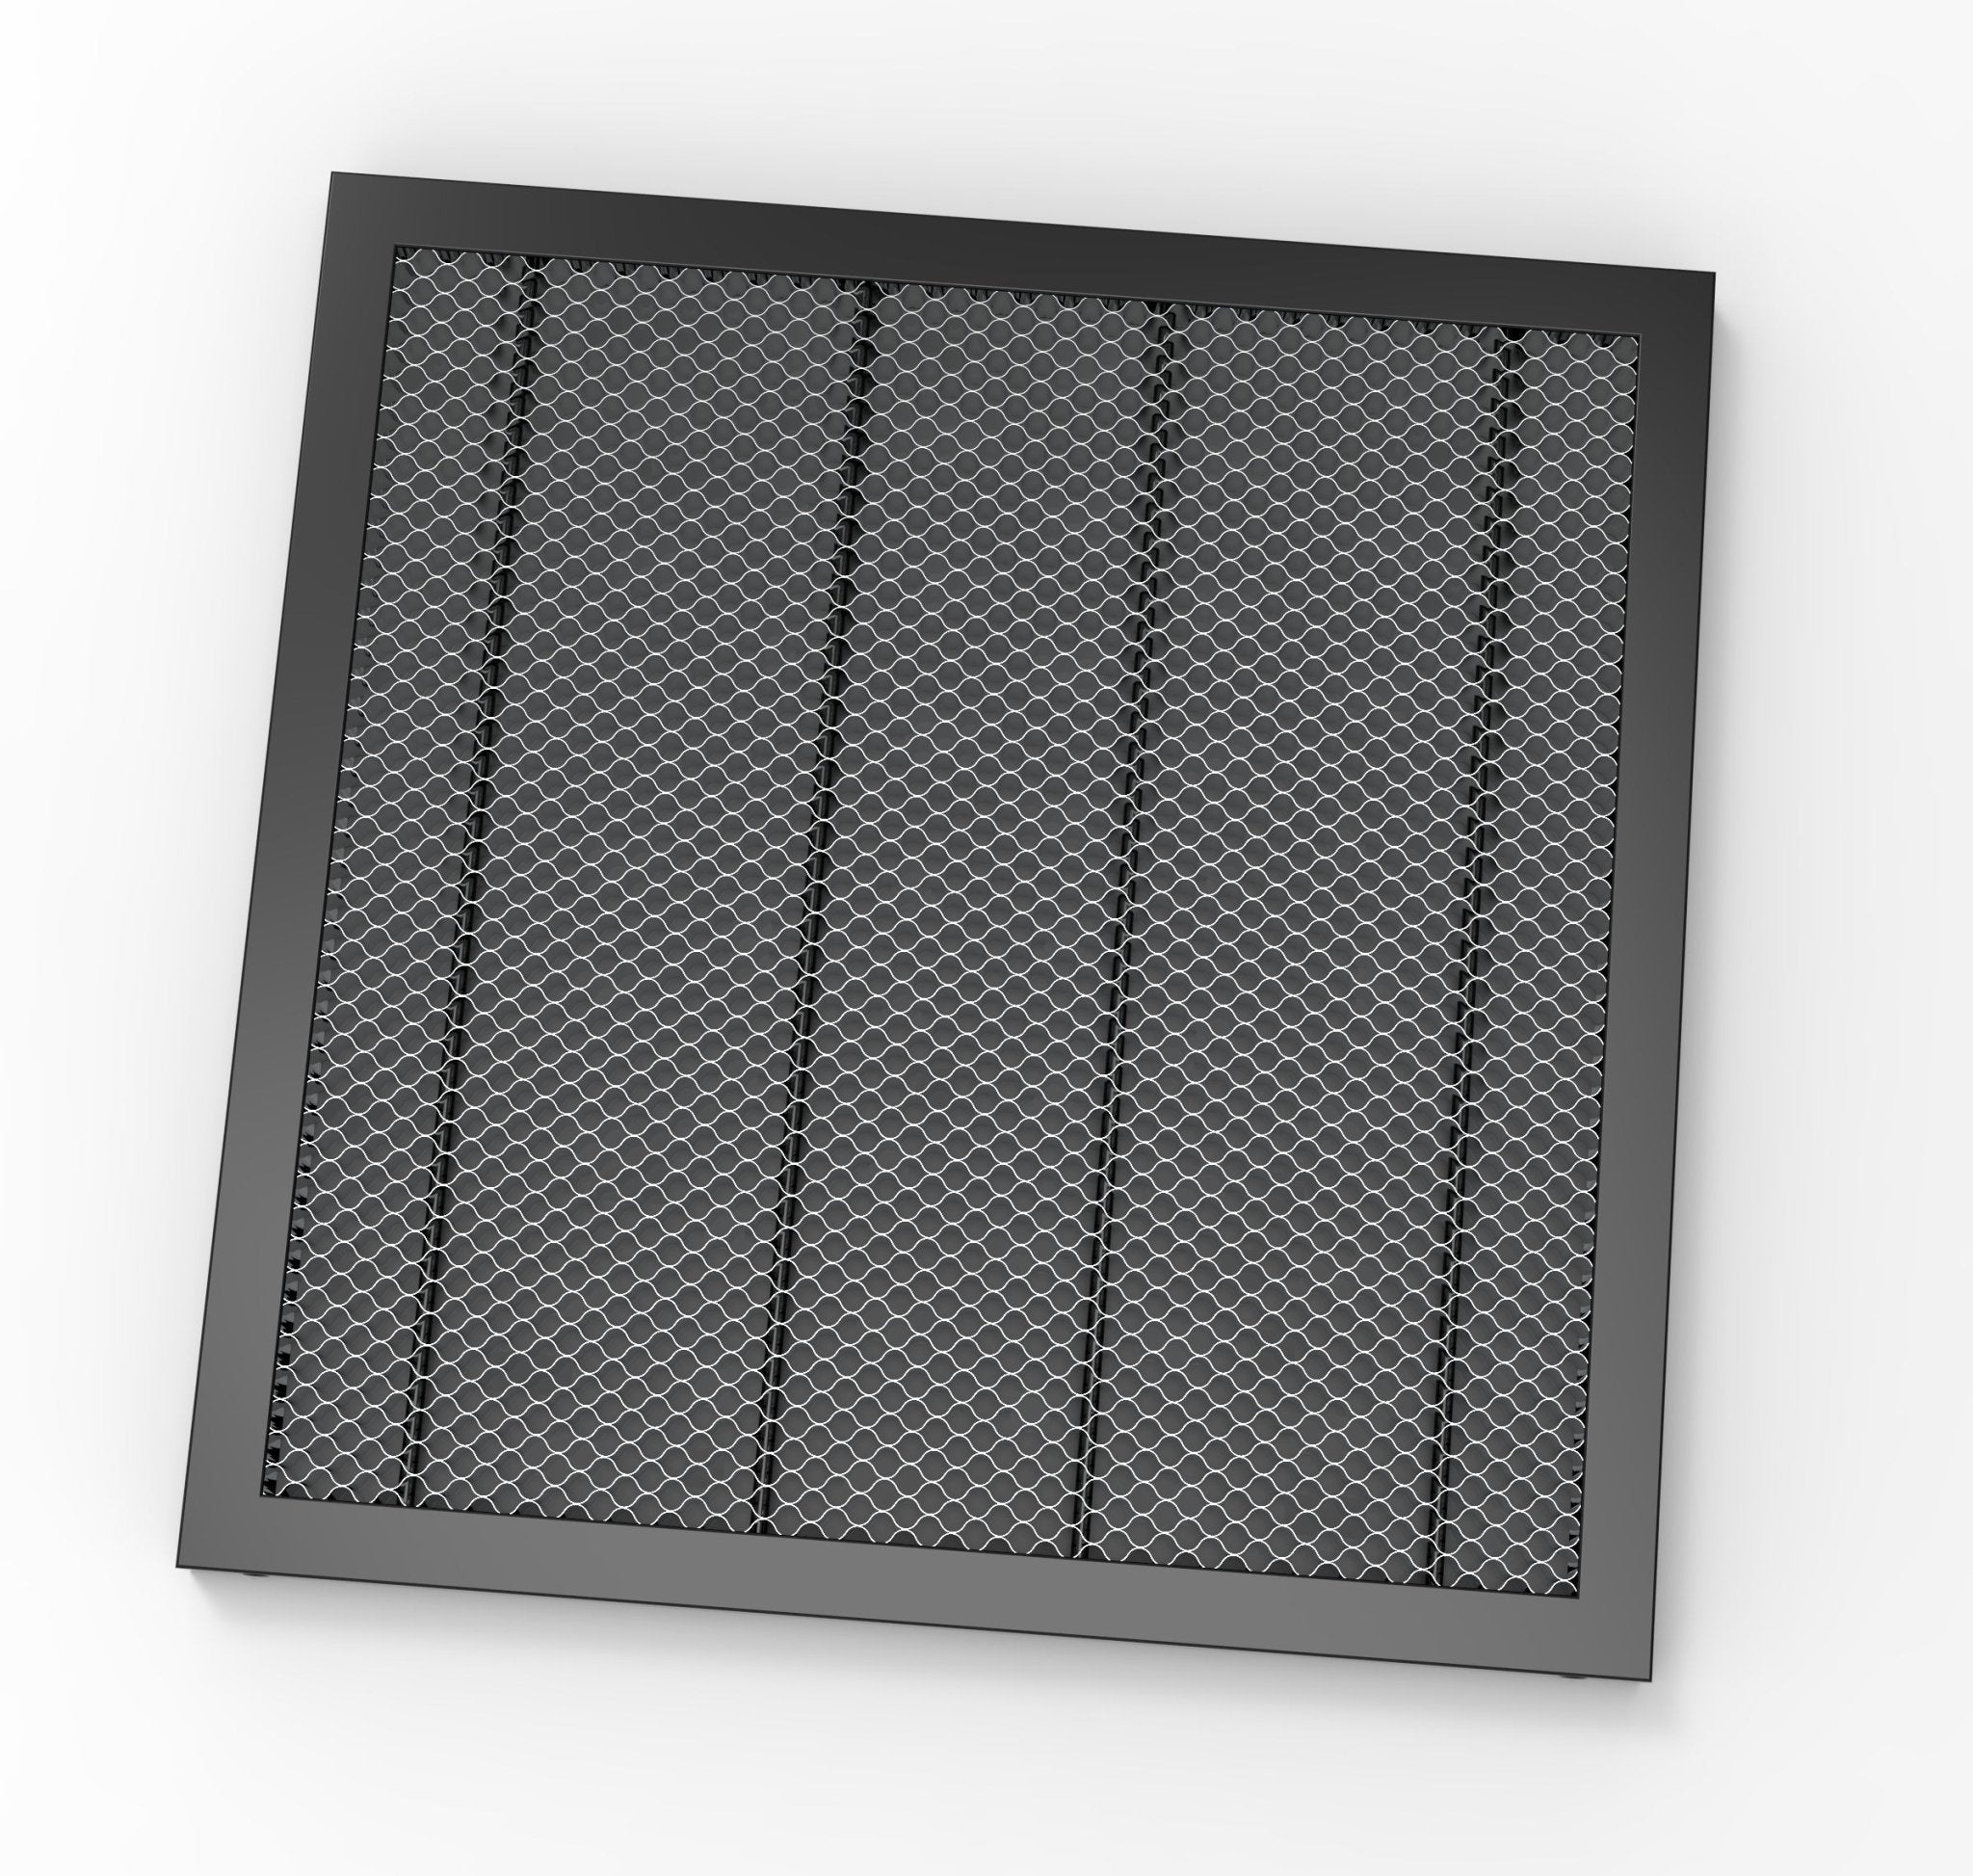
Step 1/15 Open the top cover of the smart enclosure and place the aluminum plate in the work area of the laser cutting machine.

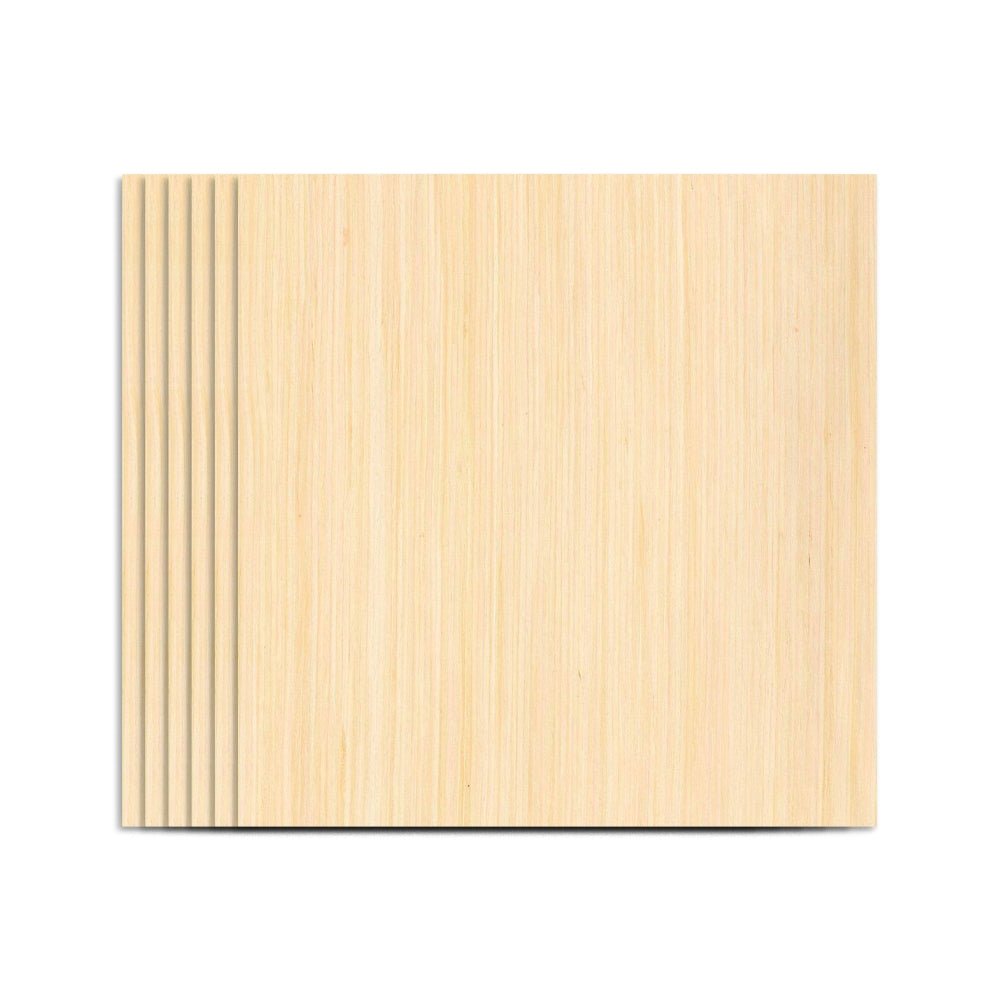
Step 2/15 Place the 3mm thick, A4 sized basswood board on top of the aluminum board.

Step 3/15 Pull off the fixed focus lever of the laser module.
NOTE: The laser module's focusing lever has been adjusted by default to the optimum focal length for 3mm basswood boards to ensure optimum engraving and cutting results.
Step 4/15 Pull the trigger upwards.
Step 5/15 Adjust the position of the laser module so that the tip of the fixed focus lever falls onto the basswood board.

Step 6/15 Spanner down to hold the laser module in place.

Step 7/15 Retract the fixed focus lever

Step 8/15 Close the smart enclosure.

Step 9/15 Close the smart enclosure.

Step 10/15 Insert the USB lock into the USB port.

Step 11/15 Plug the power adapter into the connector.

Step 12/15 Insert the TF card into the card slot
NOTE: The metal lead of the TF card faces up

Step 13/15 Switch on the power.

Step 14/15 Tap and release the button on the front panel to view the movement of the laser module in the work area.
NOTE: Adjust the aluminum and basswood panels to the appropriate position according to the laser module pre-travelling the work area.

Step 15/15 Close the smart enclosure and double-click the button to start the machine.
NOTE: Do NOT watch directly at the laser, please wear goggles to observe the progress of the operation.

Congratulations on harvesting your first piece of work!
