Please visit this website: https://www.toocaa.com/pages/file-library to download the necessary files for your case. Let's start your first case.

Preparation
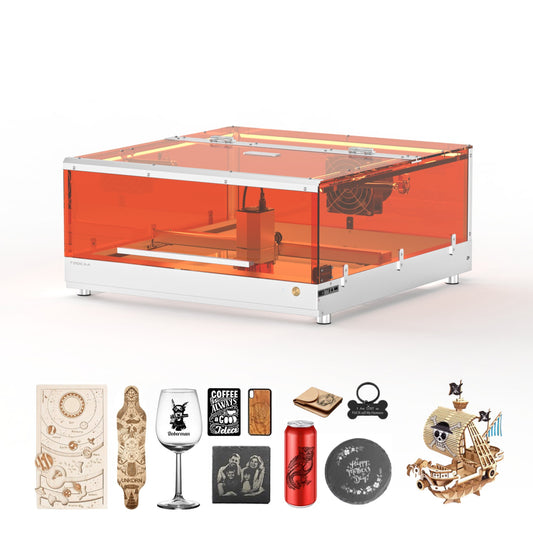
You will need to prepare the items below:
|
Items |
Diagram |

|
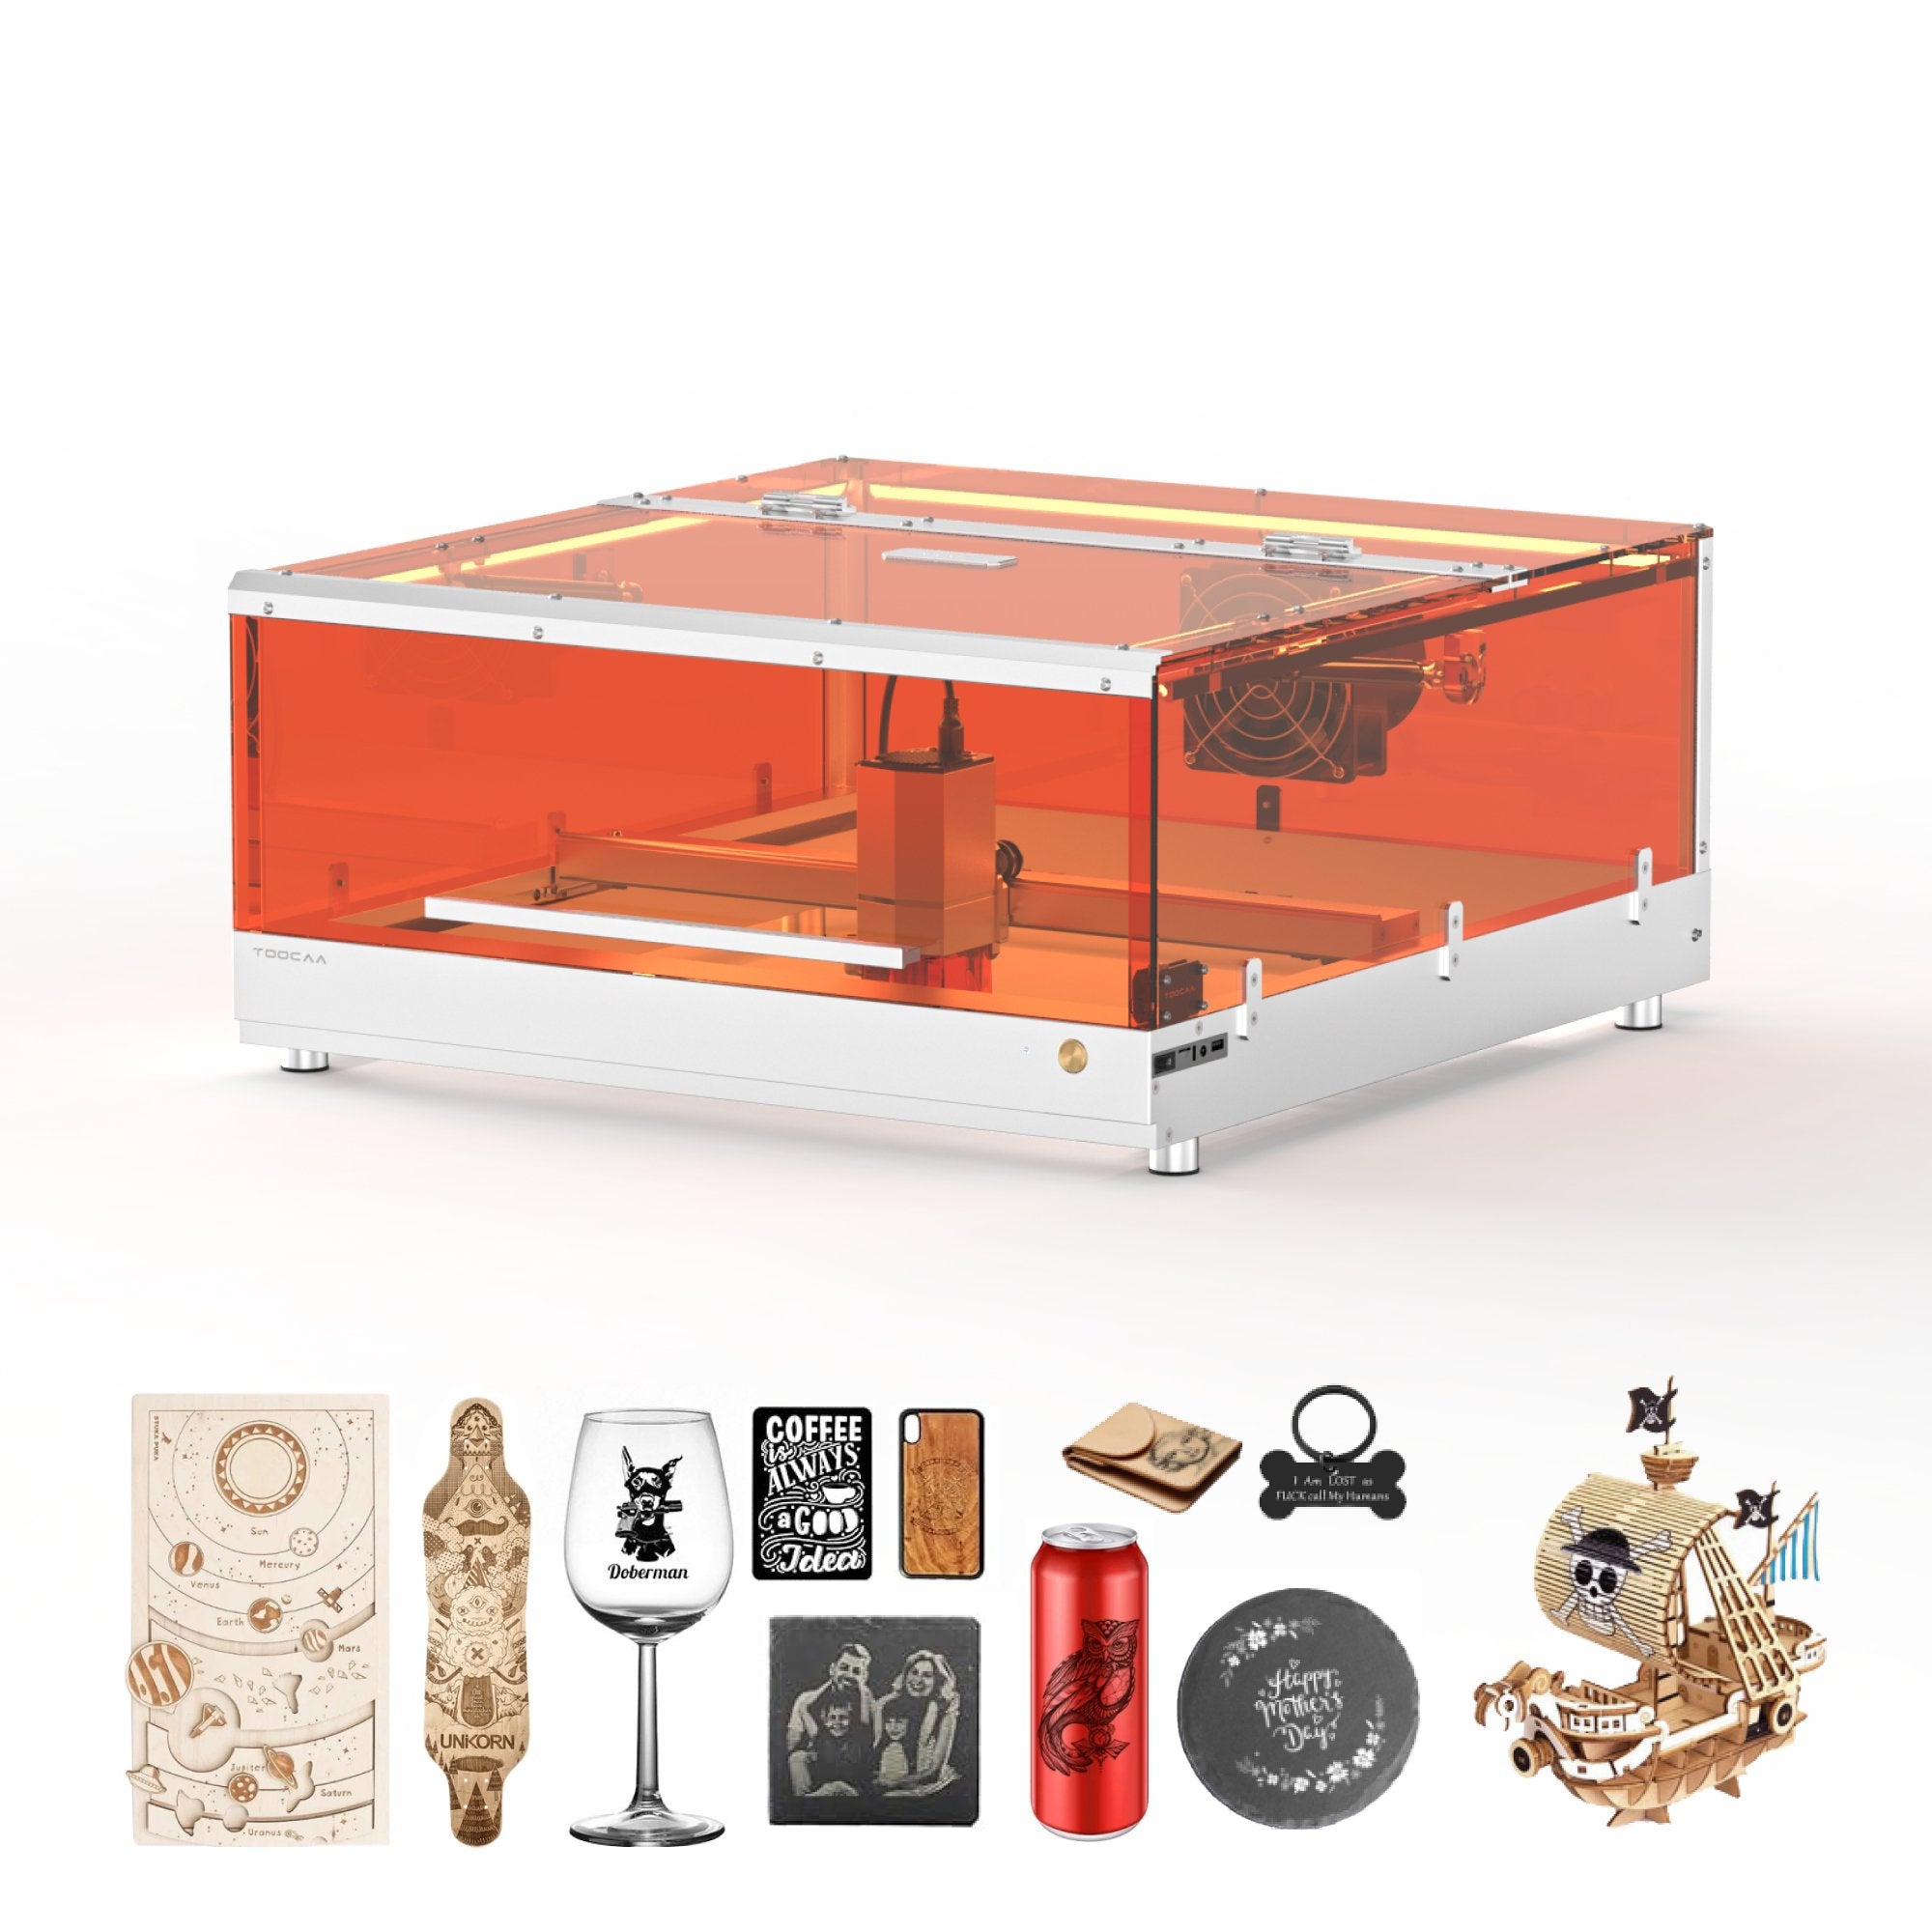
TOOCAA L2 |
 |
Computer |
 |
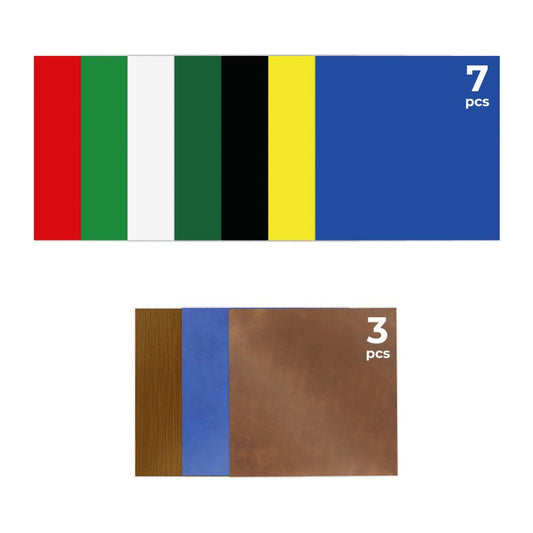
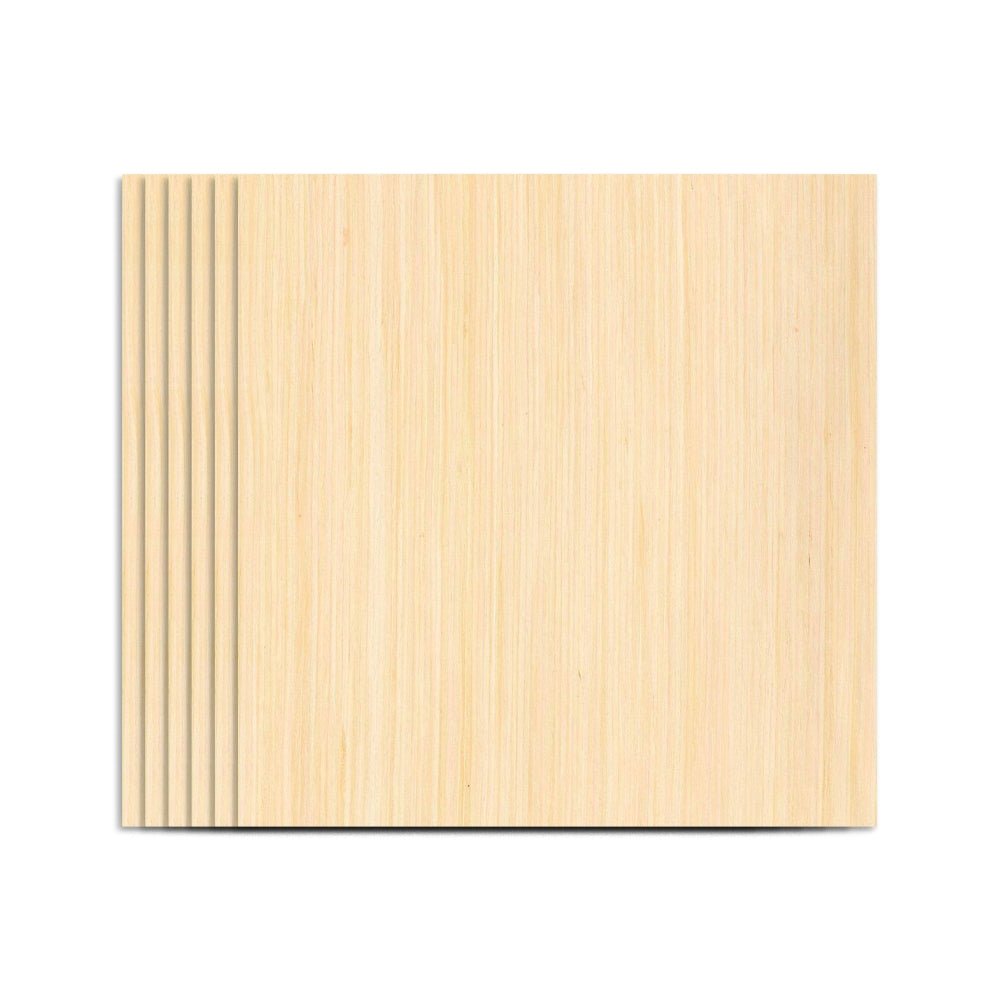
3mm Basswood boards |
 |
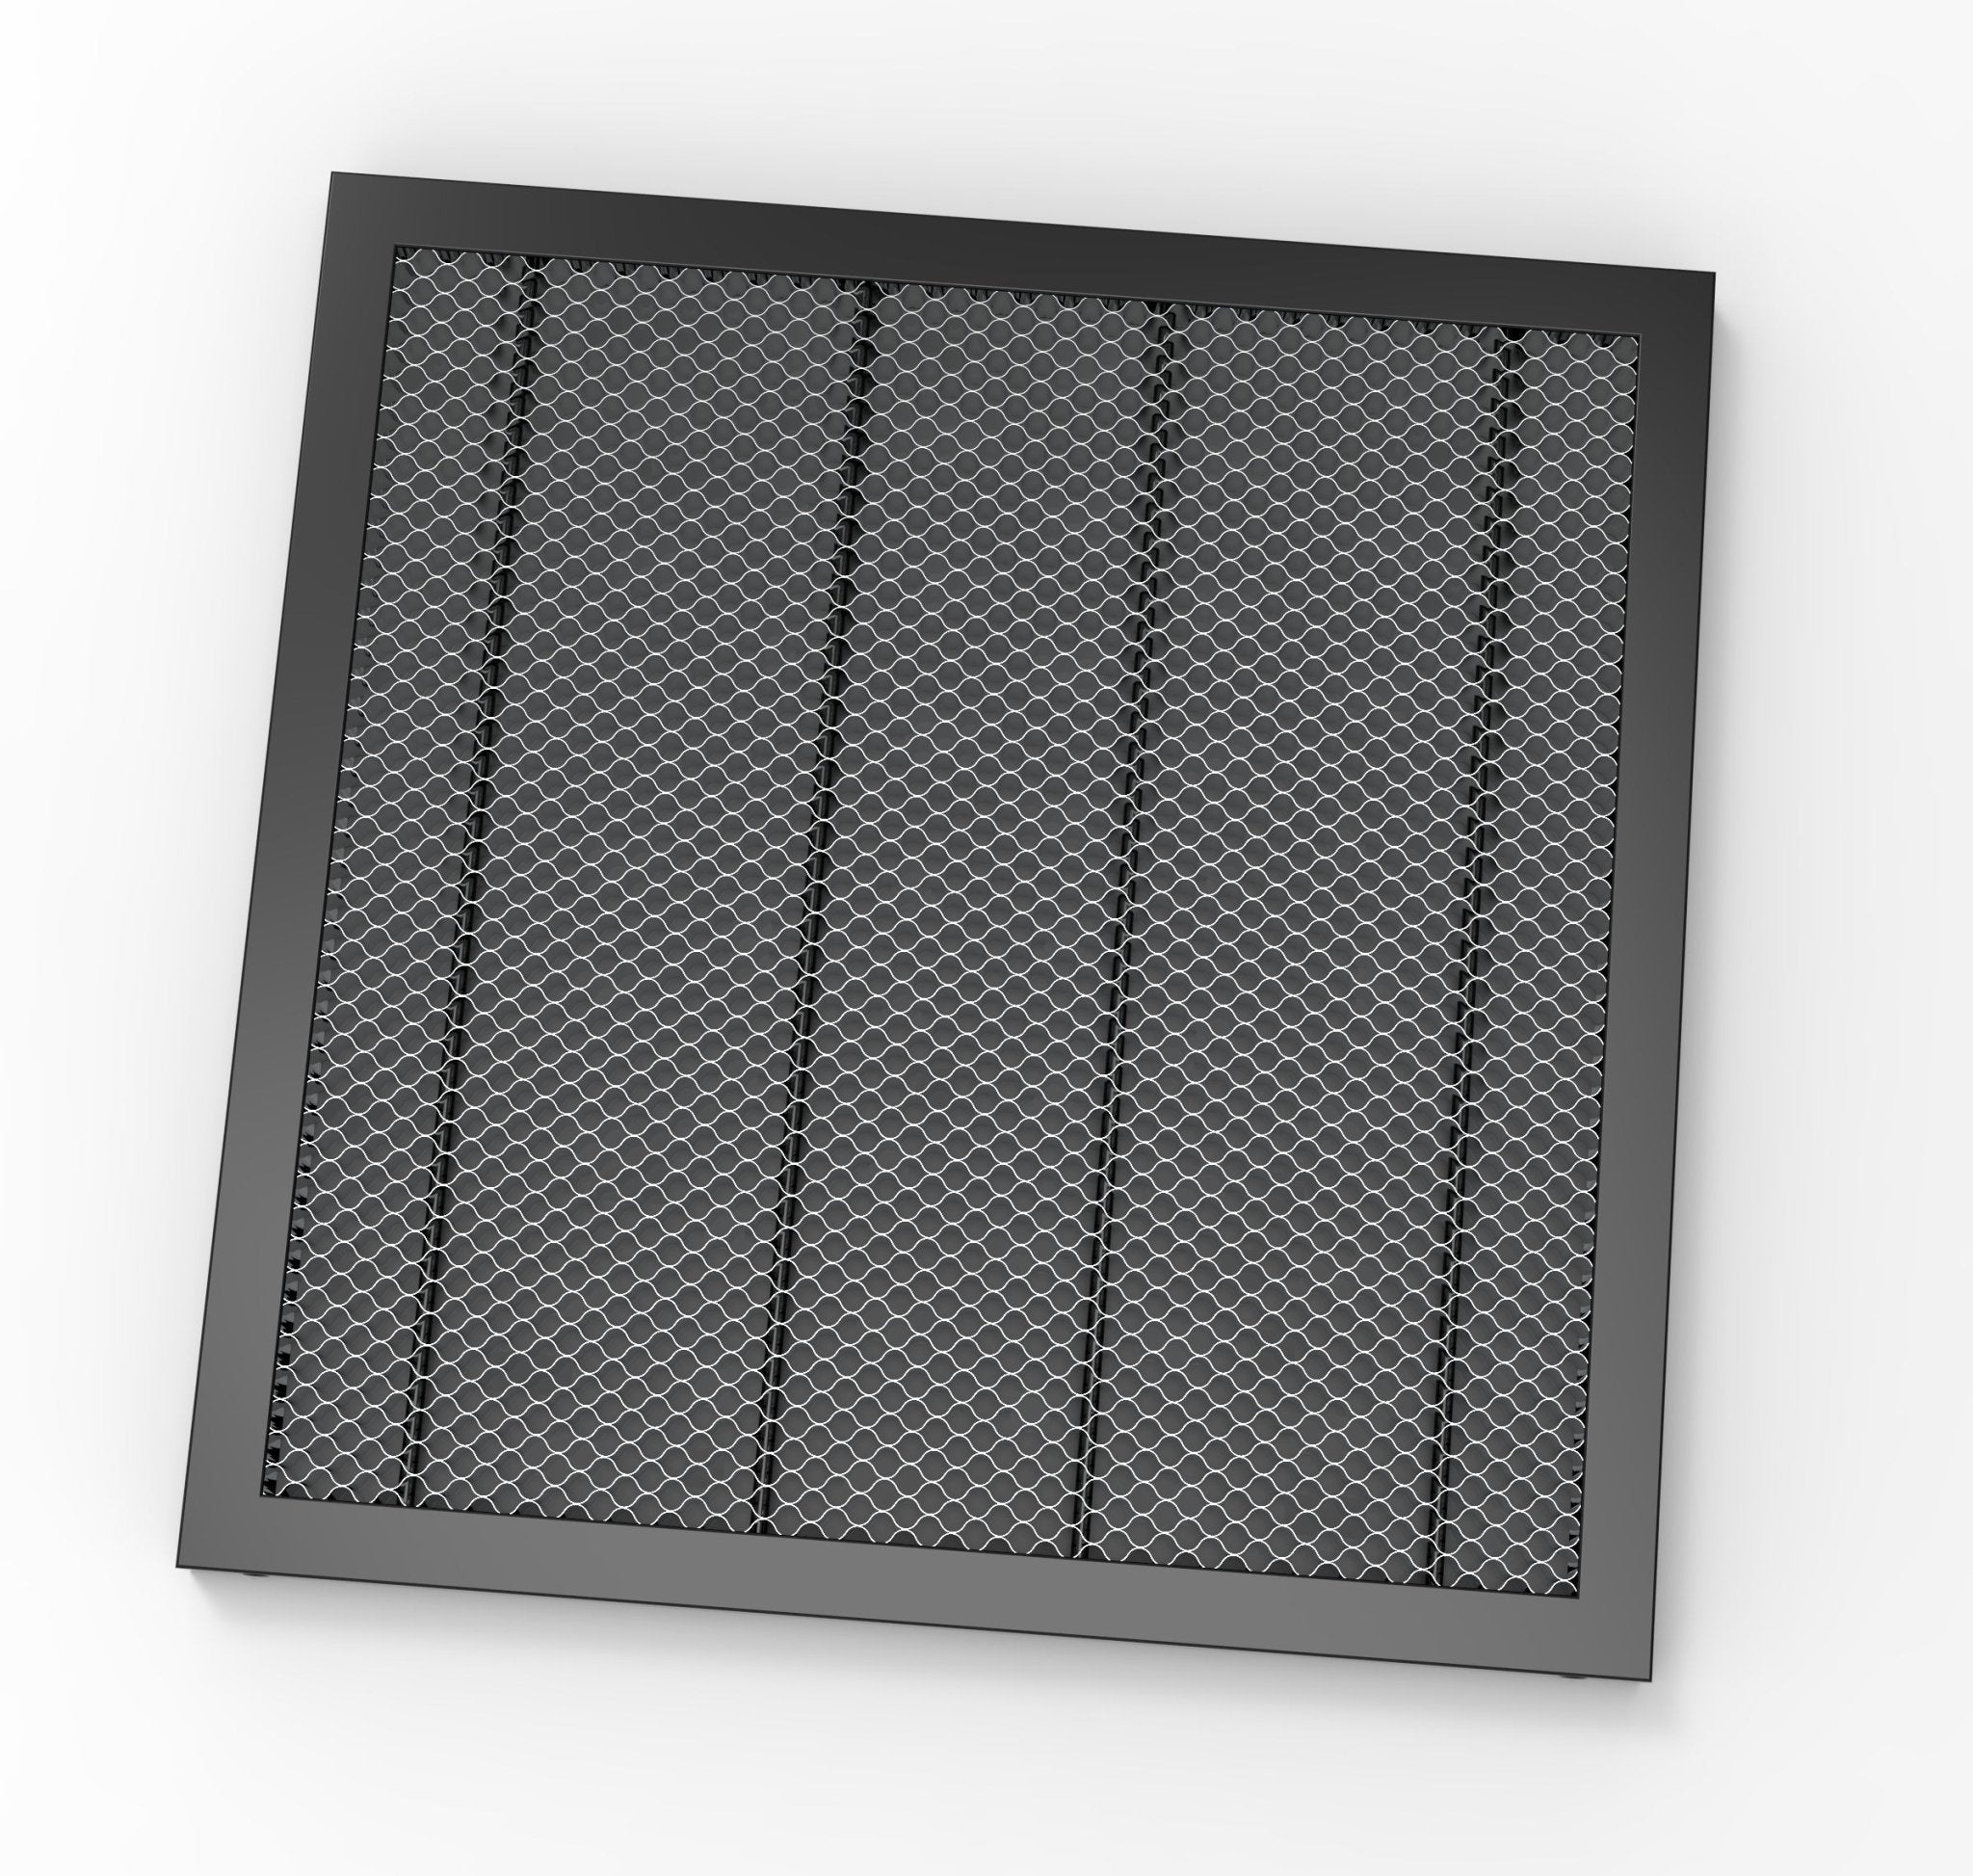
An Aluminium Plate |
 |
Type-C Cable |
 |
TF Card |
 |
Card Reader |
Tips: Before engraving, use a dust-free cloth with alcohol to wipe the protective lens of the laser module to ensure the best engraving effect.
Step1/13 Open the top cover of the smart protection shield and place the aluminium plate in the working area of the laser cutting machine.

Step2/13 Place the 3mm thick, A4 sized basswood board from the kit on top of the aluminium plate.

Step3/13 Lower the fixed focus lever of the laser module.

Step4/13 Pull the trigger upwards.

Step5/13 Adjust the position of the laser module so that the tip of the fixed focus lever falls onto the basswood board.

Step6/13 Spanner down to hold the laser head in place.

Step7/13 Retract the fixed focus lever.

Step8/13 Close the smart protection shield.

Step9/13 Connect the fan power adapter.


Step11/13 Plug the power adapter connector into the power connector.

Step12/13 Plug the Type-C cable into the Type-C port on the body and connect the other end to your computer.


Make The Case Files
TOOCAA L2 supports both LightBurn and LaserGRBL. All of our cases use LightBurn software and we recommend that you use LightBurn first.
![]() Note: LightBurn is a software with charges, but if you are a new user you can try it for free for the first 30 days.
Note: LightBurn is a software with charges, but if you are a new user you can try it for free for the first 30 days.
Step1/14 Insert the TF card into the computer, in the following operation we need to use the "TOOCAA_L2.lbdev" file and "TOOCAA_L2_Case(10W)V1.0.dxf" file in the TF card.
Step2/14 Open LightBurn and click “Devices”.

Step3/14 Click "Import" to import the .lbdev configuration file: TOOCAA_L2.lbdev from the TF card.

Step4/14 After importing, select TOOCAA L2 in the device list and click OK for successful configuration.

Step5/14 Click on "Edit-Settings".

Step6/14 Select "mm/min" and click OK.

Step7/14 Click on the "File" menu and select "Import" from the drop-down list to open the file selection screen.

Step8/14 Locate the "TOOCAA_L2_Case(10W)V1.0.dxf" file on the TF card and open it.

Step9/14 The import file is completed as shown in the figure.

Step10/14 Set the laser movement speed and power.

| Material |
Laser Module |
Mode |
Speed |
Power |
|
3mm Basswood |
10W Laser Module |
Cut |
350mm/min |
100% |
|
3mm Basswood |
10W Laser Module |
Engrave |
2000mm/min |
100% |
|
3mm Basswood |
10W Laser Module |
Fill |
5000mm/min |
60% |
|
3mm Basswood |
20W Laser Module |
Cut |
450mm/min |
100% |
|
3mm Basswood |
20W Laser Module |
Engrave |
8000mm/min |
100% |
|
3mm Basswood |
20W Laser Module |
Fill |
8000mm/min |
60% |
Step11/14 Click the "Choose" button to select the correct port.

Step12/14 Select the "Frame" button to view the cutting range of the artwork.

Step13/14 Adjust the position of the basswood and aluminium plates according to the cutting work area.
Step14/14 Select all the works and click on the "Start" button to begin the creation of the work.

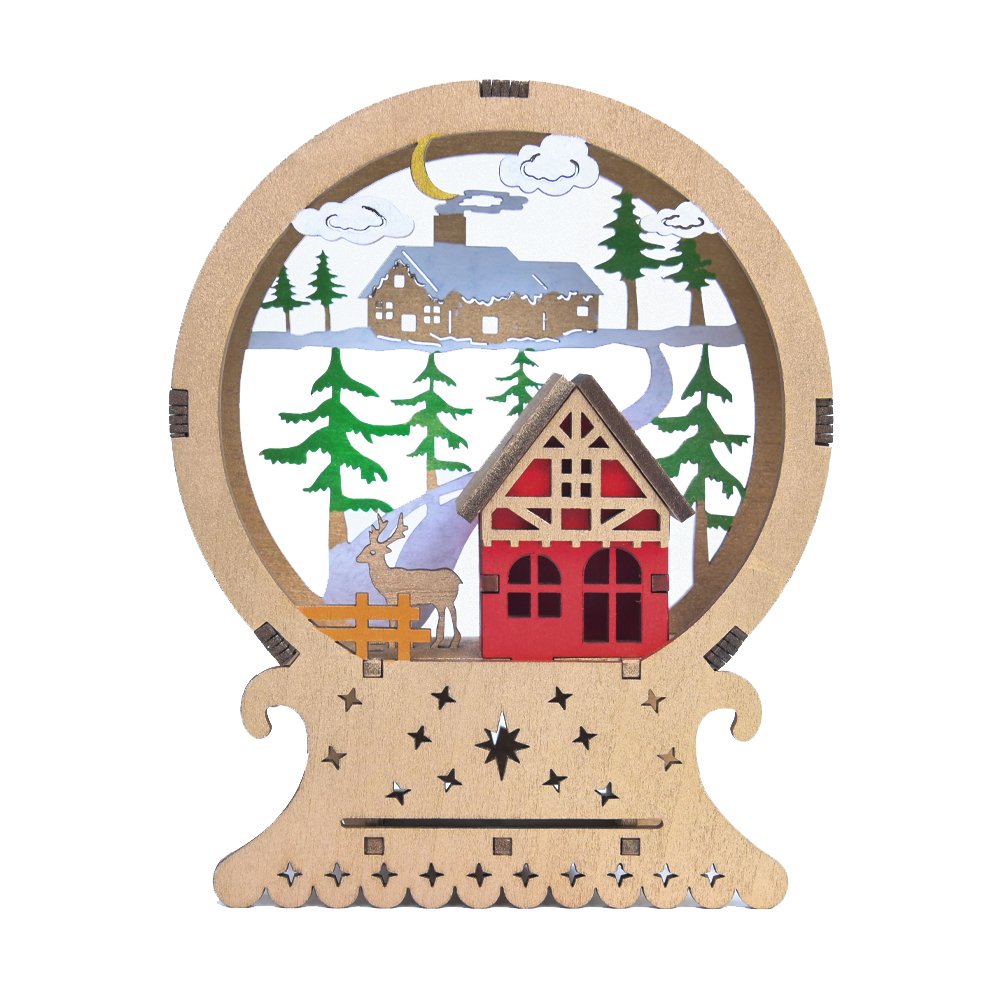
Congratulations on harvesting your first piece of work.
Congratulations on harvesting your first piece of work.
You can visit the official community to see more examples.

