If you’ve ever picked up a stainless steel mug with someone’s name perfectly engraved on it, or seen a set of brass keychains etched with initials, or admired custom metal jewelry, you’ve seen the magic of metal laser engraving. Stainless tumblers are also a popular item for laser engraving, allowing for personalized and decorative designs. What once required an industrial setup in a large factory is now possible for hobbyists and small business owners with a compact desktop machine. The engraving area, or the size of the machine's work surface, determines what objects you can engrave and how versatile your projects can be.
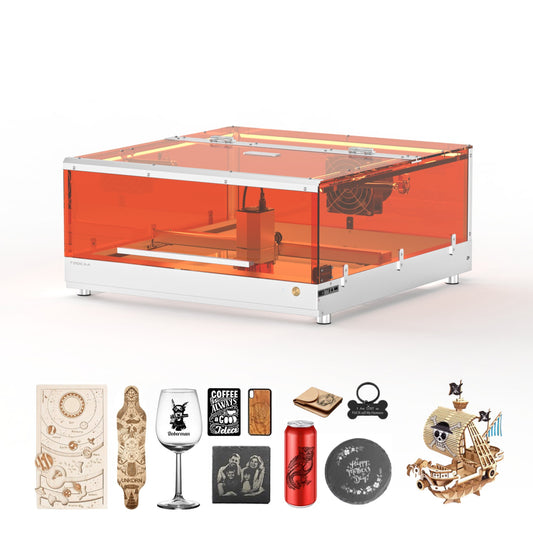
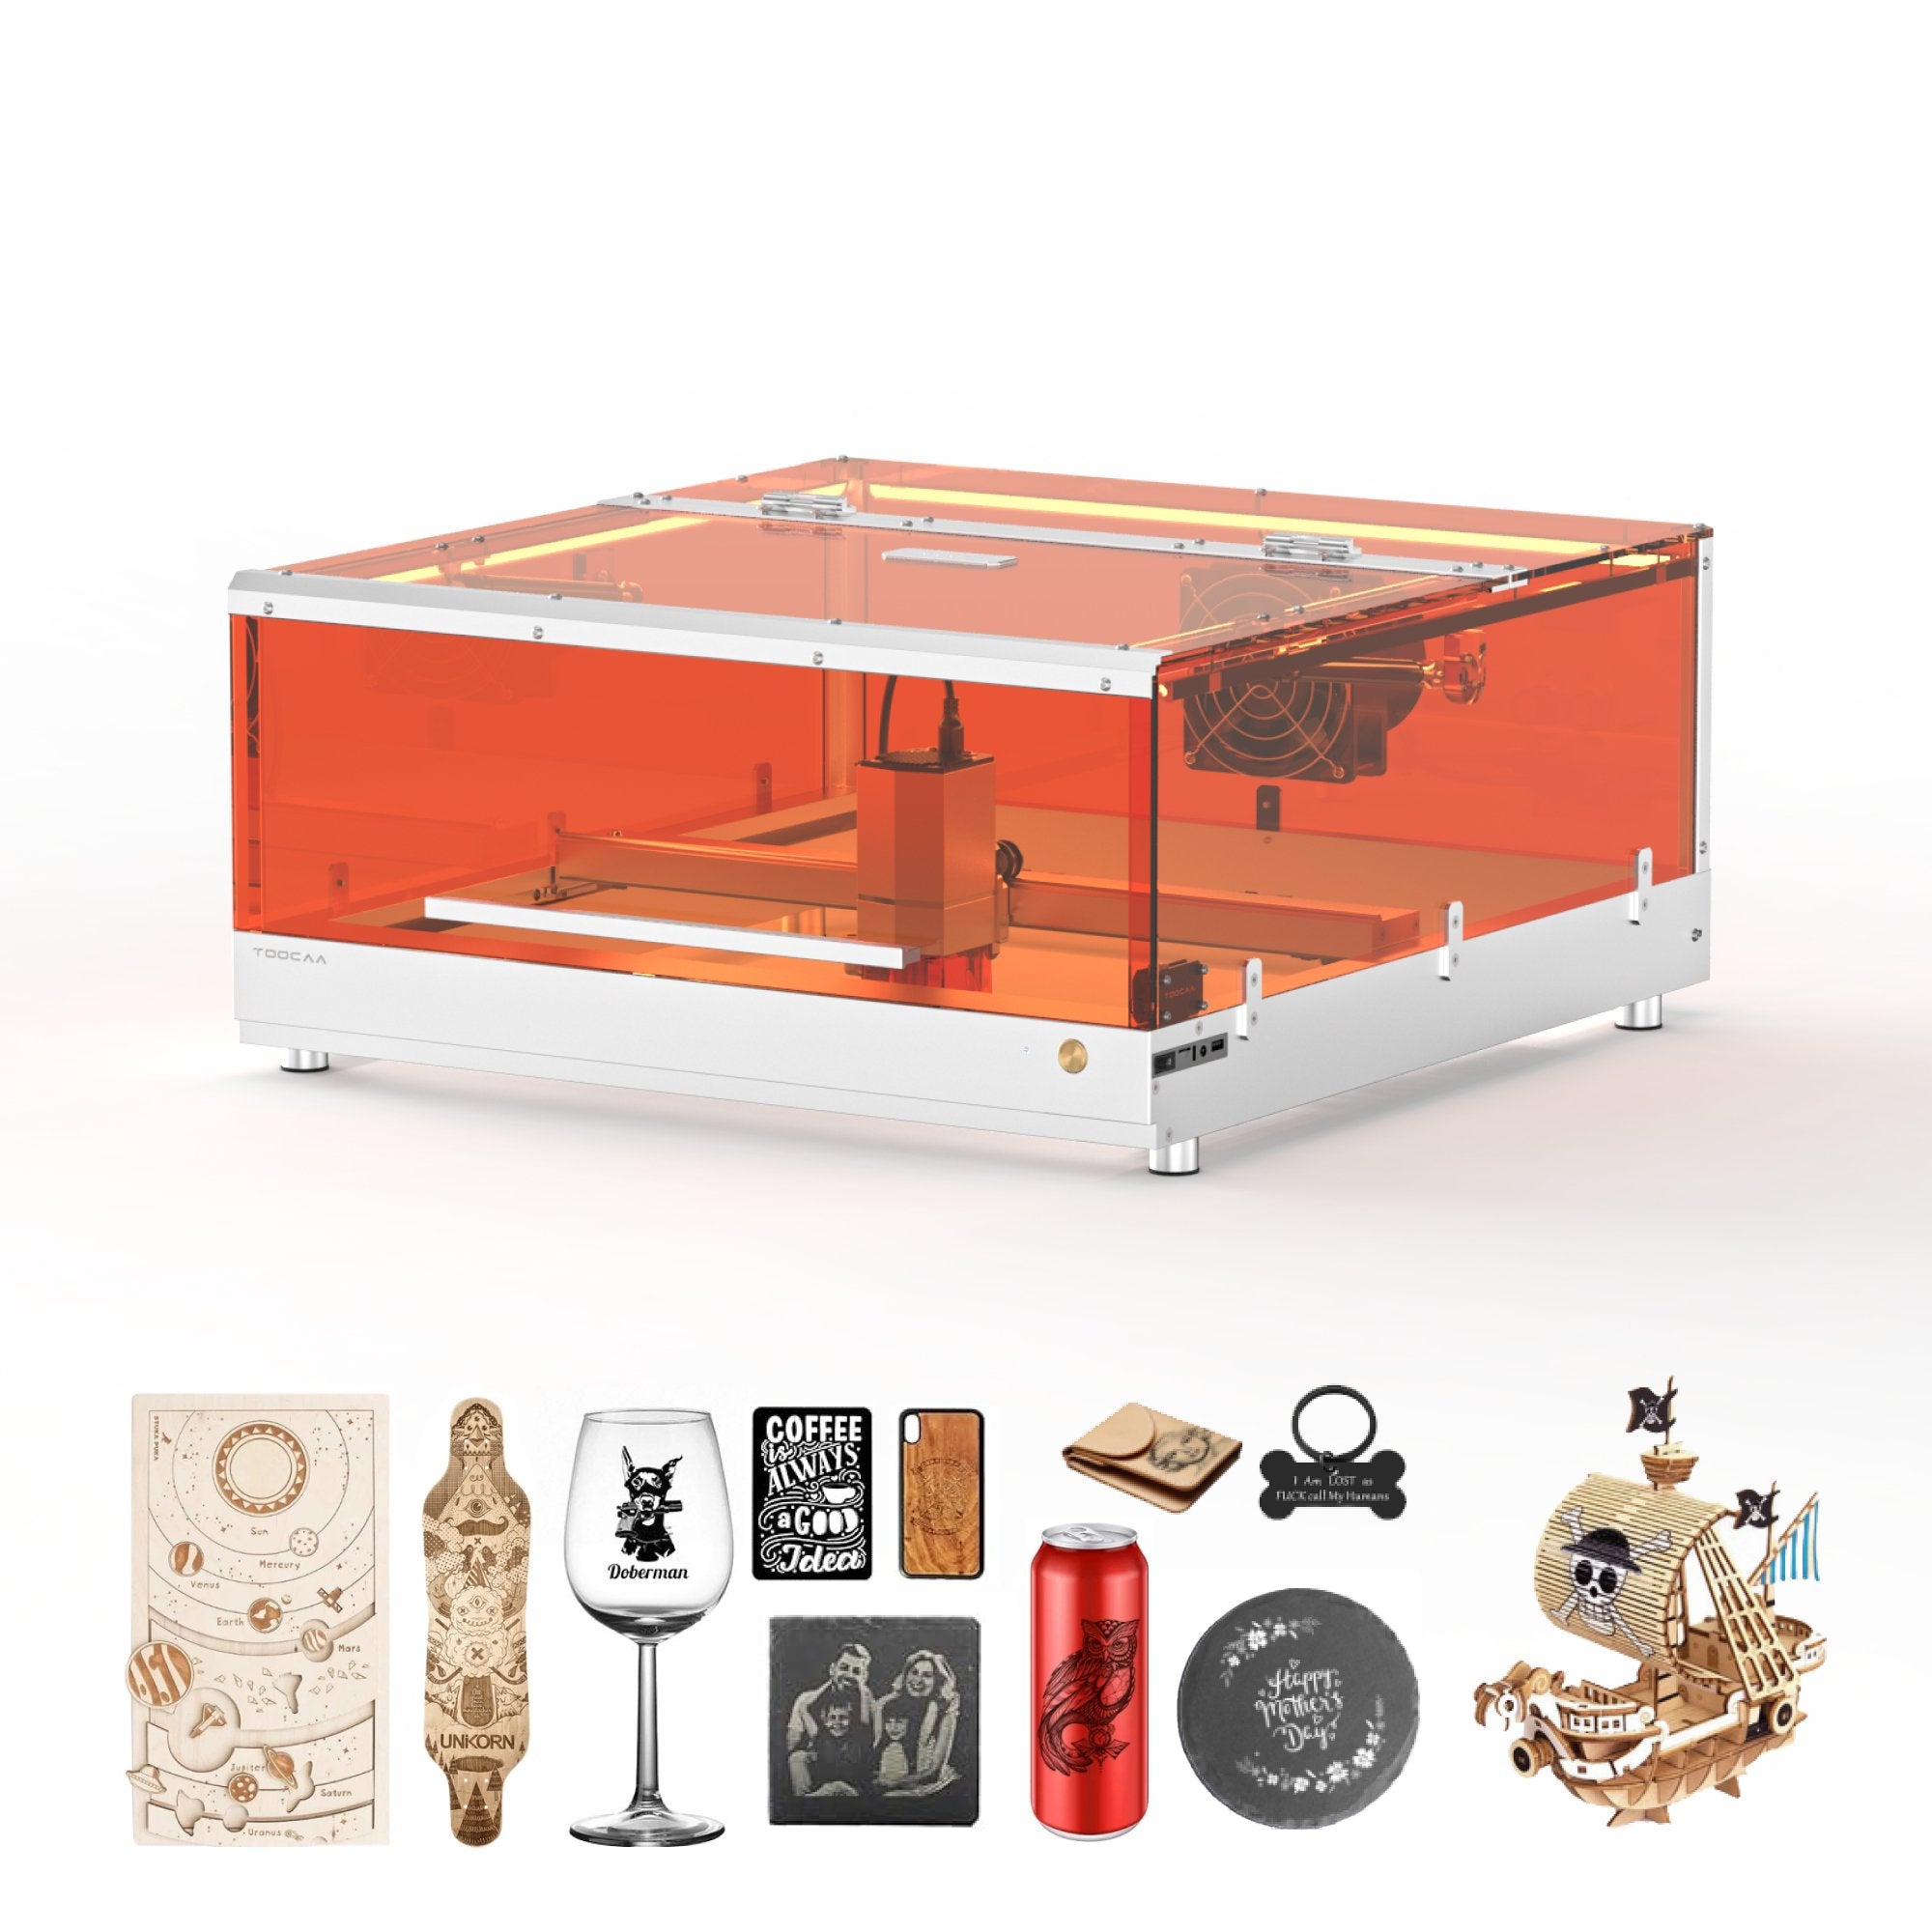
One of the most practical tools for this job is the TOOCAA L2 Diode Laser Engraver, which stands out among the best laser engravers for metal due to its value and performance for metal applications.
Affordable, user-friendly, and, if complemented by the appropriate techniques, capable of creating professional engravings on precoated metals and on plain metal substrate with the assistance of laser marking sprays.
This guide is made to help you understand everything you need to know: how diode lasers engrave metal, how to prepare surfaces, which products to use, the right settings to choose, important safety tips, common mistakes to avoid, and exciting project ideas for you to try. Whether you are a creative person wanting to make a special gift or someone looking to create a new product line, you will find useful advice in this guide.
If you’ve ever picked up a stainless steel mug with someone’s name perfectly engraved on it, or seen a set of brass keychains etched with initials, you’ve seen the magic of metal laser engraving. What once required an industrial setup in a large factory is now possible for hobbyists and small business owners with a compact desktop machine.
One of the most practical tools for this job is the TOOCAA L2 Diode Laser Engraver(https://www.toocaa.com/products/toocaa-l2-laser-engraver-cutter).
Affordable, user-friendly, and, if complemented by the appropriate techniques, capable of creating professional engravings on precoated metals and on plain metal substrate with the assistance of laser marking sprays.
This guide is made to help you understand everything you need to know: how diode lasers engrave metal, how to prepare surfaces, which products to use, the right settings to choose, important safety tips, common mistakes to avoid, and exciting project ideas for you to try. Whether you are a creative person wanting to make a special gift or someone looking to create a new product line, you will find useful advice in this guide.

Why Use a Diode Laser for Metal Engraving?
Most people start with wood, leather, or acrylic when they buy a diode laser. These materials are straightforward to cut and engrave. But sooner or later, the question comes up: Can I engrave metal with this machine?
The answer is yes—with the right preparation. The TOOCAA L2 may not burn deep grooves directly into stainless steel the way massive industrial fiber lasers do, but it can create sharp, durable, high-contrast markings on many kinds of metal. The L2 is suitable for engraving metals of various metal types, supporting a wide range of metal applications and making it versatile for different projects. The trick is to either use:
A marking spray or paste, which bonds to bare metals when hit with the laser beam, or Products that already have a coating, such as powder-coated mugs, anodized aluminum sheets, or painted metal plaques.
When working with different metals, keep in mind that each metal type may require specific laser settings and surface preparation to achieve the best results. Always ensure you are engraving metals in a well ventilated area, and use proper ventilation to manage fumes and maintain a safe workspace.
That’s what makes the L2 so appealing: you don’t need to spend tens of thousands on specialized equipment. With a smart workflow, a $500–$600 machine can produce results polished enough to sell.
Understanding Metal Properties
When it comes to laser engraving, not all metals are created equal. The unique properties of each metal play a crucial role in how they respond to the laser beam, which directly impacts the quality and durability of your engravings. Whether you’re working with a diode laser or a fiber laser engraver, understanding these differences is key to achieving professional results on metal surfaces.
Reflective metals like bare aluminum and stainless steel can pose a challenge for laser engraving because they tend to reflect much of the laser energy, making it harder for the laser to create permanent markings. That’s why many DIY enthusiasts and small businesses turn to coated metals or anodized aluminum, which absorb the laser energy more effectively and allow for crisp, high-contrast engravings. Using a marking spray on bare metals can also enhance the laser’s ability to bond with the surface, resulting in more durable and detailed designs.
The type of metal you choose—whether it’s stainless steel for custom jewelry, aluminum for metal signs, copper for decorative pieces, or titanium for high-end applications—will determine the best laser settings and engraving techniques. For example, stainless steel is a favorite for both fiber laser engravers and diode laser engravers (with the help of a marking spray), thanks to its strength and resistance to corrosion. Aluminum, on the other hand, is lightweight and engraves beautifully when anodized, making it ideal for business cards and tags.
Some highlights:
Laser Output: Strong enough to engrave organic materials directly and to mark metals with spray or coatings.
Precision: Supports fine detail work, from text as small as a few millimeters to full photo engravings.
Compatibility: Works with popular software like LightBurn, giving you professional-level control. The user interface is intuitive, supporting popular design formats and offering adjustable settings for speed, power, and resolution.
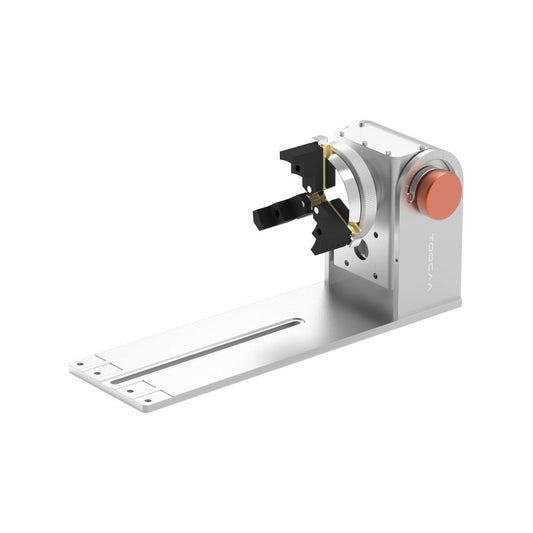
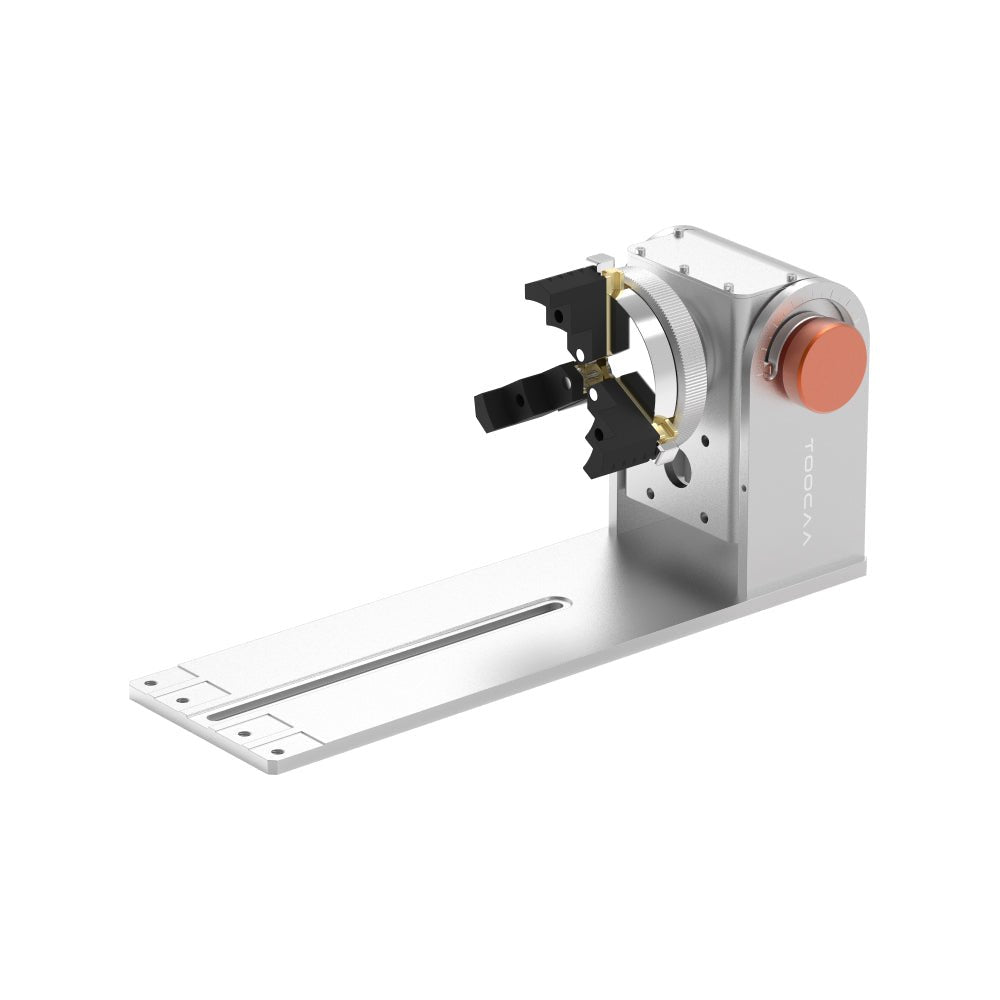
Versatility: One day you’re engraving a bamboo cutting board; the next day, you’re personalizing a powder-coated flask. With the rotary attachment, you can also engrave cylindrical or curved objects like tumblers and rings, expanding your creative options.
For anyone balancing hobby and business use, the L2 hits a sweet spot.
So, how does a diode laser actually engrave metal?
Here’s the deal: bare metal reflects a ton of light, so a diode laser on its own doesn’t really bite into it. That’s why you need a little help.
There are special sprays (like CerMark or Enduramark). You spray a thin layer onto stainless steel, and when the laser hits it, the coating literally fuses with the surface. The laser head focuses and directs the beam precisely onto the workpiece, ensuring accurate results. You’re not cutting into the steel itself — you’re basically baking that spray into place permanently.
If the metal already has paint or a powder coating, the laser just burns away that top layer and reveals the raw metal underneath. The engraving process benefits from advanced laser features, which enhance the precision, depth, and contrast of the final result.
And anodized aluminum? That one’s the easiest. It has a thin colored oxide layer that the laser removes cleanly, leaving behind sharp, high-contrast engravings.
When working with different metals, adjusting laser power and speed settings is crucial. Using moderate power with slower speeds helps achieve detailed, high-quality engravings without overheating or damaging the material.
So bottom line: yeah, you can engrave metal with a diode laser, you just need to prep the surface the right way. Regular maintenance of the laser system, including cleaning and calibration, is also important to ensure optimal performance and longevity.
Step by step with the L2
Step-by-Step: How to Laser Engrave Metal
Laser engraving metal may sound intimidating, but with the right equipment and a bit of guidance, it’s a straightforward process. The TOOCAA L2 makes it extremely easy for beginners thanks to its intuitive software and automatic focus adjustment.
1. Choose Your Laser Engraver
For most home users and hobbyists, desktop lasers like the TOOCAA L2 are an affordable alternative to large industrial machines. These compact devices are versatile and suitable for small projects, offering impressive results on a variety of metals.
2. Prepare Your Workspace
Set up your laser engraver on a stable, flat surface with good ventilation. Make sure the area is free from flammable materials.
3. Safety First
Always wear appropriate eye protection and ensure your workspace is well-ventilated. A reliable cooling system is essential to prevent overheating during longer or deeper engraving sessions, which helps maintain engraving quality and protects your equipment. Look for engravers with built-in safety features such as protective shields and emergency stop buttons to ensure safe operation.
4. Prepare the Metal Surface
Clean the metal thoroughly to remove dust, oil, or coatings that could interfere with the engraving process.
5. Set Up Your Design
Use the included software to import or create your design. Adjust the size and placement to fit your metal piece.
6. Focus the Laser
Follow the manufacturer’s instructions to set the correct focus distance. Many desktop lasers offer automatic focus adjustment, making this step quick and easy.
7. Run the Engraving Job
Double-check your settings, including power and engraving speed. The engraving speed (measured in mm/s) directly affects the depth and clarity of your design—higher speeds can complete jobs faster but may result in shallower marks, while slower speeds allow for deeper, more defined engravings.
8. Inspect and Finish
Once the engraving is complete, inspect your work. Clean the metal again to remove any residue or debris.
1.Get your design ready
Logos, text, intricate designs, and line art work best in vector format (SVG, DXF, AI). If you’re doing a photo, turn it into black-and-white and use dithering so the details come through. LightBurn makes this pretty painless.
2.Prep the metal
Bare stainless? Spray a nice even coat of laser marking spray for best results, and let it dry fully.
Anodized aluminum or a painted mug? No extra coating needed — you can just go straight to engraving.
3.Lock it down
Metal is heavy, but it can still shift if the machine vibrates. Use clamps, a jig, or even
painter's tape to make sure it doesn't move mid-job.
4. Dial In Parameters
Here’s a good starting range for coated metals with the L2:
Power: 80–100% (for most jobs, consider using moderate power and slower speed settings to achieve detailed, high-quality results while preventing overheating or burning, especially on intricate designs)
Speed: 200–600 mm/min (adjust speed settings along with power to optimize engraving quality and manage heat buildup for consistent results across different metals)
Line spacing: 0.05–0.1 mm
Passes: Usually 1
Always run a test grid first. Each material and coating reacts a little differently.
5. Run the Job
Engrave with the cover closed, ventilation running, and safety glasses nearby. Always ensure you are working in a well ventilated area and that proper ventilation is maintained throughout the process to manage fumes and heat safely.
6. Finishing
If you used spray, wash off the excess with water. Inspect your piece: edges should be sharp, contrast high, and text legible.
Working with Pre-Coated Products
One of the easiest entry points for metal engraving is to start with objects that already have a surface coating. These are widely available, cheap, and very forgiving for a beginner.
Powder-Coated Drinkware: Powder-coated stainless steel mugs, tumblers, and bottles engrave very well—the laser melts off the coating to reveal the shiny steel underneath.
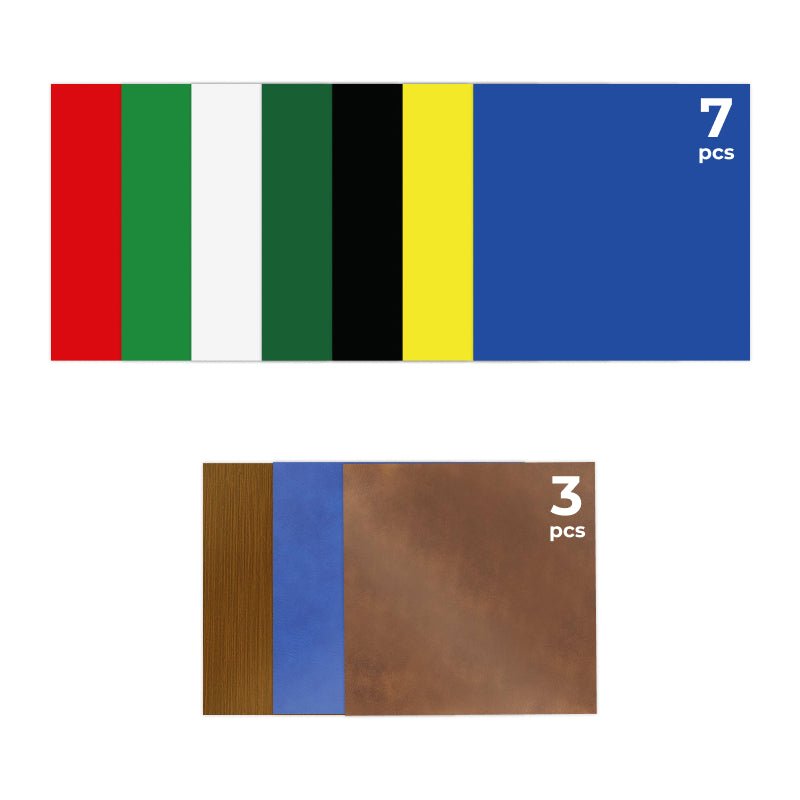
Painted Signs and Plaques: Painted aluminum sheets make fantastic house numbers, signs, and awards.
Anodized Aluminum: Wonderful for business cards, tags, and ID plates. The anodized
coating marks away cleanly to show shiny aluminum.
Coated Jewelry Blanks: Small pendants, bracelets, and tags are often pre-coated and make wonderful personalized gifts. Laser engraving is also popular for customizing metal jewelry, including pieces made from precious metals, allowing for intricate designs and high-quality personalization.
These products don’t require sprays, making them faster to work with and easier for small business production.
Need some ideas?
Here are a few products that people love to buy or gift — and they’re already proven to sell well. Don’t be afraid to experiment with diverse materials—different metals and finishes can produce unique engraving results and help you stand out:
Personalized tumblers and flasks – Stick a name, a favorite quote, or even a logo on them. These things are huge on Etsy.
Custom tools – Engrave wrenches, sockets, or clamps so they don’t get mixed up in the workshop. You can also add serial numbers for traceability and authenticity, which is especially useful in manufacturing or professional settings. Super practical.
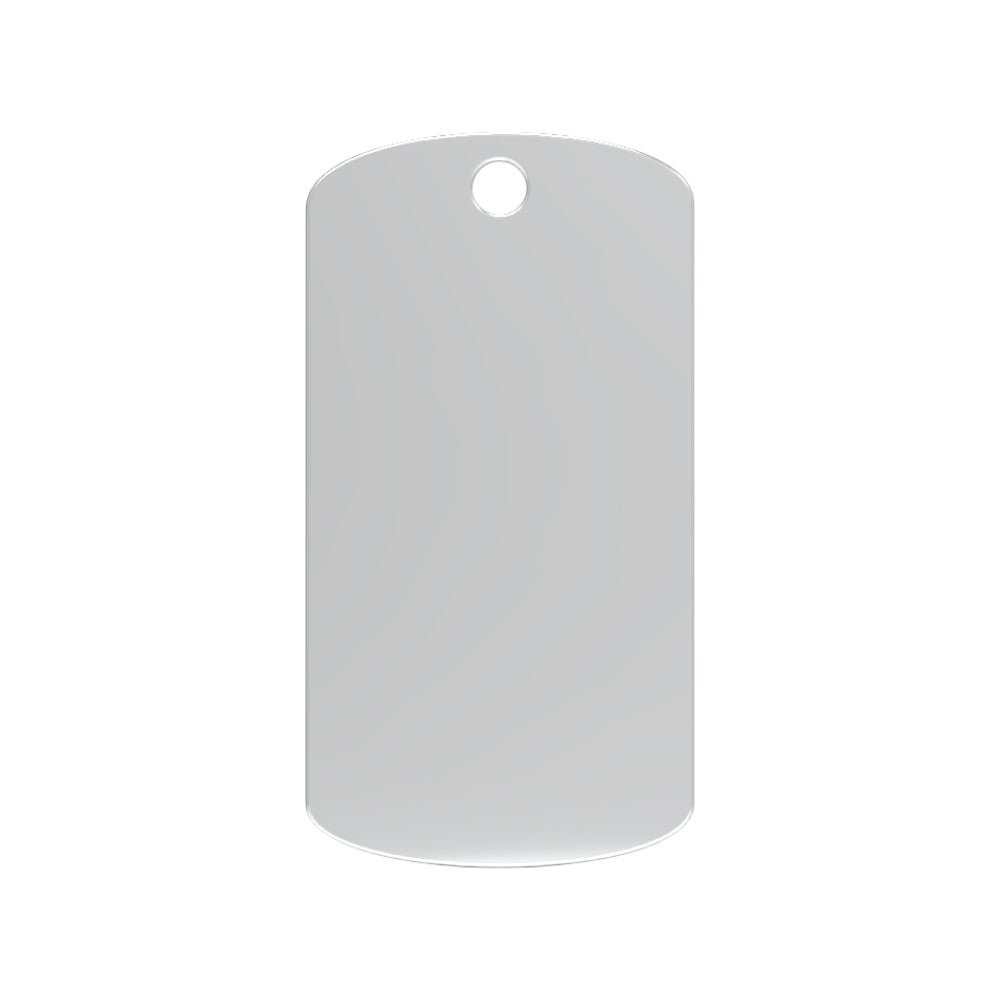
Pet tags – Anodized aluminum or stainless steel tags with the pet’s name and your phone number. Simple, useful, and always in demand.
Branded merch – Think aluminum business cards, keychains, or bottle openers with your company logo. Perfect for giveaways or small businesses.
Awards and Plaques - Painted or anodized surfaces can be engraved for awards and functions.
The L2 helps you try out ideas at low cost and expand the successful ones.

Parameter Basics: Power, Speed, Line Spacing
Three settings matter most when engraving coated metals:
The engraving process is influenced by power, speed, and line spacing, as these parameters determine the depth, clarity, and overall quality of the mark.
Power: More power burns coatings faster but can overcook thin sprays.
Speed: Slower speeds mean darker, bolder marks; faster speeds give lighter results.
Line Spacing: Tighter lines mean smoother, more detailed engravings but take more time.
A good workflow is to engrave a 5x5 grid with varying power and speed. Keep the one that looks best, then record it for future jobs.
Safety Essentials
Metal engraving with sprays or coatings produces fumes.
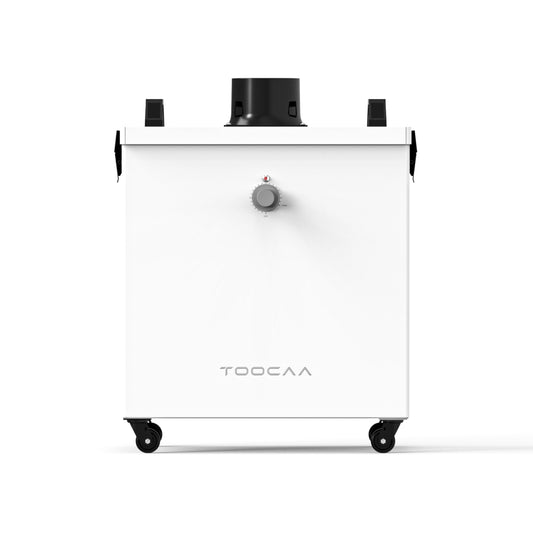
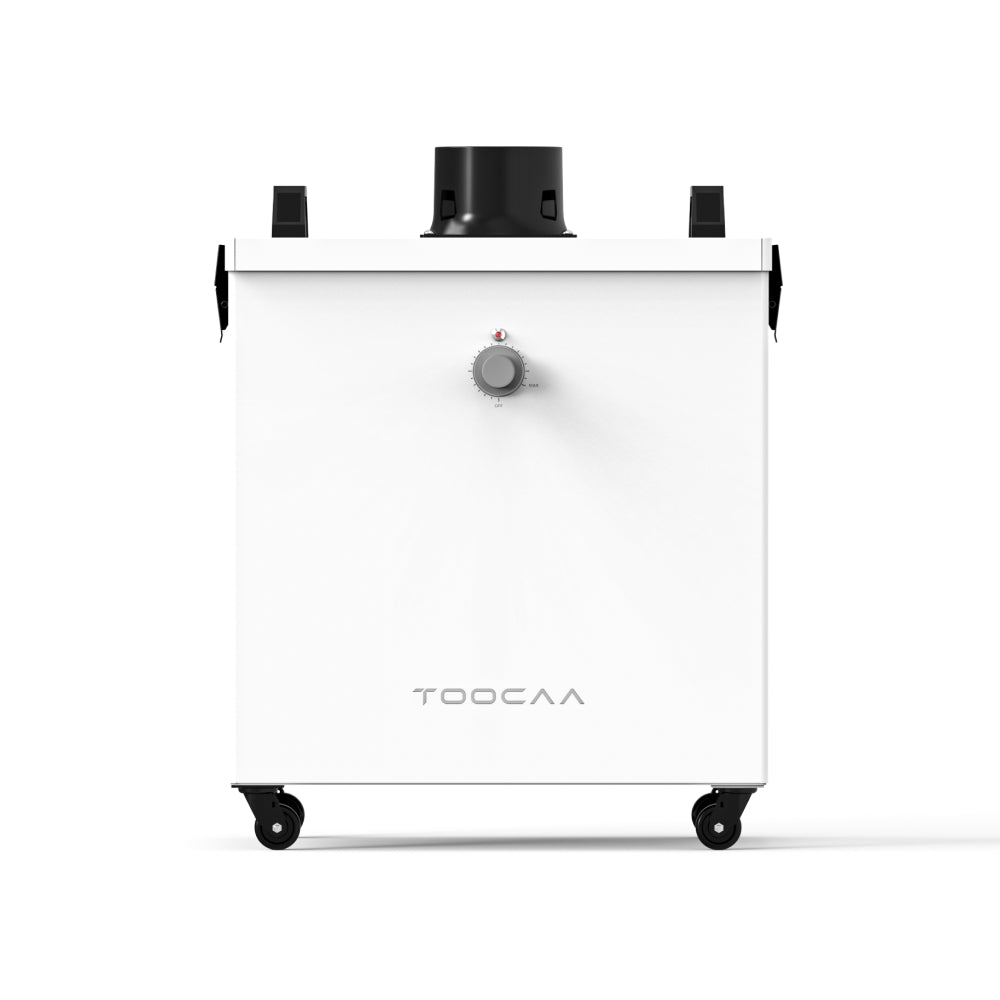
Use a fume extractor or engrave near ventilation.
Wear laser safety glasses.
Ensure the machine's cooling system is functioning properly and all safety features, such as protective shields and emergency stop buttons, are enabled.
Keep a fire extinguisher handy.
Avoid leaving the machine unattended.
Good habits make the difference between frustration and enjoyable, reliable production.
Common Beginner Mistakes
Spraying Too Thick: A heavy coat wastes material and leads to blotchy marks. Light, even passes are best.
Skipping Test Grids: Jumping straight to a finished piece often leads to disappointment.
Always test first.
Wrong Focus: If your engraving looks blurry, recheck the focal distance. Even 1–2 mm off makes a difference.
Engraving on Reflective Surfaces: Highly reflective surfaces, like polished metals, can scatter or reflect the laser beam, resulting in poor engraving quality. To address this, use a suitable coating or adjust your laser settings to reduce reflection and improve results.
Poor Ventilation: Fumes can be harmful—never engrave without airflow.
From Hobby to Side Business
Many people start engraving metal for fun—making gifts for family or personalizing a few tools. But it’s also a clear path to a side hustle.
Here’s how:
Start with Coated Products: Powder-coated mugs, anodized tags, or painted plaques are cheap to buy in bulk and easy to engrave.
Develop a Small Catalog: Offer 5–10 designs (quotes, monograms, patterns).
Sell Online: Platforms like Etsy, eBay, or a personal website are perfect for personalized goods.
Think Local: Farmers’ markets, craft fairs, and corporate gifts are all real-world markets.
Build Efficiency: Use jigs to engrave several items at once. Keep parameter cards so you can repeat settings consistently.
The TOOCAA L2 is affordable enough that your first 20–30 sales can pay for the machine. Investing in a laser engraving machine opens up a wide range of metal applications, allowing you to offer custom engraving services for different types of metals and expand your business opportunities. After that, you’re in profit.
Troubleshooting Checklist
If your engraving isn’t looking right, ask yourself:
Contrast too low? Try slower speed or a second pass.
Edges fuzzy? Check focus height and clean the lens.
Residue won’t wash off? Power may be too high—lower slightly.
Spray peeling? Apply a thinner, more even coat.
Keep notes for every project. Over time, you’ll build a personal “recipe book” of settings for each specific metal, since different metals require different adjustments for optimal results.
Last Reflections
Metal laser engraving is no longer a domain of manufacturing. You can now enjoy
professional designs in the home shop or art studio with the TOOCAA L2 Diode Laser
Engraver.
The secret is preparation: employing marking sprays on bare metals, marking on coated objects such as anodised aluminium or powder-coated cups, and achieving appropriate settings. Then there are numerous opportunities—personalised presents, goods for niche businesses, or tiny batch production for neighbourhood clients.
You can experiment with the L2 on your first stainless steel tumbler or creating engraved flasks and selling on Etsy. With desktop lasers like the TOOCAA L2, you can engrave stainless steel using marking sprays, making it possible to achieve durable, high-contrast results at home. That’s what’s special here: a small and affordable machine gives access to a myriad business and design possibilities.
