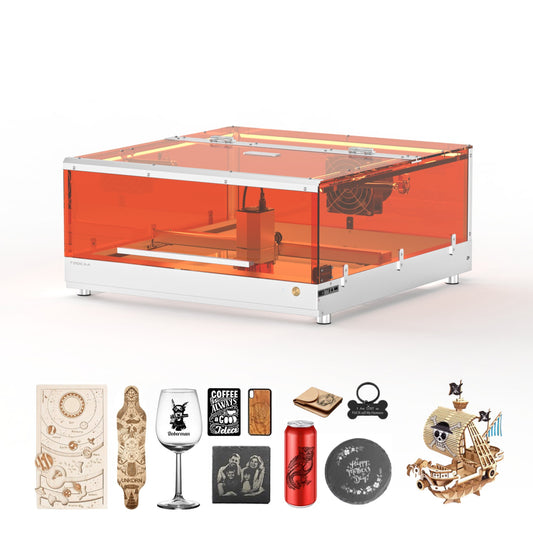
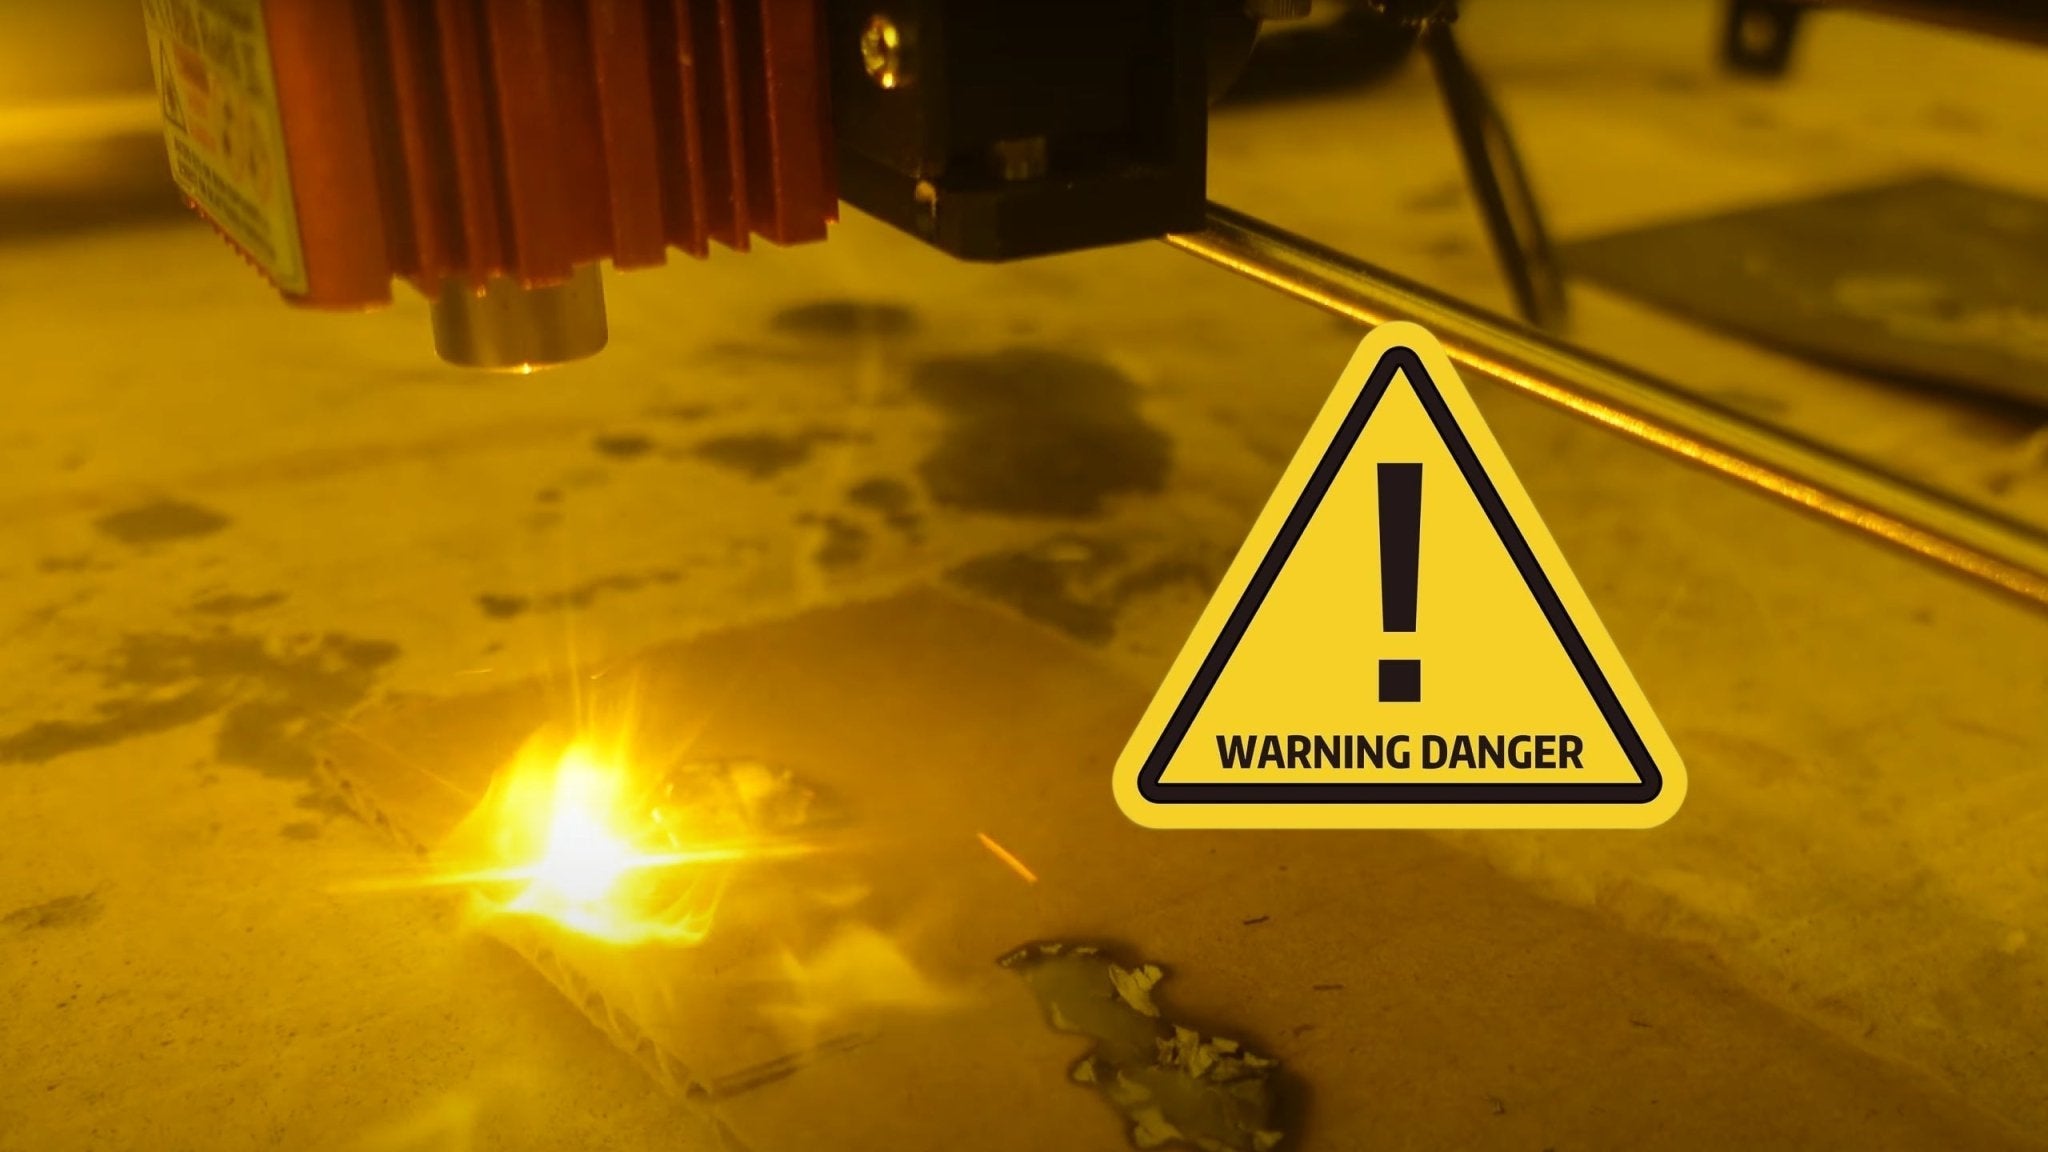
Nowadays, people not only value material life but also spiritual life. More and more people like to DIY small items during their breaks to improve the happiness of life. In recent years, desktop laser engravers derived from industrial-grade engraving machines have emerged. Consumer-grade laser engravers lower the threshold for users to use and help users realize their ideas and creatives.
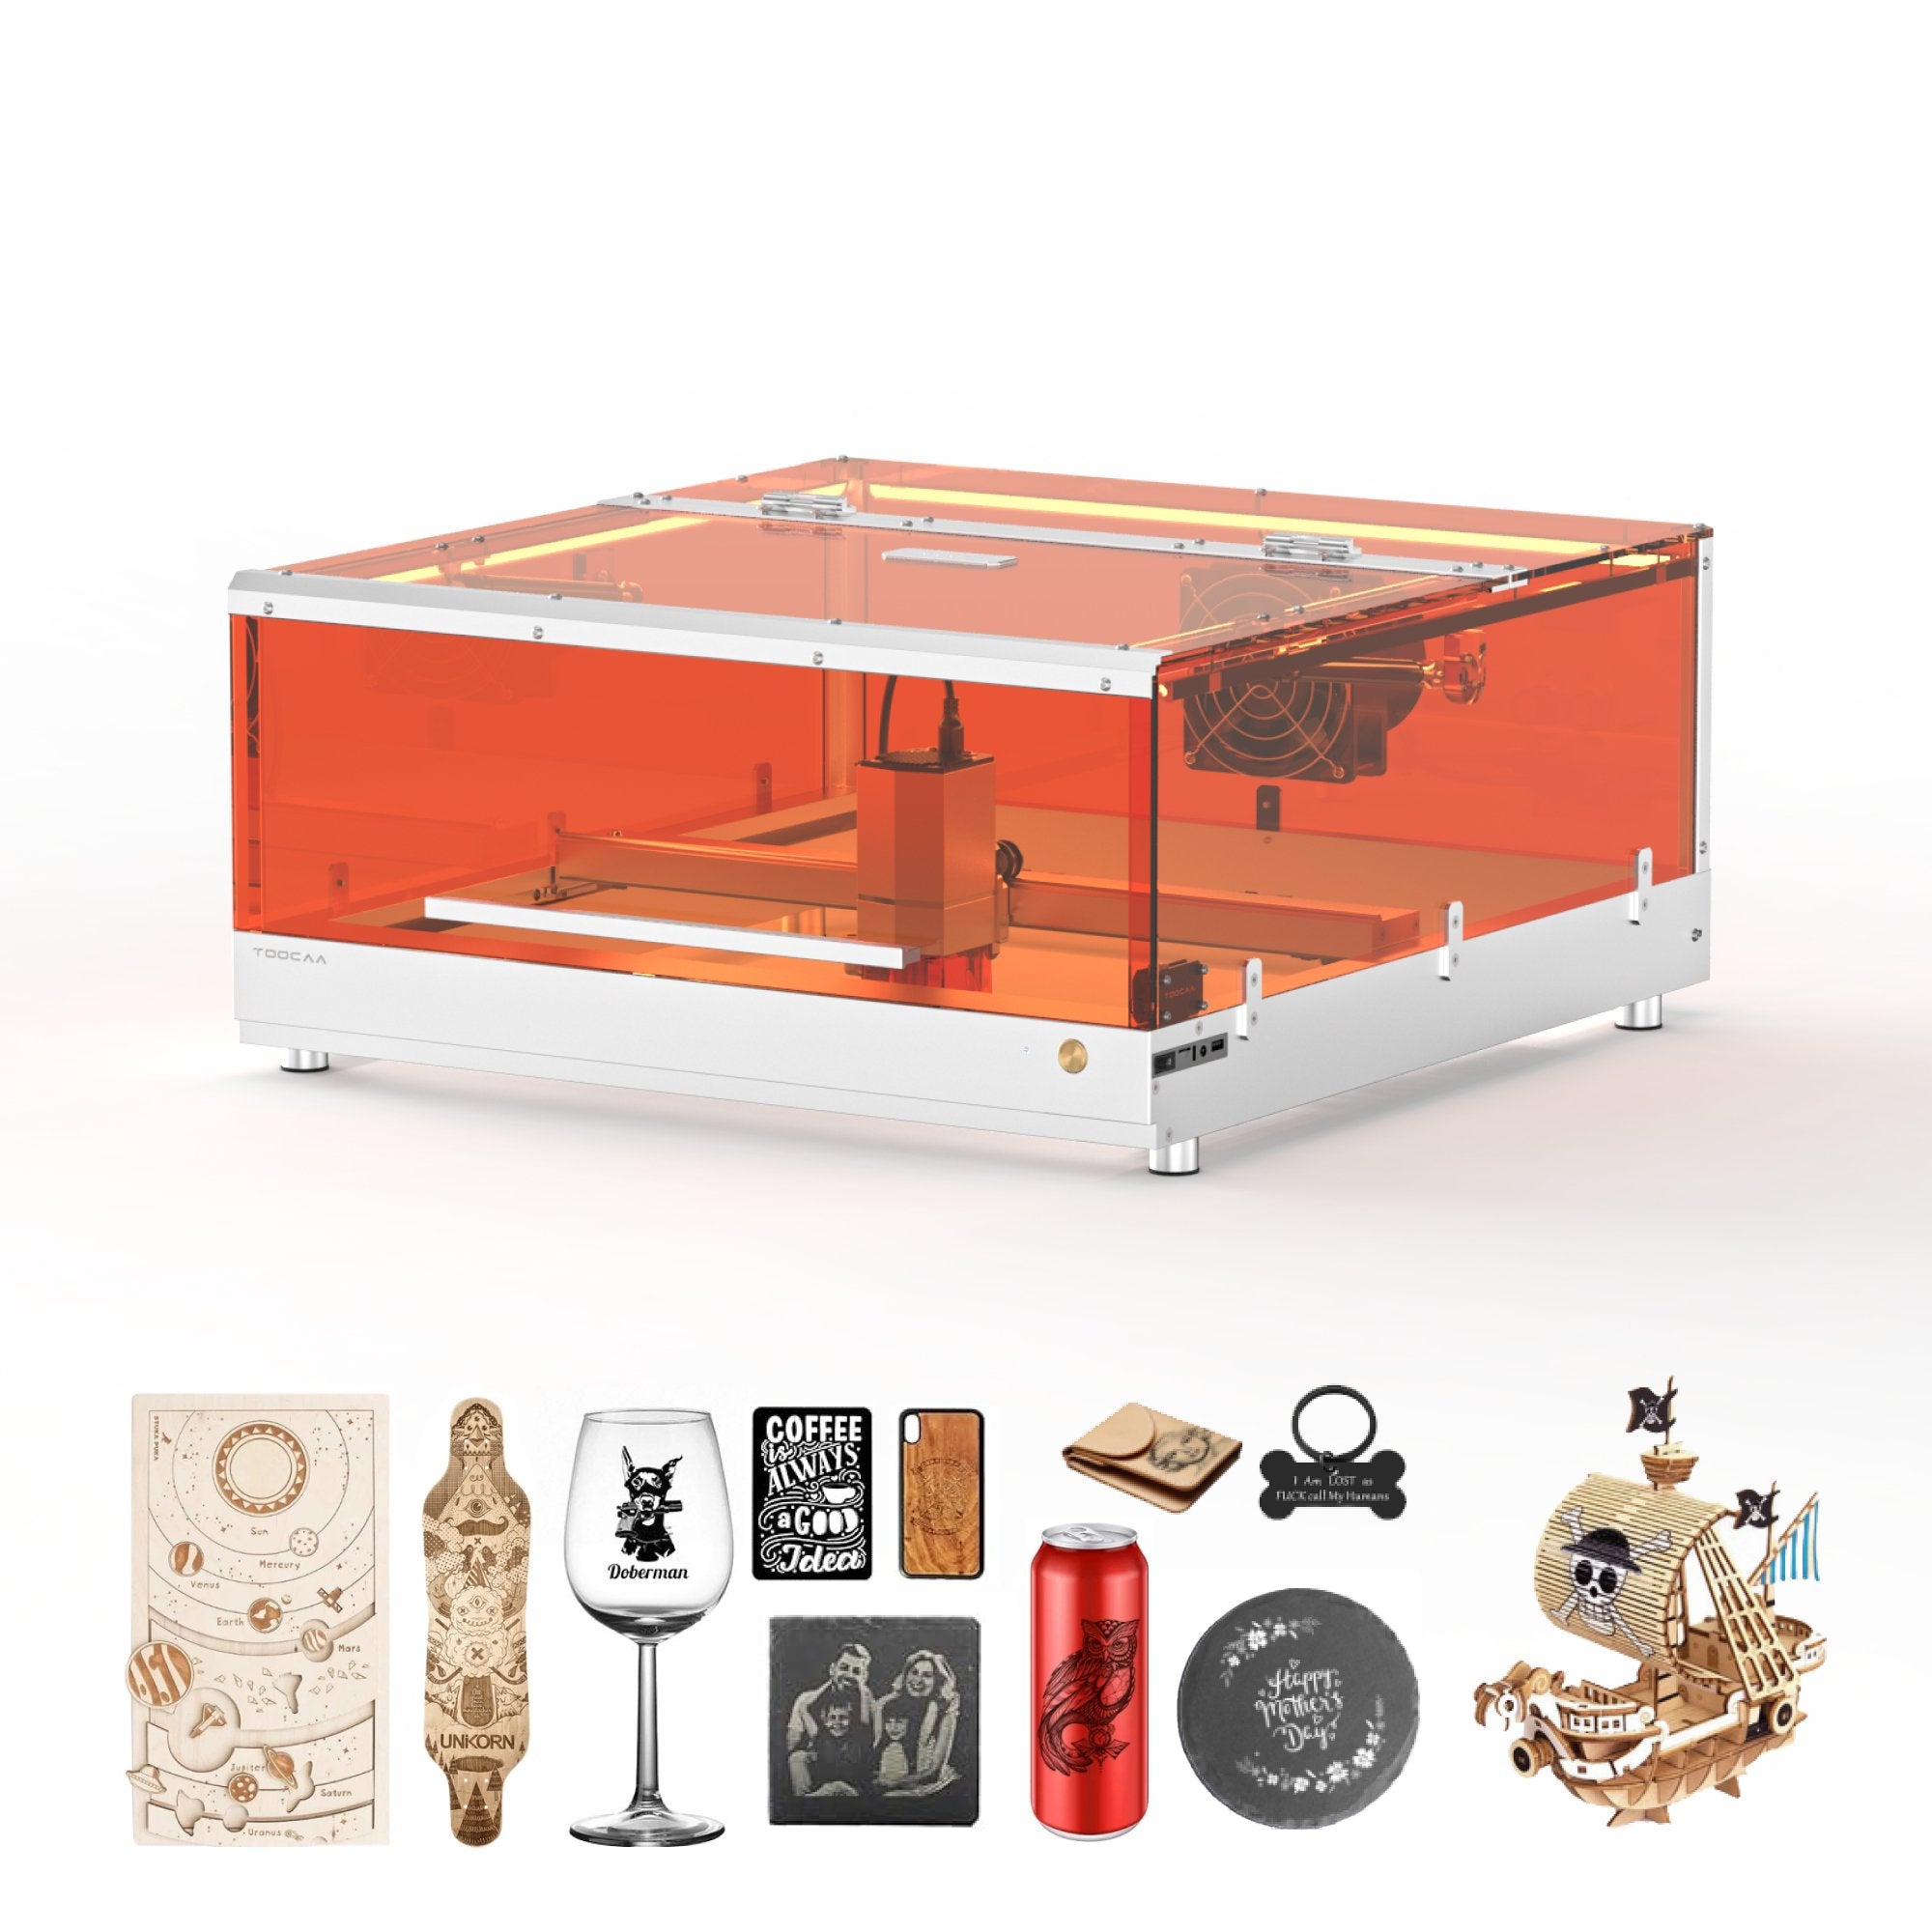
The desktop laser engraver is a compact and versatile machine that uses a laser beam to etch or engrave designs, patterns, text, or images onto various materials. This type of machine is commonly used for personalization, customization, and creating intricate designs on a wide range of surfaces.
If you have a desktop laser engraver, what can you DIY?
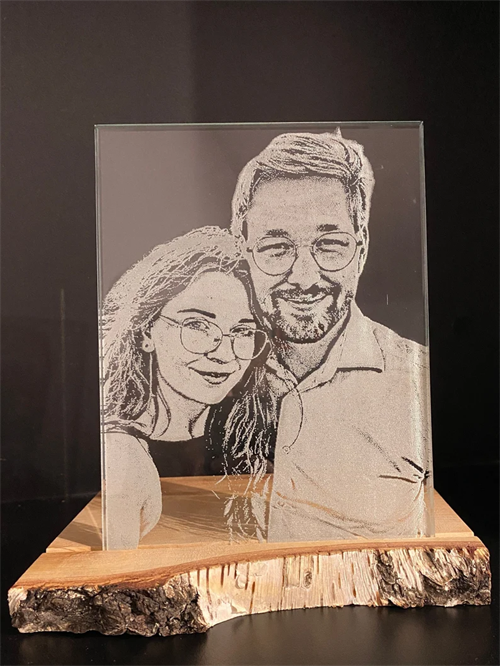
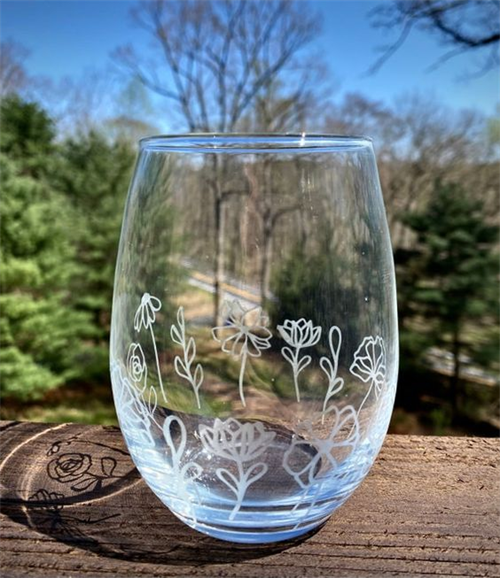
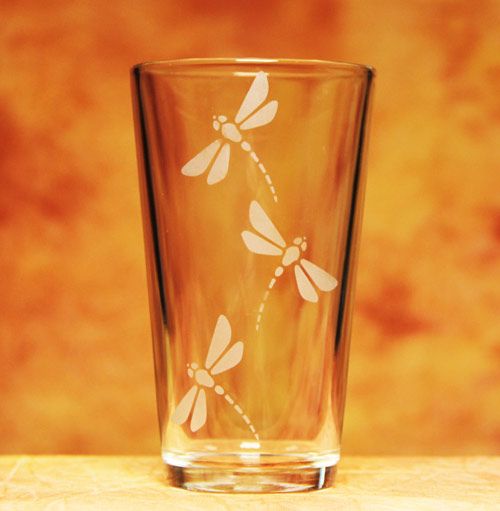
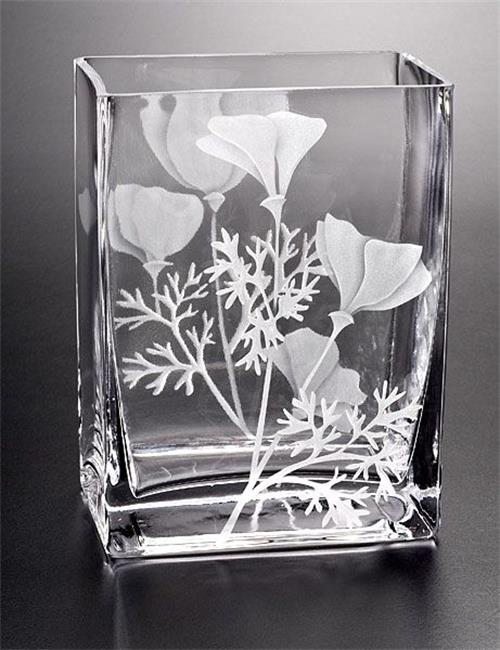
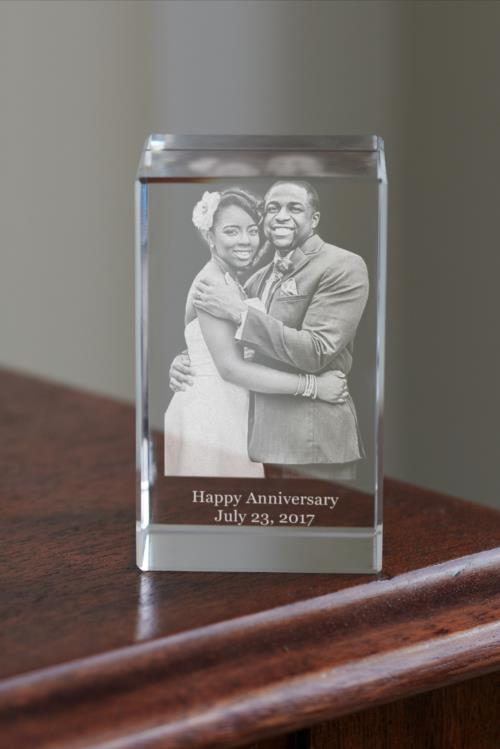
Glass Engraving
Materials needed:
1. Glass items to be engraved (e.g. glassware, mirrors, window panes)
2. Laser engraver with glass etching capabilities
3. A computer with appropriate software for designing and controlling the laser engraver.
4. Safety glasses to protect your eyes
5. Vector design file (e.g. SVG, DXF) of the design you wish to engrave
Steps:
1. Safety instructions:
Wear safety glasses to protect your eyes from potential reflected or scattered laser light.
2. Design preparation:
Create or obtain a vector design file of the pattern or image you want engraved. Vector files work best because they allow precise scaling without loss of quality.
3. Software settings:
Use the software that comes with your desktop laser engraver or compatible design software to import and position your design on the glass.
4. Calibrating the desktop laser engraver:
Please follow the manufacturer's instructions to calibrate your desktop laser engraver. This ensures that the laser is correctly focused on the glass surface.
5. Place the glass:
Secure the glass item within the engraving area of the machine. Make sure it is level and stable.
6. Configure engraving settings:
Set laser parameters such as power, speed, and frequency. The exact settings will vary based on the type and thickness of the glass and the capabilities of your specific laser engraver. It is recommended to start with lower power settings and gradually increase until you achieve the desired results.
7. Test engraving:
Before engraving your final piece, do a test run on similar glass or scrap to make sure the settings are correct and the design looks as expected.
8. Start engraving:
Use the software interface to begin the engraving process. The laser will follow the vector path you specify in your design file.
9. Monitoring process:
Pay close attention to the carving process to make sure everything goes smoothly. If any problems arise, be prepared to pause or stop the process.
10. Post-engraving care:
Once the engraving is complete, carefully remove the glass from the engraving area. Any residue or debris left behind during the cleaning process.
11. Optional finishes:
Depending on the desired effect, you may need to perform additional treatments on the glass, such as painting the engraved area or applying a protective coating.
Remember, practice and experimentation are the keys to getting the best results when using a laser engraver on glass. It's important to work slowly and carefully, especially if you are new to the process.
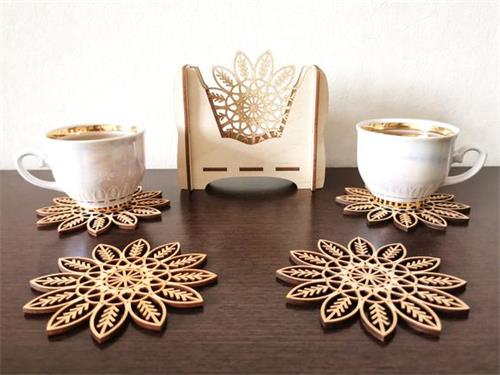
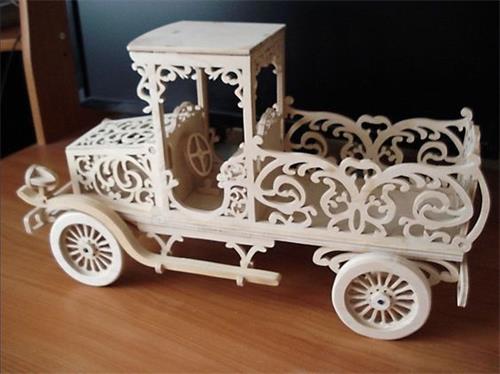
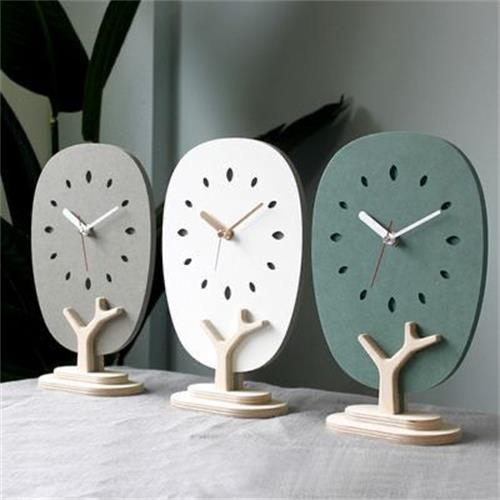
Wooden Engraving
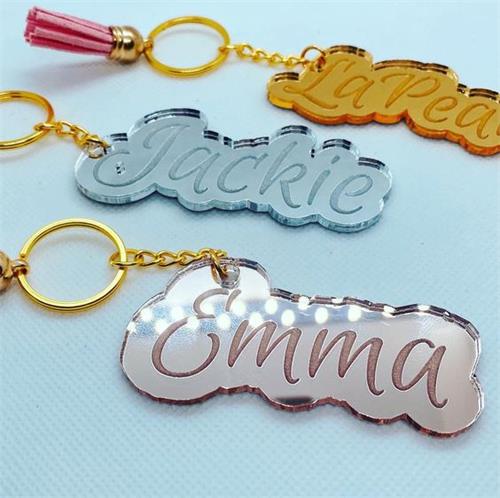
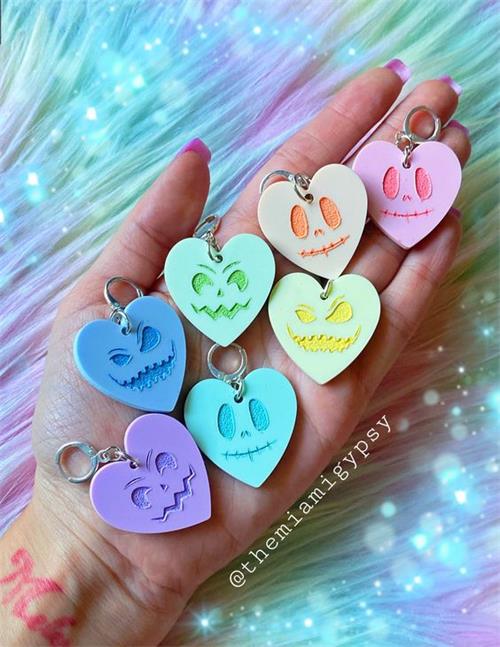
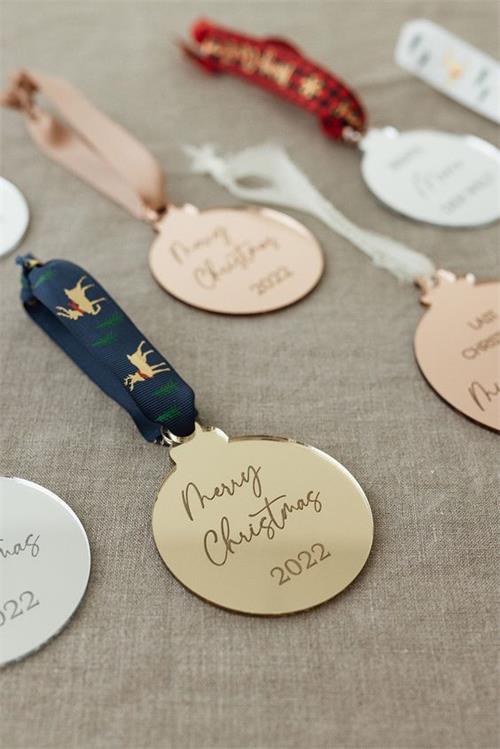
Acrylic Engraving
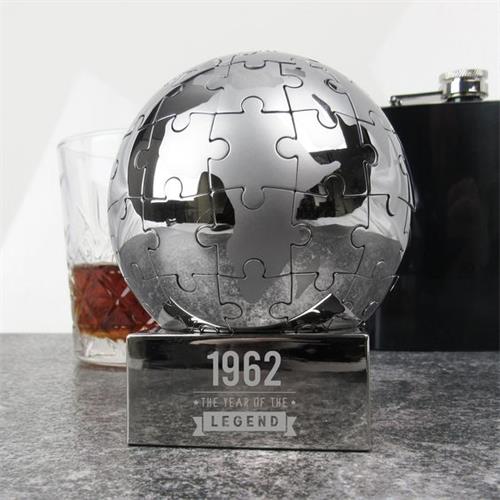
Metal Engraving
Conclusion
The Desktop Laser Engraver can engrave and cut a wide variety of materials. We can all realize many ideas through it. Buy a Desktop Laser Engraver to add more possibilities to your life!
